
By Edy Werder — IT Consultant & Tech Blogger
When I recently moved a WordPress website to a new host, I updated the DNS A record to point to the new server. Everything on the backend was ready, but the live site didn’t switch over immediately. Why? Because the DNS Time to Live (TTL) was set to 86400 seconds—that’s a full 24 hours. If you’ve ever wondered how long DNS changes take to update, TTL is the reason.

Let me break down what DNS TTL means and share some best practices, especially if you’re about to migrate a website.
In simple terms, DNS TTL tells other servers how long they should cache the DNS information (like your domain’s A record) before asking again for updated info. It’s measured in seconds.
Here are some common TTL values:
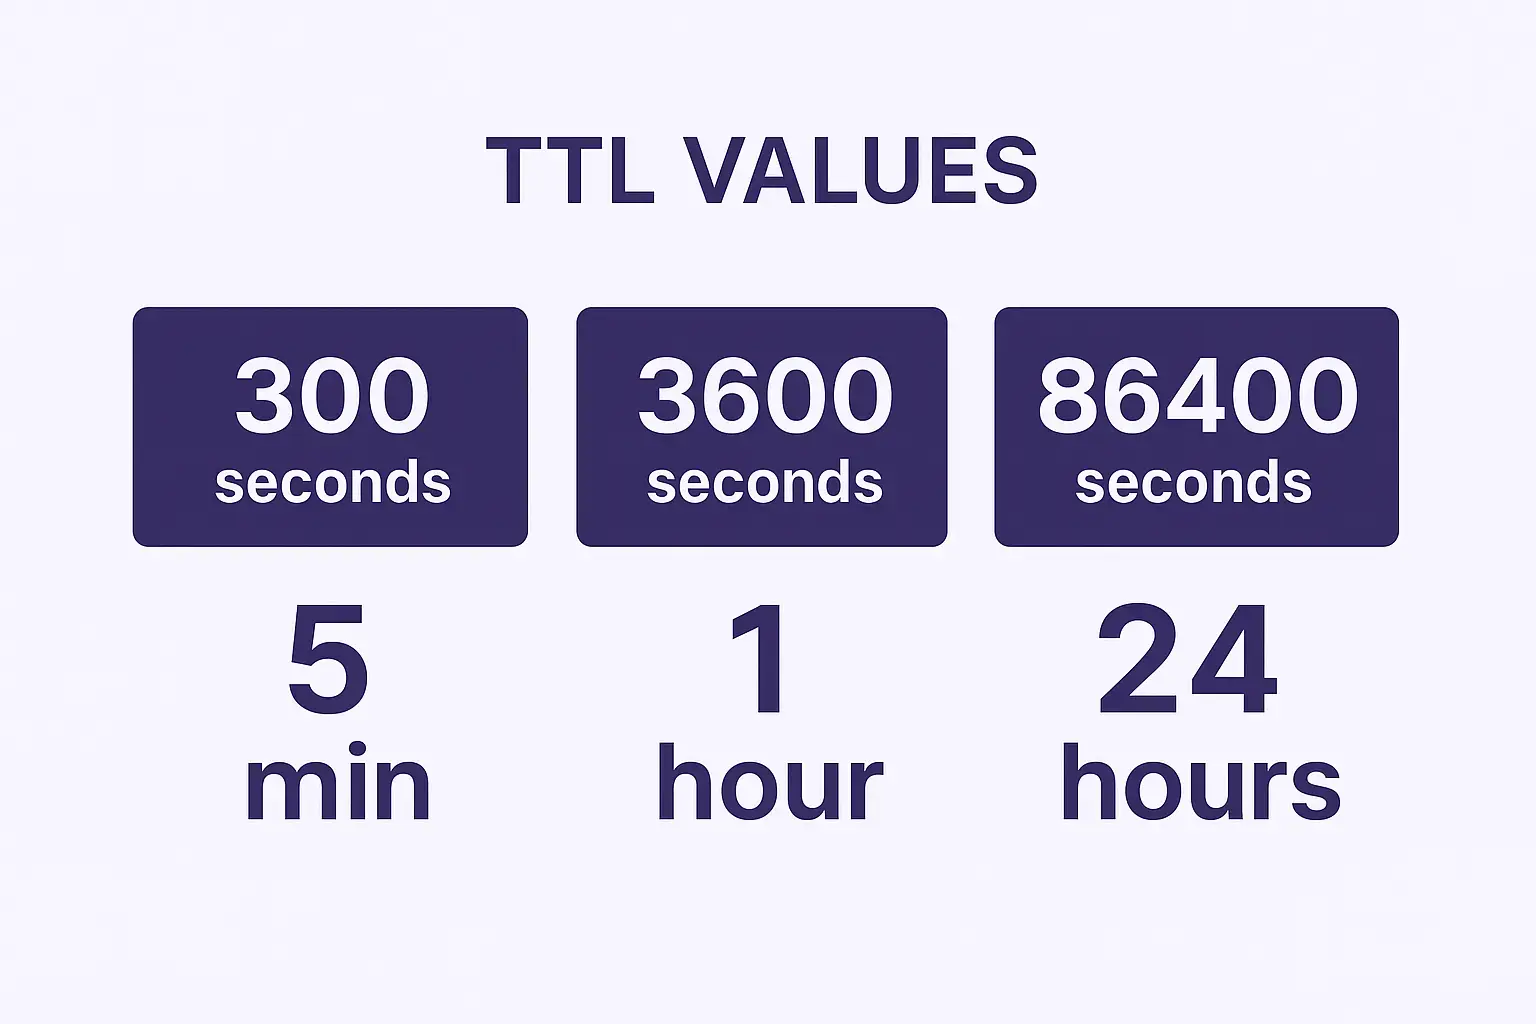
Each DNS record (A, CNAME, MX, etc.) can have its own TTL. If your TTL is long, DNS changes can feel sluggish. If it’s short, changes happen faster—but your authoritative DNS server gets queried more often.
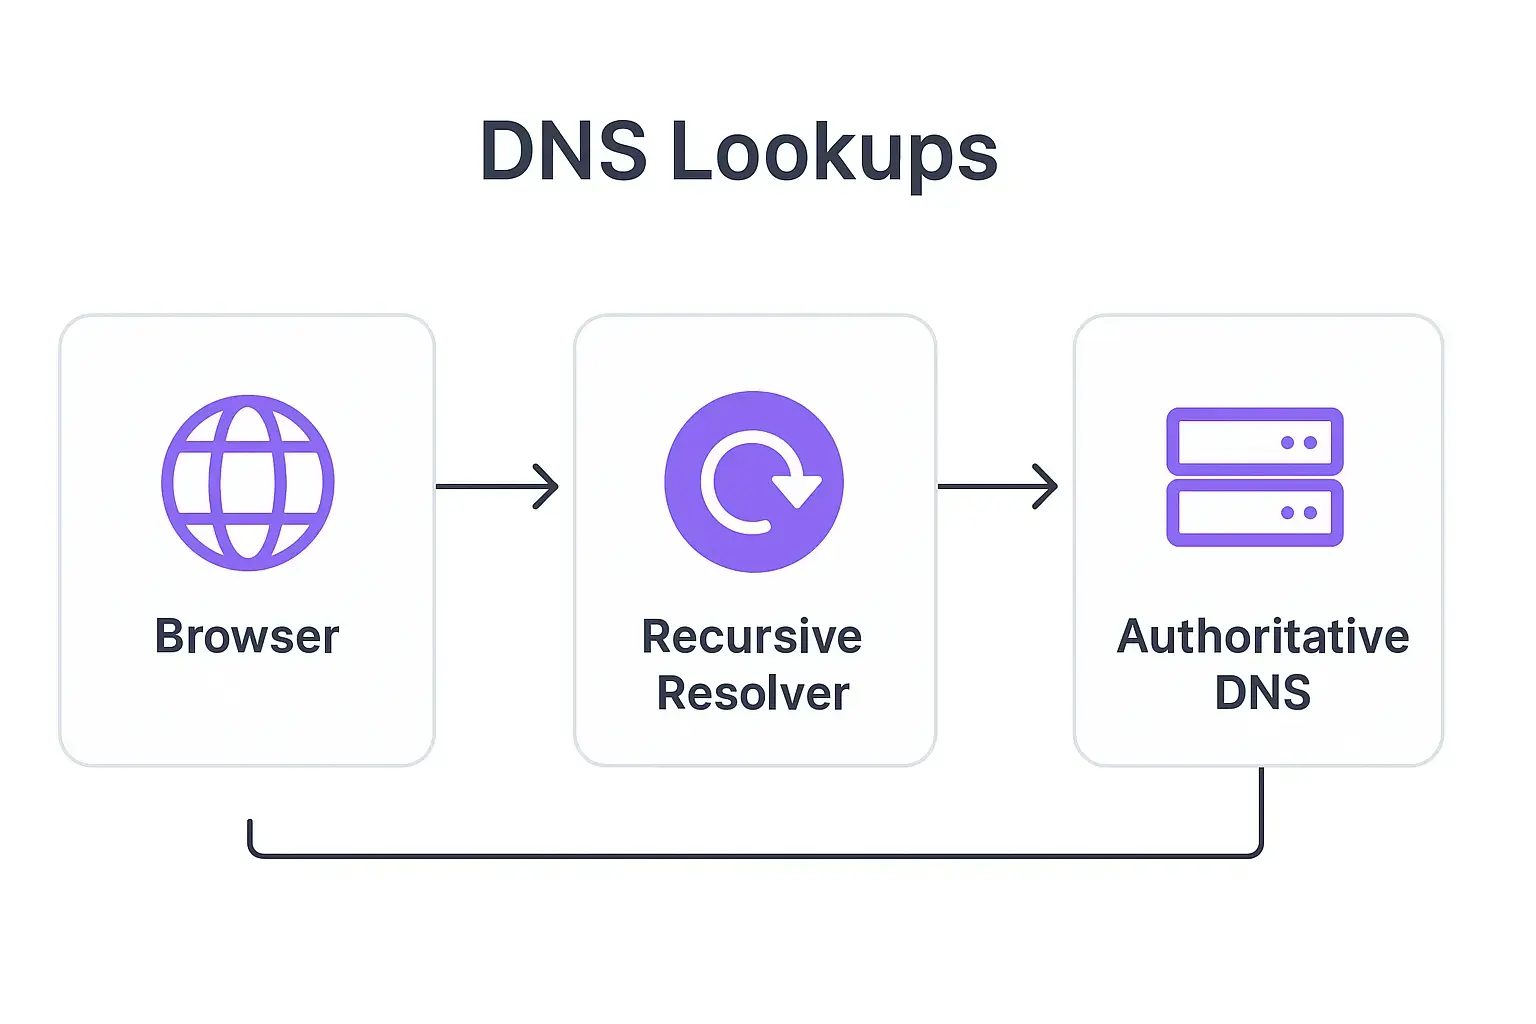
When someone visits your website, their browser needs to convert your domain (like example.com) into an IP address. That’s the job of a DNS server—it resolves human-readable domain names into server IPs.
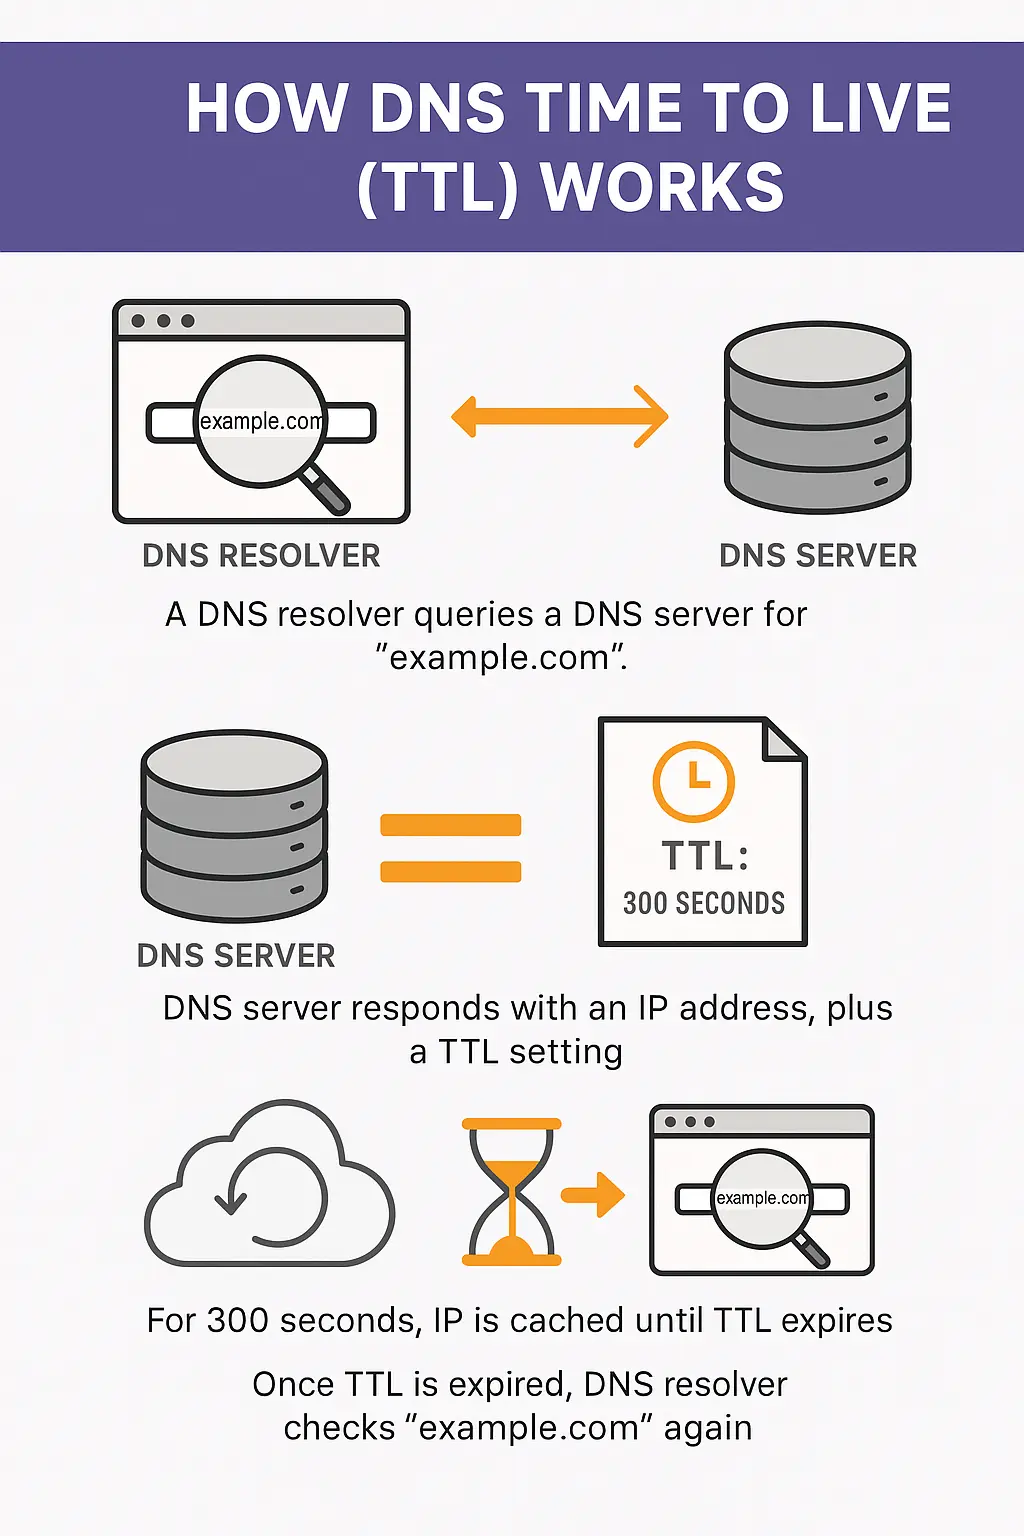
To avoid asking that same question over and over, DNS servers cache the result for a set amount of time—that’s where TTL comes in. It tells the DNS server how long to store the result before checking back for changes.
That’s why when you update a DNS record, the change doesn’t take effect instantly everywhere. Some servers are still using the old, cached data until the TTL expires.
Want to go deeper? Here’s how I built my own DNS server on a Synology NAS.
A common question is: how long does it take for DNS records to update?
There’s no one-size-fits-all answer. It depends entirely on the previous TTL setting. For example:
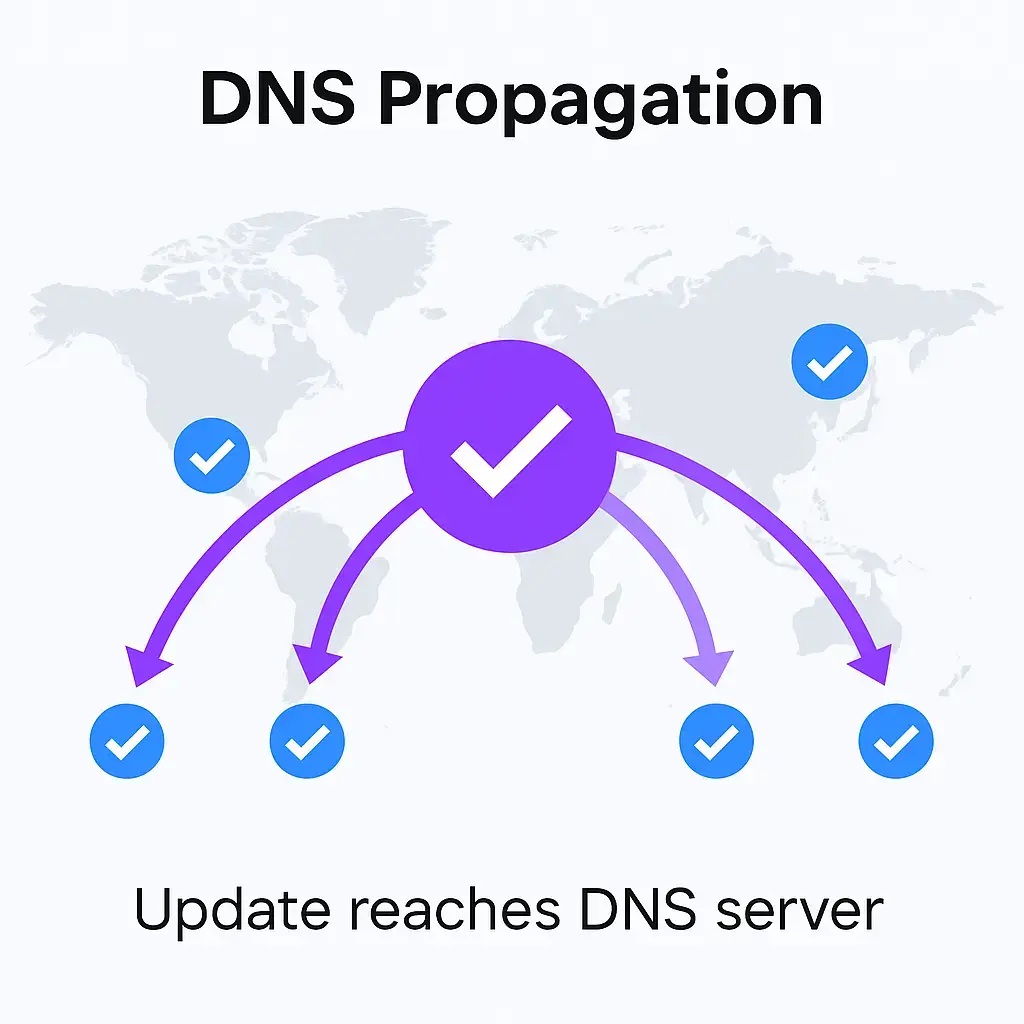
This also applies to CNAME records and nameserver changes. Tools like whatsmydns.net let you track real-time DNS propagation worldwide.
In practice, I’ve noticed that large DNS providers like Google DNS (8.8.8.8) and Cloudflare (1.1.1.1) often refresh their cache more frequently than the TTL suggests. For example, I was able to request a new SSL certificate shortly after the A record change—even though the TTL was set to 86400.
That said, not all resolvers behave this way. Some DNS servers around the world strictly follow the TTL and won’t refresh until the full time has passed. That’s why it’s still important to lower TTL ahead of time if you need guaranteed speed.
Here’s what I recommend when dealing with DNS changes:
Avoid leaving it permanently low—short TTLs increase load on your DNS infrastructure.
Tip: A higher TTL reduces DNS traffic and server load, which is ideal for stable, unchanging records. But keep in mind—it also introduces latency when you need to make updates, since resolvers hold onto the cached data longer.
One more thing: Some internet service providers (ISPs) and corporate networks may ignore your TTL settings and use their own refresh intervals. So even if you’ve set a short TTL like 300 seconds, certain resolvers might still hold onto the old data longer than expected. That’s why it’s smart to plan a buffer period after the change—just in case.
Interestingly, the majority of DNS records on the Internet are configured with TTLs of 5 minutes or less. While this allows for fast changes, it often undermines effective caching, leading to more frequent DNS lookups and unnecessary load on authoritative servers. Unless your records change often, longer TTLs are typically more efficient.
Some DNS providers allow very low TTLs, like 60 seconds or less. But unless you’re running a service that requires rapid failover or global routing changes, there’s rarely a need to go that low.
I usually stick to:
The maximum DNS TTL value is typically set to 86400 seconds (24 hours) for most users.
If you’re using Cloudflare as your DNS provider, TTL behavior works a bit differently depending on whether your record is proxied through Cloudflare’s CDN or not.
Here’s how that looks in the Cloudflare dashboard:
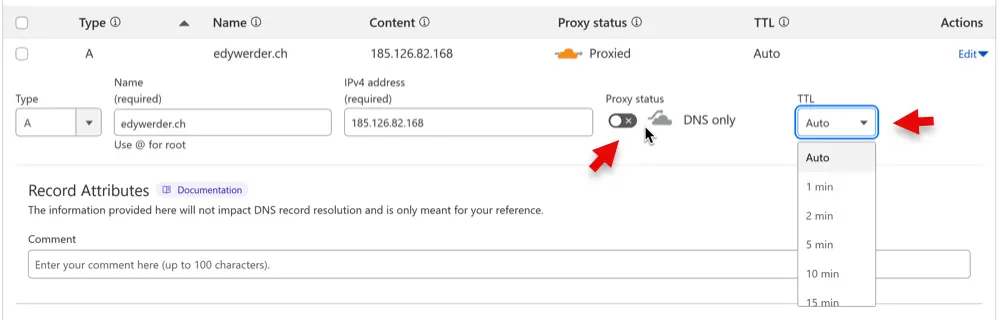
Note: This behavior is specific to Cloudflare. Other DNS providers let you set the TTL freely regardless of proxying.
Even after a DNS record has been updated and propagated globally, your local system may still cache the old DNS entry. This includes:
If you’ve made a DNS change but still see the old site or IP:
This is why even with a low TTL, some users still experience delays—their local cache simply hasn’t been cleared yet.
If you’re curious to dive deeper into your domain’s DNS setup, you can analyze your DNS configuration in detail with DNSViz. It provides a visual breakdown of your records, validation, and any potential issues—especially useful if you want to debug propagation or DNSSEC problems.
DNS time to live isn’t something most WordPress users think about—until a migration or DNS change takes longer than expected. Understanding how TTL affects DNS propagation helps you plan ahead and avoid unnecessary delays.
If you’re preparing to move a site or change records, always check your TTL setting. Lower it first, wait for the short TTL to kick in, then make your change. And once everything is live? Don’t forget to raise it again.
I’d love to hear from you. Was this article helpful? Share your thoughts in the comments below. If you prefer, you can also reach me by email or connect with me on Reddit at Navigatetech.
If you found the breakdown of DNS Time to Live insightful, you might also be interested in how performance and reliability play out in the world of WordPress security. I recently explored that in depth in my review of SolidWP, a robust toolset designed to harden WordPress sites without slowing them down. Whether you’re managing your own servers or hosting for clients, this review offers a clear look at SolidWP’s features and real-world use cases. It’s a natural next step if you’re thinking about how to keep your site both fast and secure.
Hi, I’m Edy Werder. I write hands-on guides about Proxmox, homelab servers, NAS, and WordPress, based on real setups I run and document.
No sponsors, no fluff—just real configs and results.
Enjoying the content?
