
By Edy Werder — IT Consultant & Tech Blogger

Running a DNS server at home isn’t just for handling your local Pi-hole queries. In this guide, I’ll show you how to build a public-facing authoritative DNS server that responds to real internet queries using your domain name.
This setup goes beyond internal home network use. It’s for those who want complete control over their DNS zones, host actual domains, and even send email with proper PTR records. I use this setup myself—my domain is served from my homelab nameserver.
Let’s walk through the steps, from choosing a domain to registering glue records with your registrar.
This guide is based on my personal experience running an authoritative DNS server from my home lab using ISPConfig and BIND. While I’ve taken care to follow best practices and apply community feedback, this setup is intended for educational purposes. Hosting a public DNS server requires awareness of security implications and may not suit production environments without additional hardening.
DNS, or Domain Name System, is an integral part of Internet technology, operating much like a phone book for the Internet. It facilitates the conversion of human-readable domain names (such as www.example.com) into computer-readable numerical IP addresses like 192.168.0.1.
This is achieved through a DNS server, which resolves domain names to their corresponding IP addresses, simplifying internet navigation. Imagine remembering the numerical IP address for every website you visit – a task mitigated by the DNS service. DNS operates hierarchically, utilizing root servers, domain servers, authoritative name servers, and recursive resolvers to address DNS queries and enable smooth online communication efficiently.
A zone file is a text file that describes a DNS zone. A DNS zone is a portion of the DNS namespace delegated to a specific administrator or hosting provider. The zone file contains mappings between domain names and IP addresses in the form of records.
There are mainly two types of zone files: forward and reverse. The forward zone file maps domain names to IP addresses, allowing a DNS resolver to find the IP address of a domain or hostname. The reverse zone file, on the other hand, maps IP addresses back to domain names, enabling reverse DNS lookups.
DNS zone files are crucial for the proper functioning of the internet as they help to resolve human-friendly domain names into numerical IP addresses that computers use to identify each other on the network. The zone files follow a specific syntax and structure for effective DNS resolution. This includes several zone file parameters such as the Origin, Time to Live (TTL), Start of Authority (SOA), and different types of DNS records like A (address) records, CNAME (Canonical Name) records, and PTR (pointer) records.
Setting up a home lab DNS server provides an invaluable opportunity to delve into the fascinating world of Domain Name Systems (DNS). Through this hands-on experience, you’ll gain a deeper understanding of how DNS works.
A name server is a valuable tool for establishing and managing your own Nameserver for your registered Domains. Utilizing a name server lets you conveniently maintain and manage your DNS records directly from within your lab environment, providing you with enhanced control and flexibility over your domain management processes.
Well, having your own DNS server in your home lab connected to the worldwide Internet is fun. Learn how to configure the services, create records, and use them for your own domains. Experiment with different settings and configurations to discover what works best for you. It’s fun and engaging!
Your home lab is part of the internet. 🙂
I will not cover in detail how to install the DNS Server. There are various ways. However, I recommend using the ISPconfig (open-source) software. ISPconfig provides a handy hosting panel and offers more services than DNS only.
ISPconfig covers several functionalities, such as a web server, mail server, DNS server, and virtualization. All services are managed through a convenient web interface. I use ISPconfig in my home lab, with all its services except virtualization.
As an aside, ISPconfige makes installing a secure mail server based on Postfix with Dovecot easy. ISPconfig’s DNS simplifies the management of essential mail system records, ensuring reliability and ease of maintenance.
ISPconfig runs with Debian or Ubuntu. I recommend using Ubuntu 24.04, which is the long-term distro.
In short:
If you don’t want to install all services, ISPconfig offers advanced installation options.
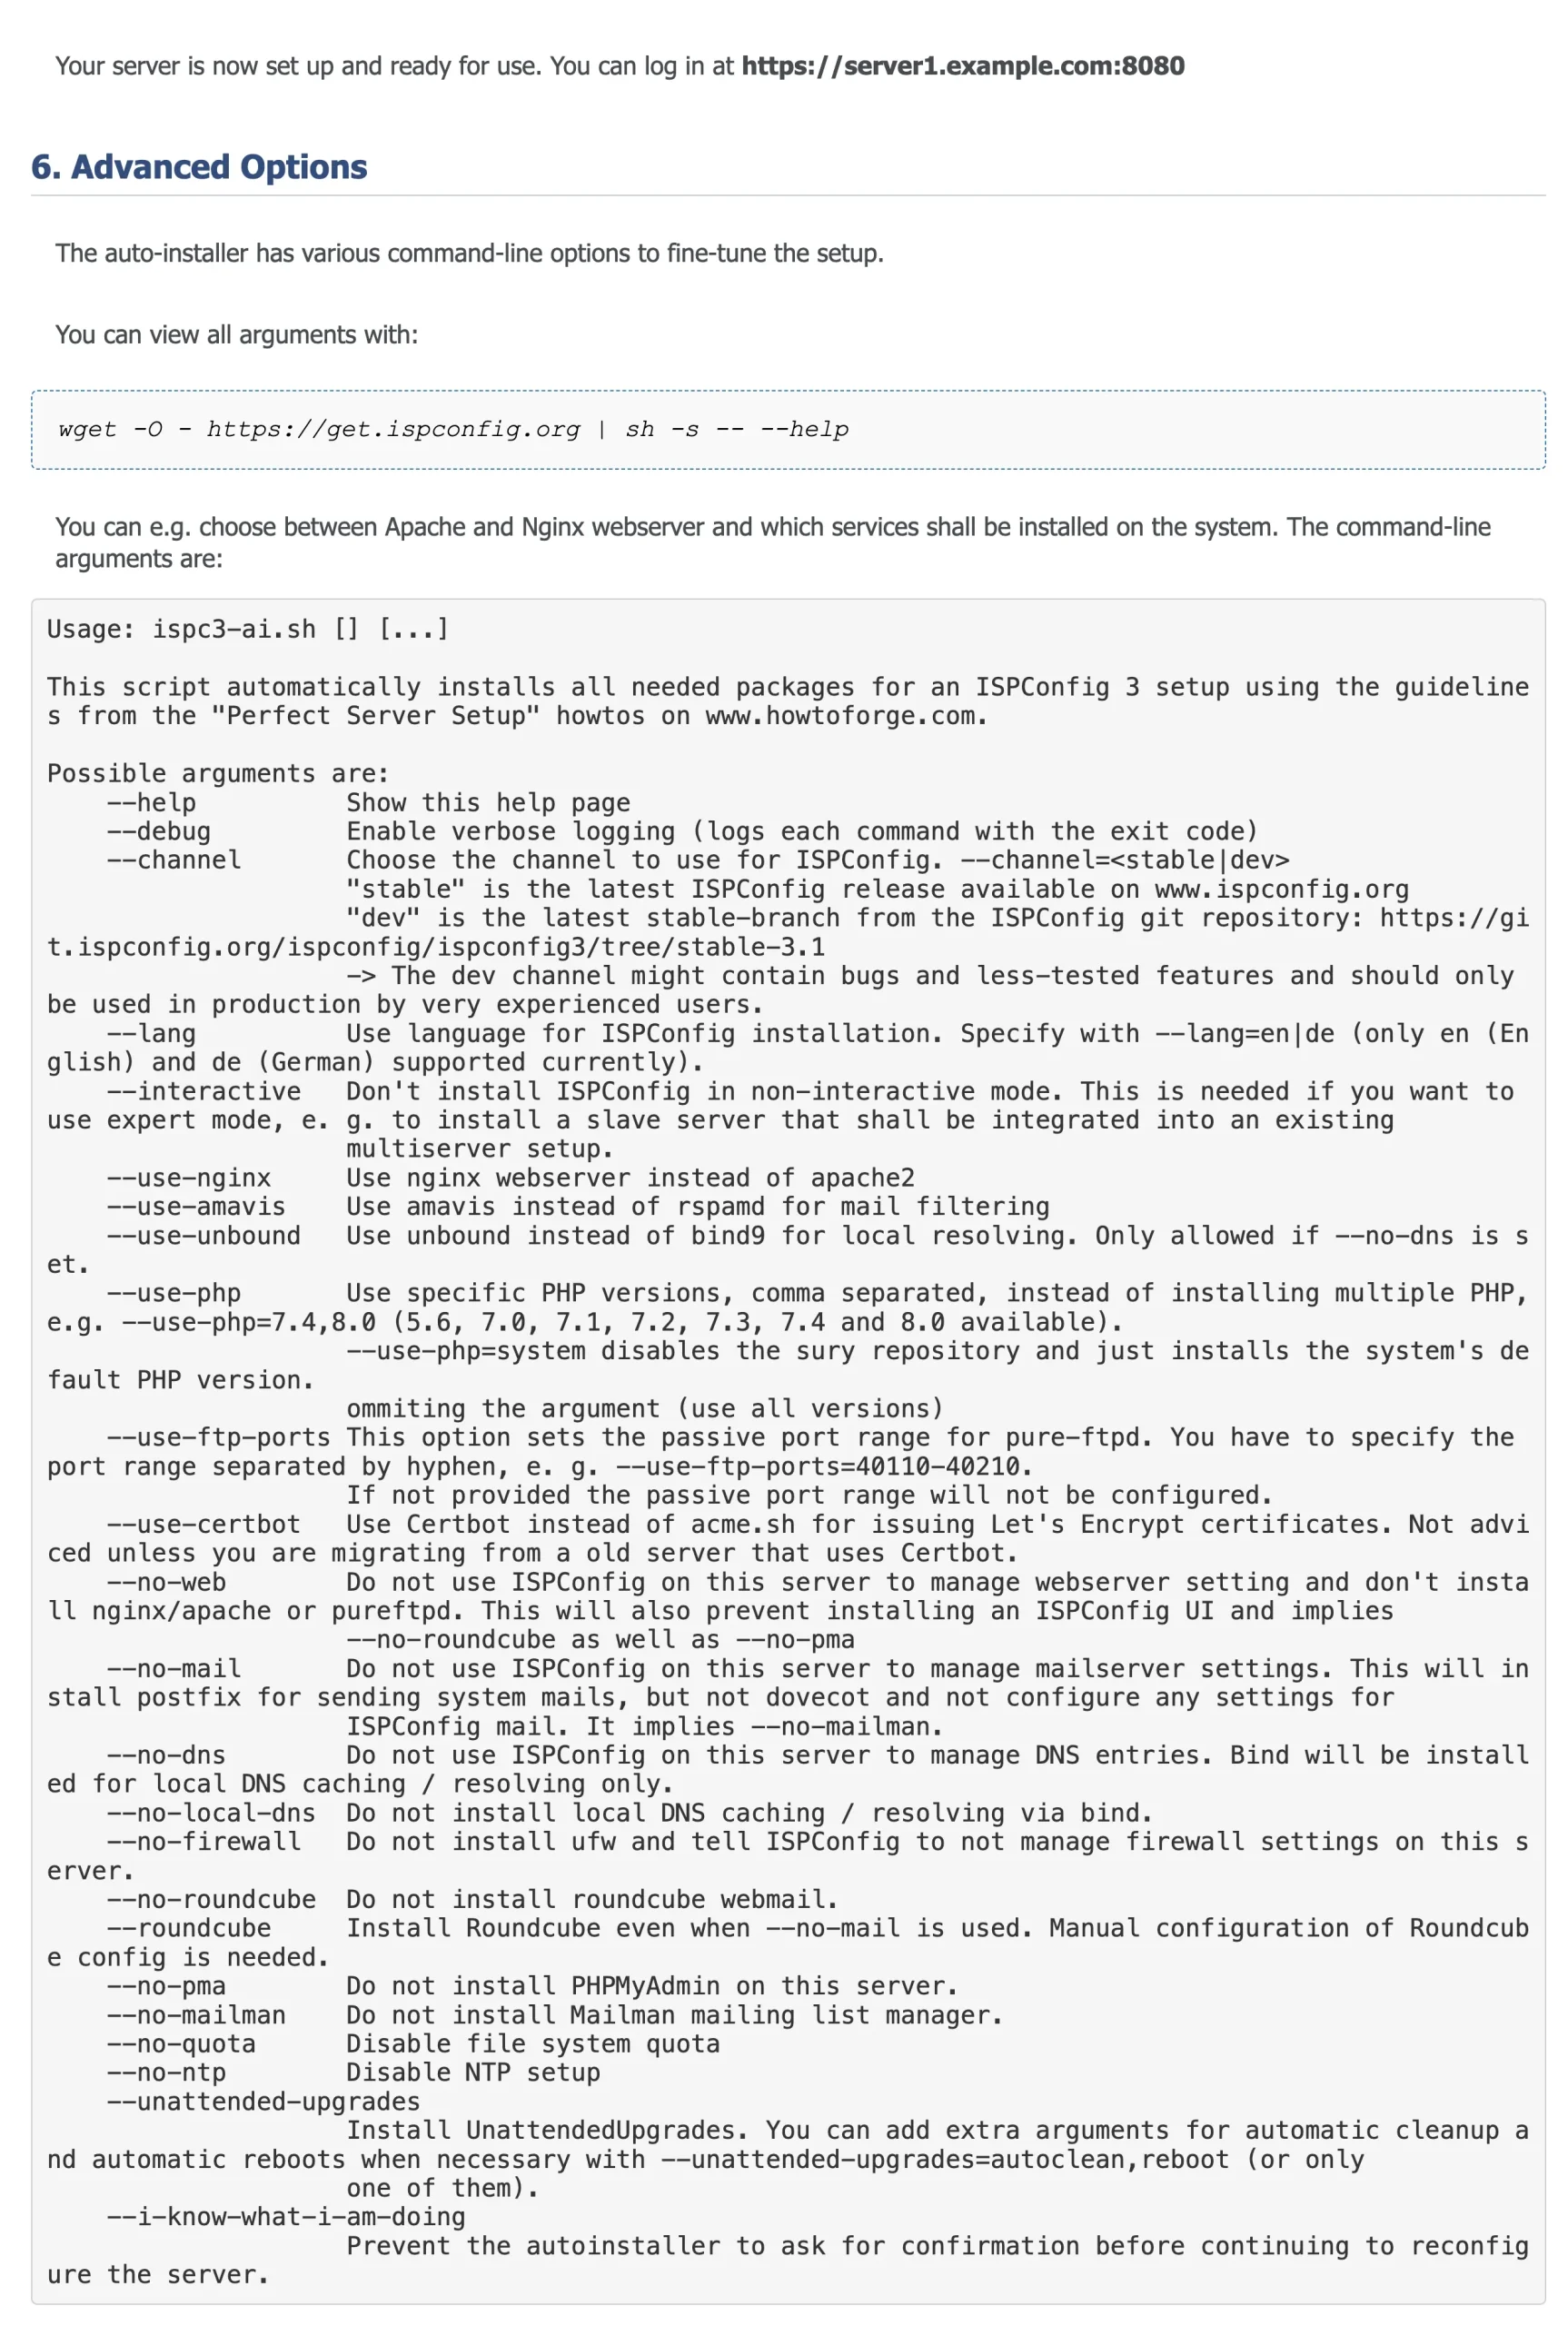
The installation process is pretty straightforward and doesn’t take long.
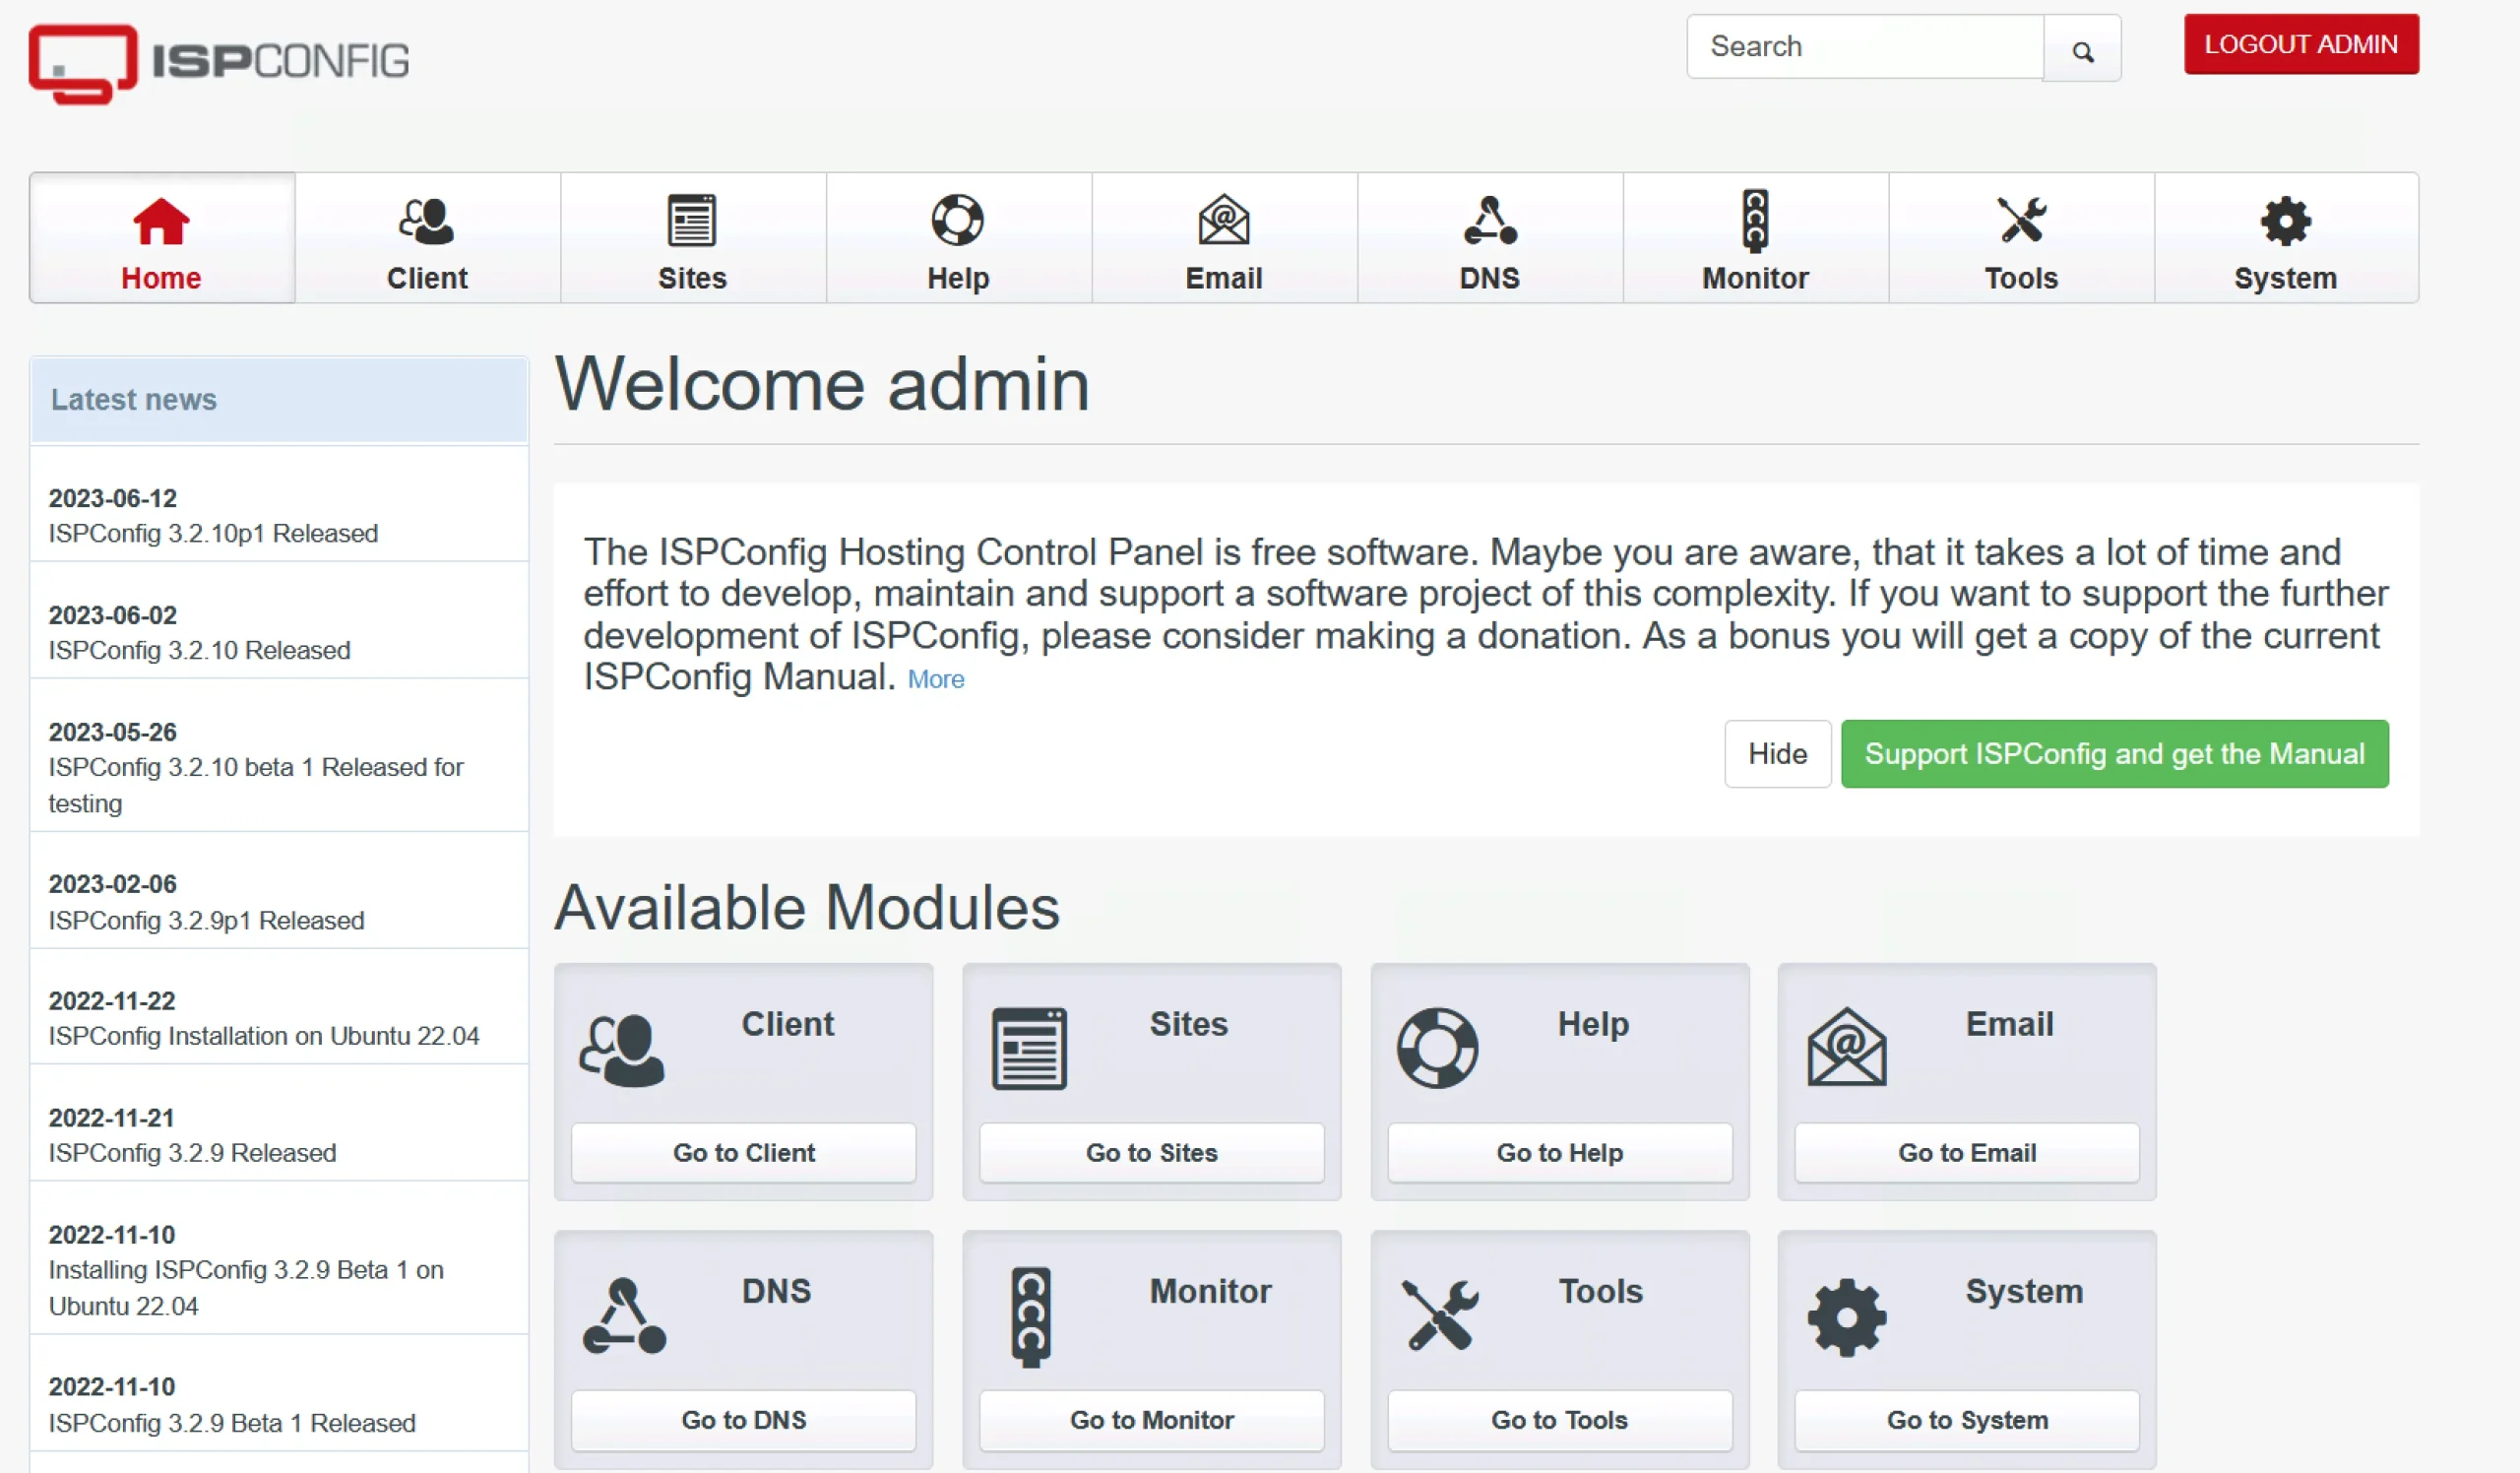
After the installation point your browser to http(s)://server1.example.com:8080/ or http(s)://192.168.0.100:8080/. ISPconfig uses port 8080 by default. However, you can change the port to something else. I have written a separate article on how to change ISPconfig port for the WebGU. I use port 15080.
If the ISPconfig installation is cumbersome, you can install only Bind on an Ubuntu 24.04 server. The ISPconfig web GUI is incredibly convenient. It functions as a Bind9 with a WebGUI and allows for direct configuration file editing.
The next step is to create your first zone file with ISPconfig. Click the DNS icon, Add DNS Zone.
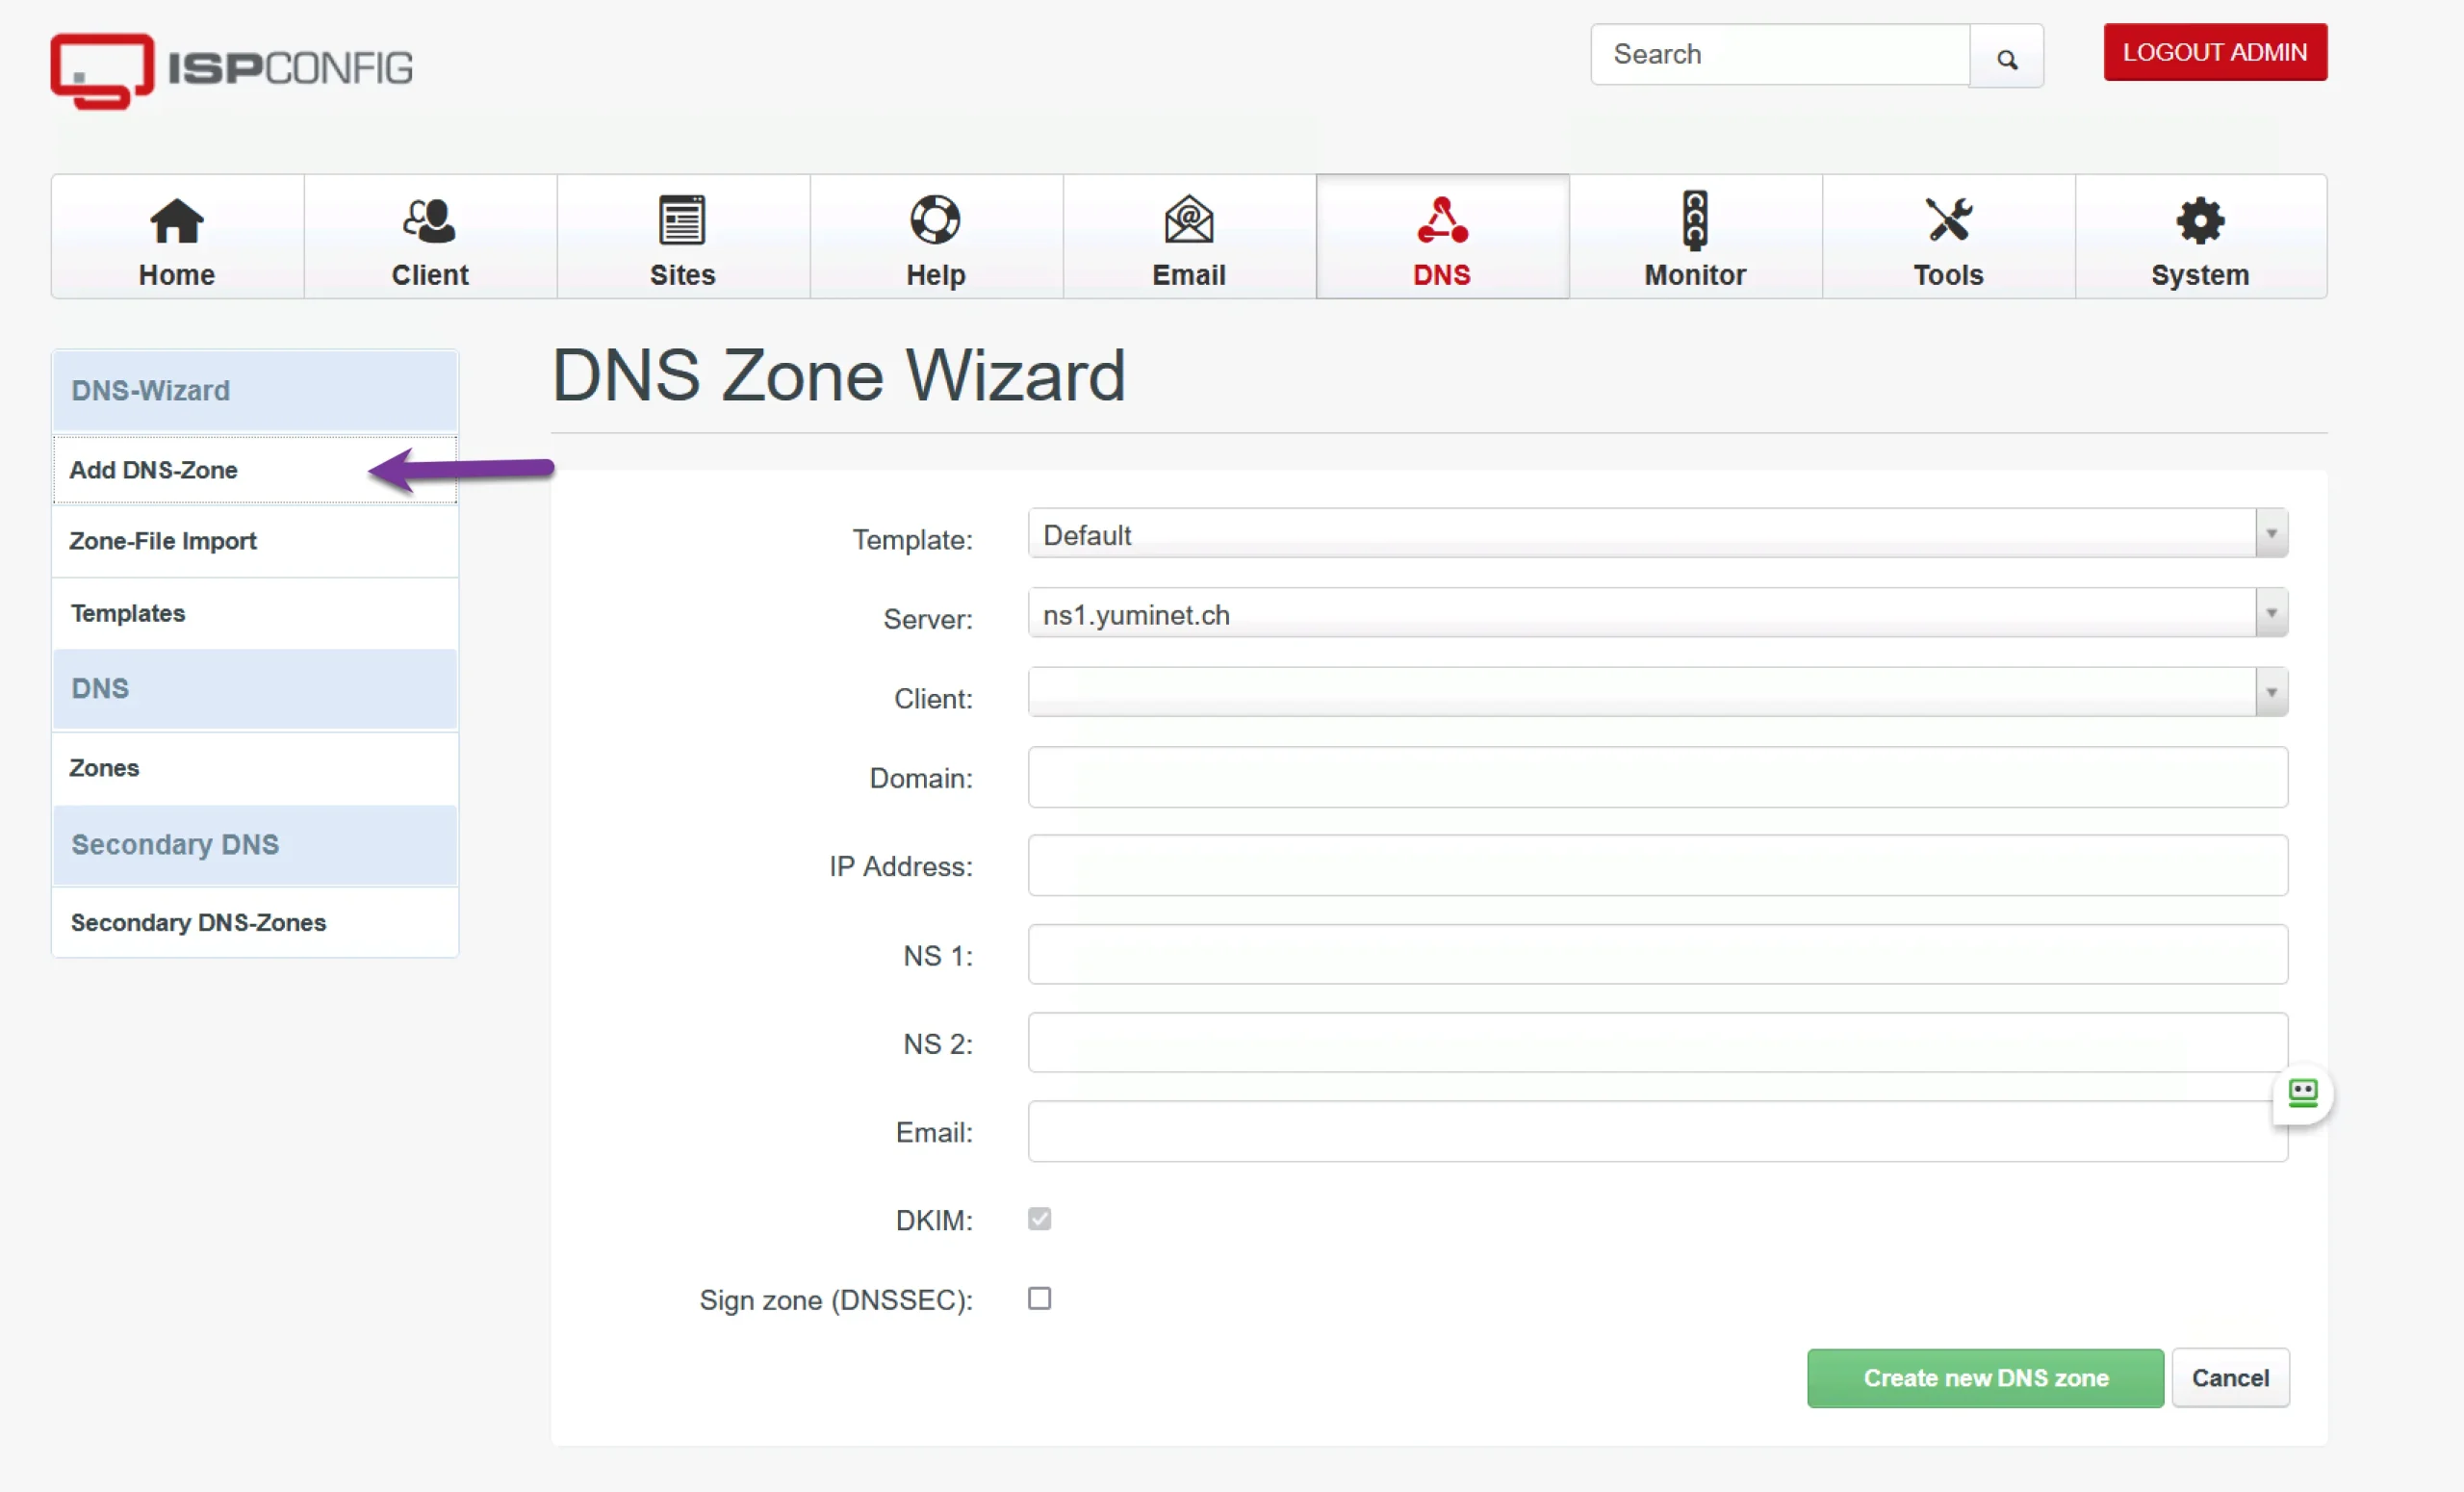
The DNS Zone Wizard appears.
The tool can manage various clients; therefore, you must set up a client first in the Client section (the second icon from the left at the top bar). Afterward, you can delete the client in the client field.
Domain field: Enter your domain name
IP address: Enter the public IP address of your server
NS1: is the primary nameserver, for example, the hostname + domain name.
NS2 is a secondary nameserver. It is not necessary, but it is good in case the primary nameserver is down.
Email: Enter an email address
DKIM: is selected and cannot be changed
Optionally, you could add DNSSEC
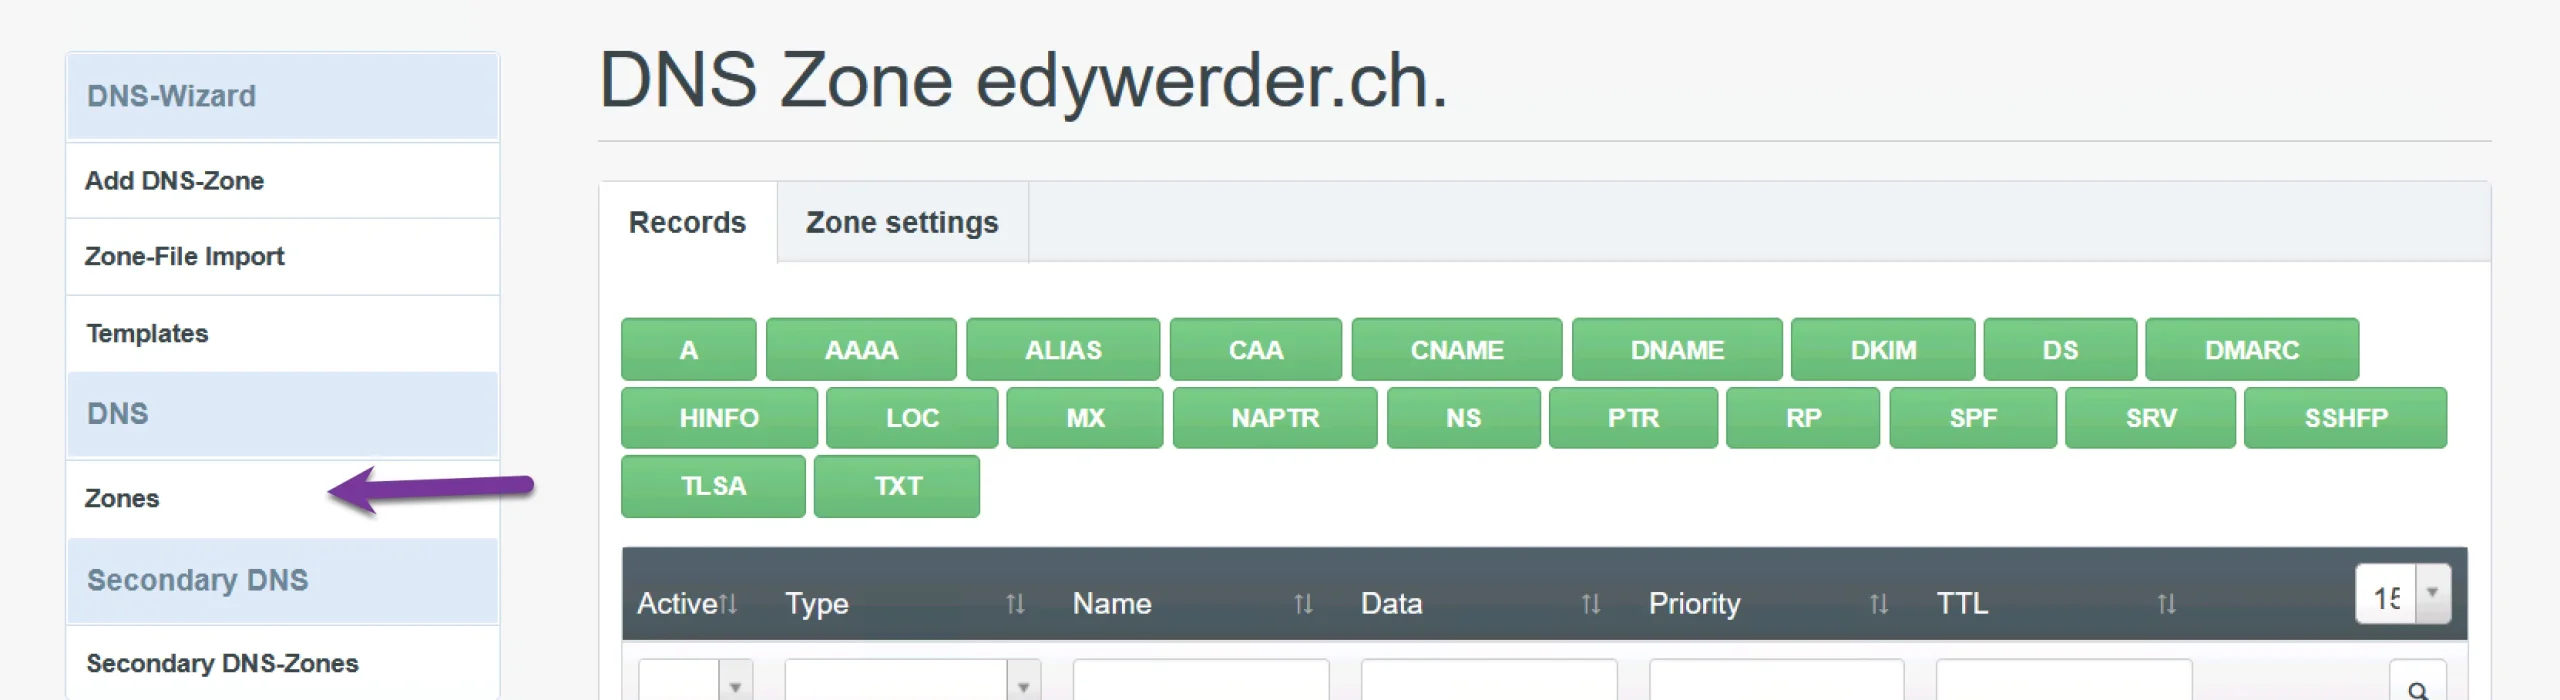
After completing the task, select “Zones,” where you will find many record names to add your zone.
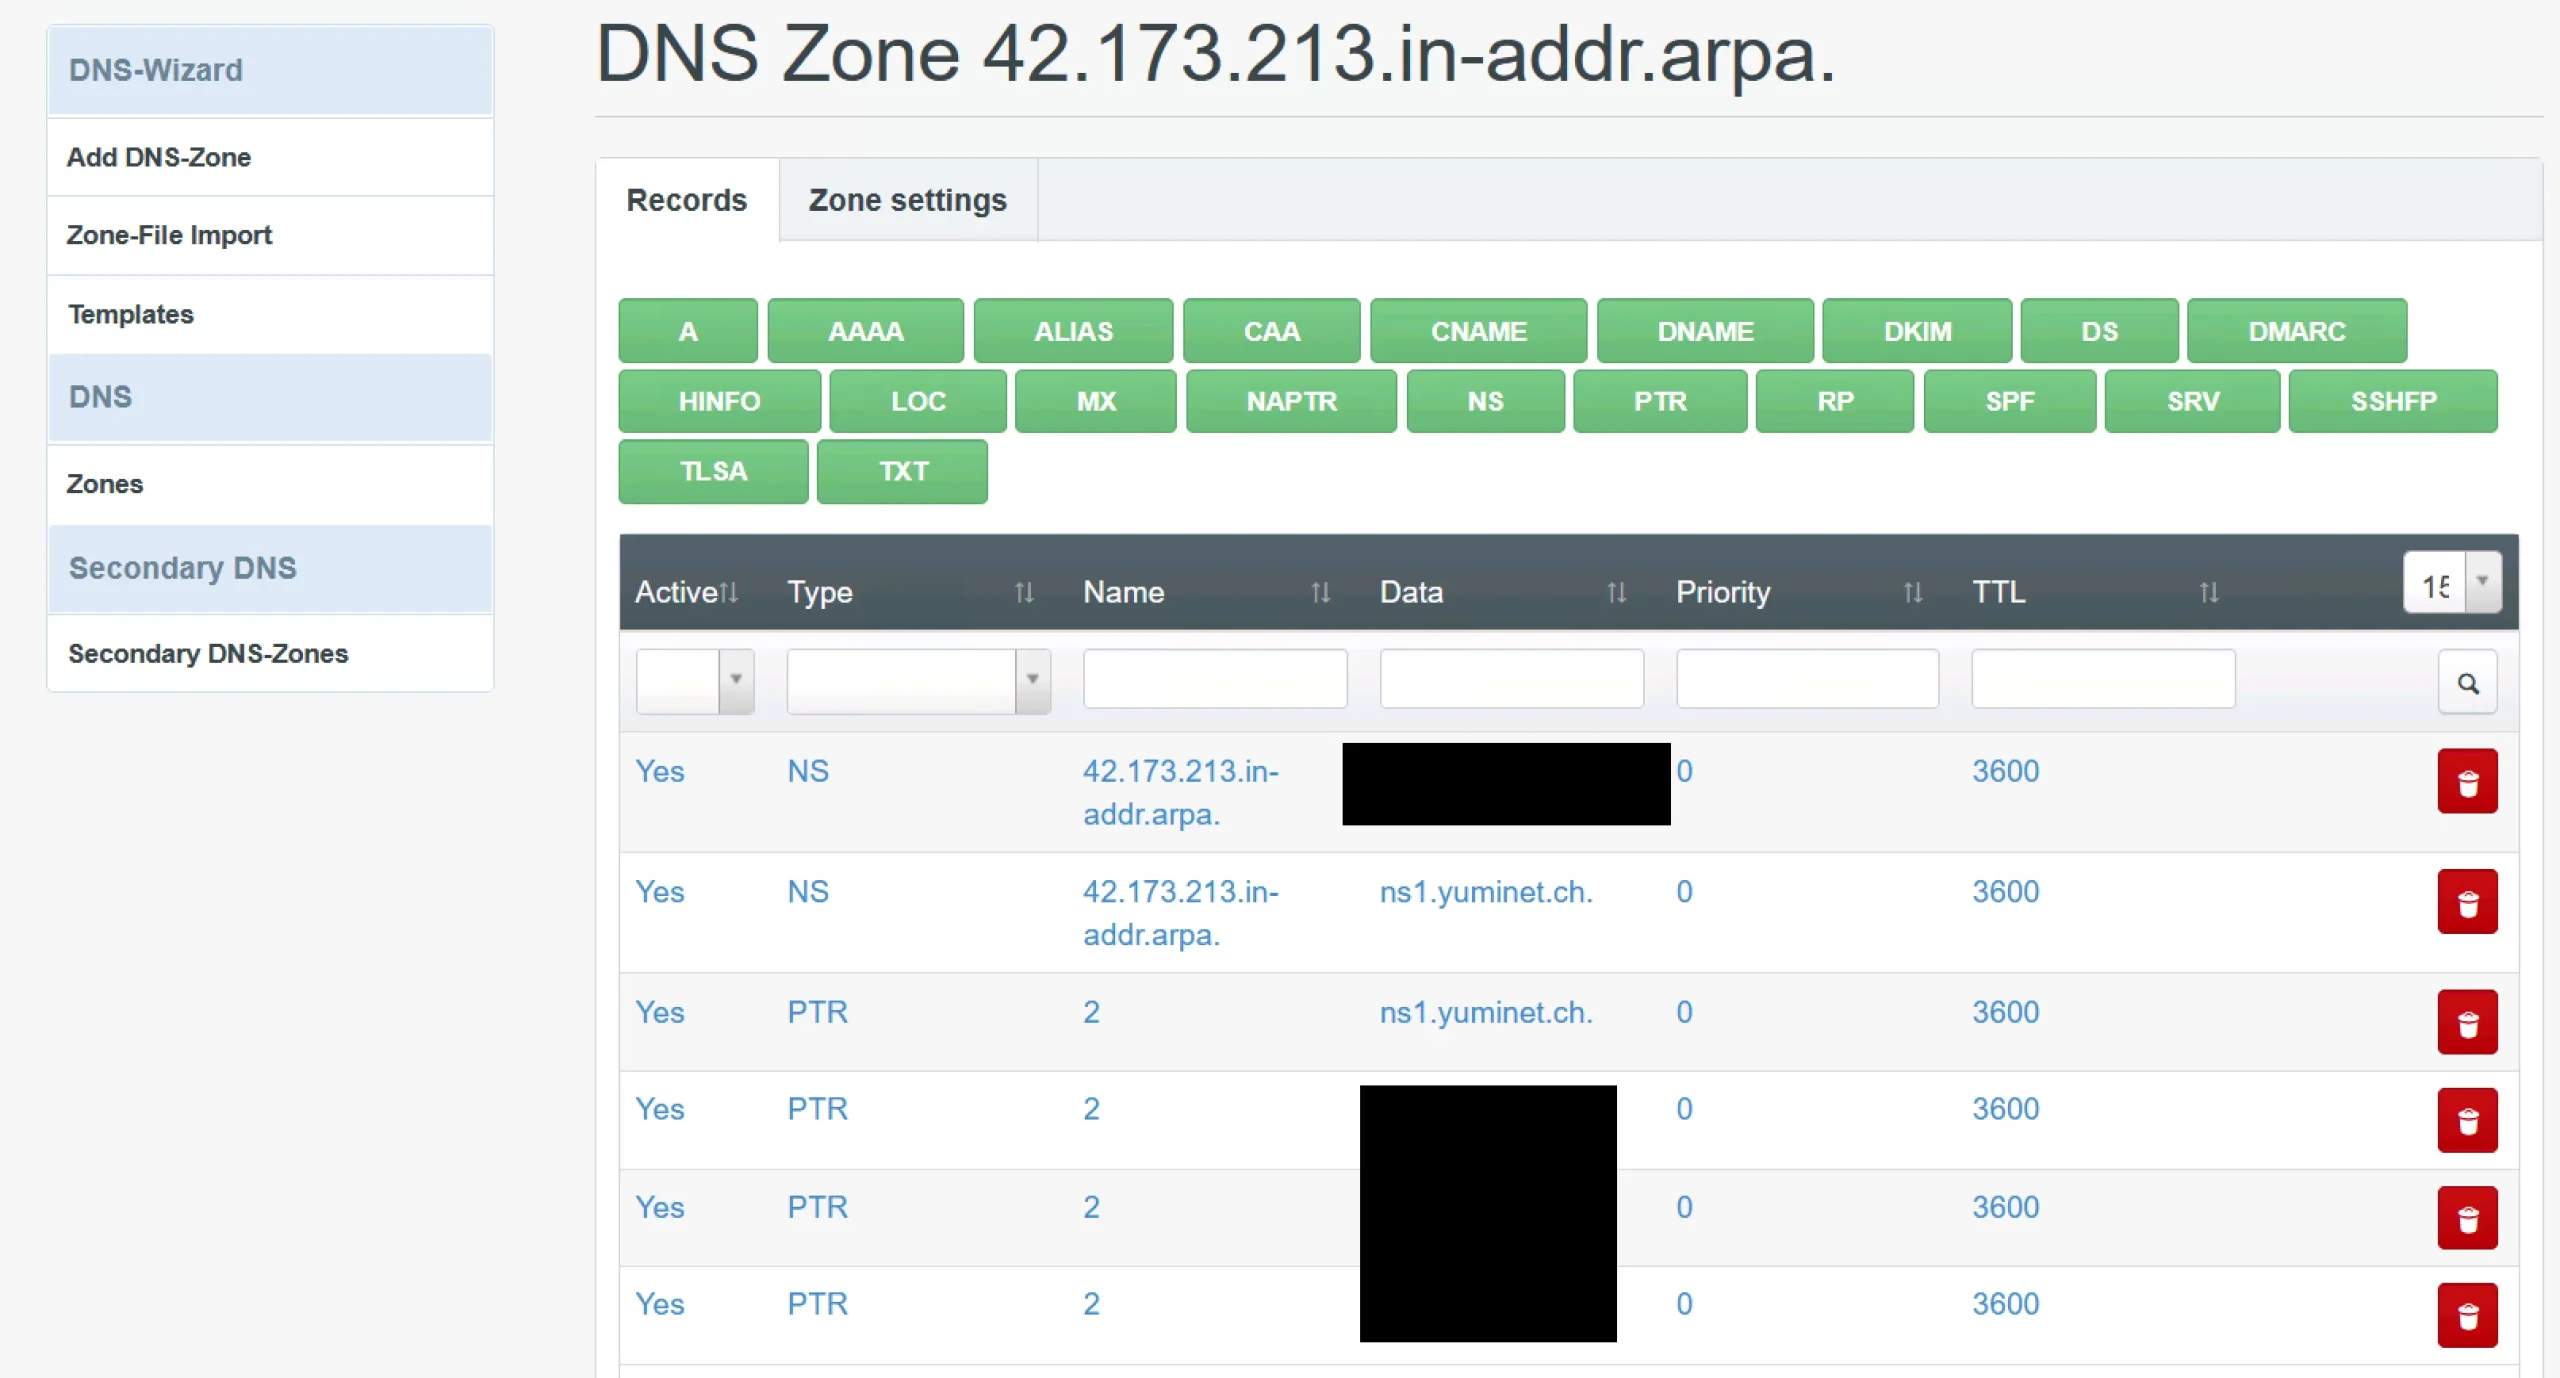
A reverse zone file is critical to DNS configuration, specifically for reverse DNS lookups. It maps IP addresses back to domain names, providing the opposite information of a forward zone file. This file has a structured pattern: IN PTR <FQDN>. It’s vital for several reasons.
It confirms the authenticity of IP addresses and helps avoid IP spoofing. Secondly, it facilitates debugging in network scenarios by identifying the linked domain name of an errant IP address.
Lastly, many email servers use reverse DNS lookups to check the credibility of the origin IP, hence reducing spam. Improper or non-existent reverse DNS can thus lead to email delivery issues. Therefore, maintaining an accurate reverse zone file is crucial for secure, efficient network communication.
So, if you are also using your domain for email and let your own DSN server manage it, a reverse zone file is important to add PTR records. Email servers from Google, Microsoft, and many more check the PTR record. If you don’t have one, there is a high chance that the email will bounce back or be identified as spam.
In ISPconfig, you add a reverse zone file the same as the normal one. A reverse zone file only contains PTR records.
Glue records are DNS records created at the domain’s registrar to avoid circular references, allowing for DNS name resolution and for the listing of nameservers inside the domain itself. They are necessary when hosting your authoritative servers or in the case of Dedicated DNS, where a separate domain name is registered for the DNS servers. The nameserver IP addresses must be added to the registrar as glue records before your home lab DNS server becomes an authoritative DNS server.
Some domain registrars allow adding a GLUE record through their control panel. In my case, I had to email my domain registrar and ask to add my domain name and IPV4 and IPV6 as GLUE records.
A DNS server is just one service running in a home lab. My detailed homelab guide covers the broader setup, from hardware to network and storage.
Once your DNS server is public-facing, it must follow best practices to protect it against abuse and attacks. Here are a few security measures you should implement:
recursion no; directive in the named.conf.options file.These precautions help keep your server responsive and secure. Monitor your DNS logs for unusual activity constantly, and revisit your setup regularly as new threats emerge.
It’s time to test whether our new home lab DNS server responds to public DNS requests. Many test tools are available on the Internet. I use MX Toolbox.
Run a DNS lookup and check if a record with your domain name and IP Address is published. Check (red arrow) which name server responds. You should get a response from your newly created home lab DNS server.

If the test fails, check the zone file and ensure the GLUE record is accurate.
In conclusion, setting up a home lab DNS server is a great way to better understand DNS, provide DNS service for your domains, and experiment with different settings and configurations.
Installing and configuring ISPconfig/Bind9 lets you easily manage your DNS records and control your online presence. So why not leap and become the master of your own digital destiny? Start your journey towards a more empowered online experience today.
I’d love to hear from you. Was this article helpful? Share your thoughts in the comments below. If you prefer, you can also reach me by email or connect with me on Reddit at Navigatetech.
If you’ve just read about setting up a home lab DNS server, the next logical step is understanding the broader network infrastructure in a home lab environment. I suggest taking a look at Homelab Network. This article will help you understand the intricacies of creating an effective network for your home lab, complementing your DNS server setup. It’s a valuable read for anyone looking to enhance their home lab’s networking capabilities.
Hi, I’m Edy Werder. I write hands-on guides about Proxmox, homelab servers, NAS, and WordPress, based on real setups I run and document.
No sponsors, no fluff—just real configs and results.
Enjoying the content?
