By Edy Werder — IT Consultant & Tech Blogger
Expanding a volume on your Synology NAS allows you to increase storage capacity without disrupting your existing data. By following this How-to guide, you can seamlessly expand a volume on Synology and maximize your NAS storage capabilities.
I have a Synology DS-720+ and a two-bay NAS. The capacity of the two 6TB Seagate hard drives is almost full. Since I also use the NAS for time-machine backups, I had no choice but to replace the two hard drives with ones of a larger capacity.
Luckily, in a RAID1 setup, it is possible to upgrade disk capacity without losing data and downtime.
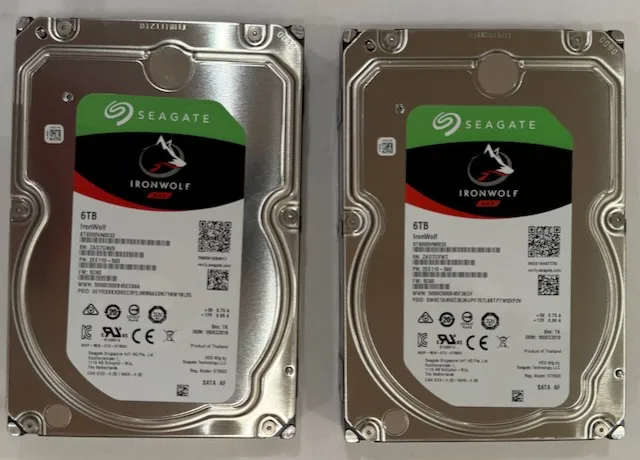
I bought two new 16TB Seagate Ironwolf hard drives

Here is a summary of the steps necessary.
Okay, let’s start now with some more details.
Confirm that your Synology NAS model supports 16TB drives and larger volume sizes. This information is available on Synology’s official website under the compatibility list for your specific model.
Although the process is designed to prevent data loss, it’s always wise to back up your important data to an external device or cloud service before proceeding.
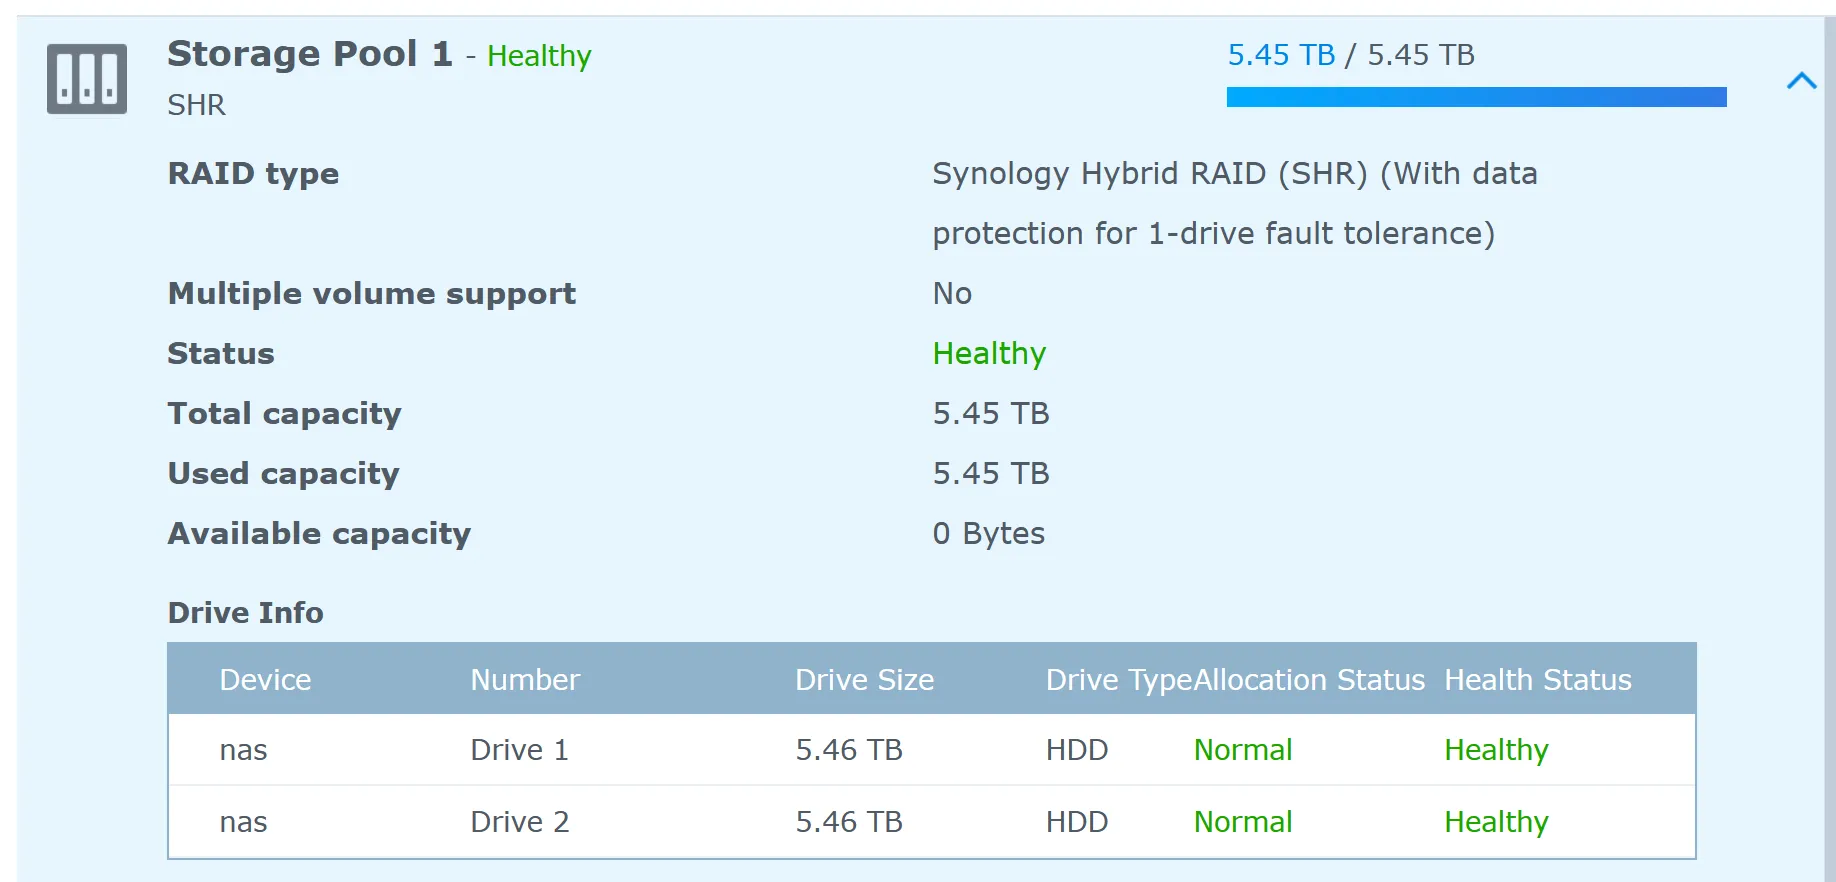
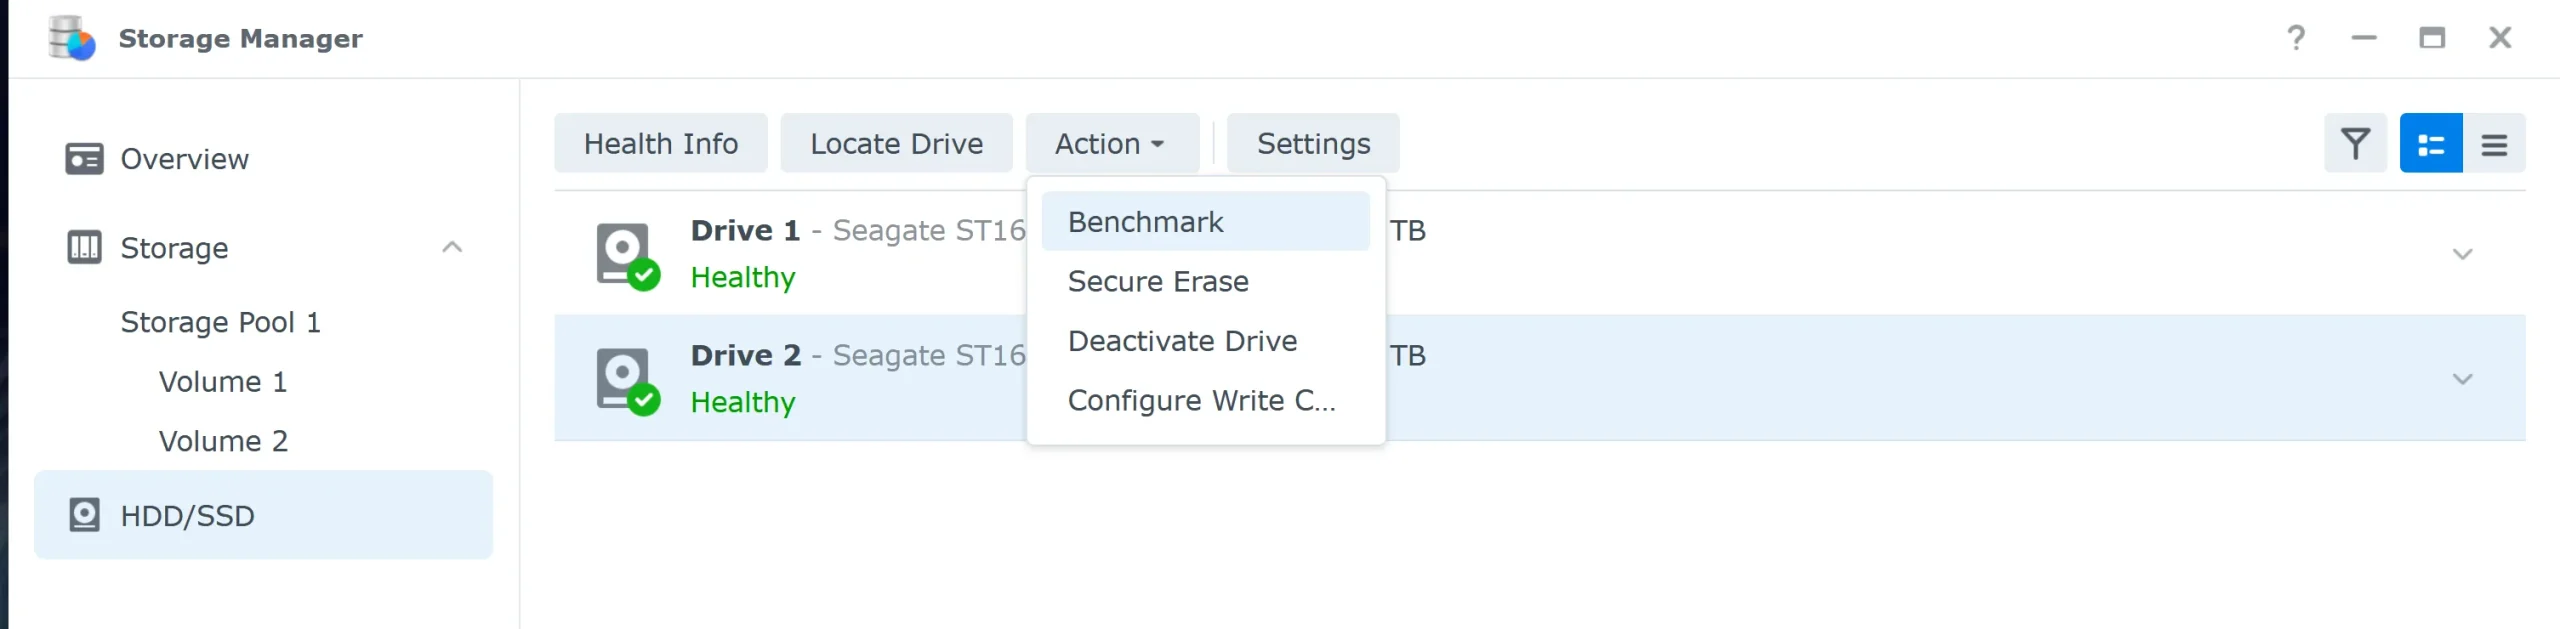
Ensure your NAS runs smoothly without disk errors or degraded RAID status. You can check this in Storage Manager under HDD/SSD and Storage Pool.
To ensure compatibility with larger drives, make sure your Synology NAS is running the latest DiskStation Manager (DSM) software.
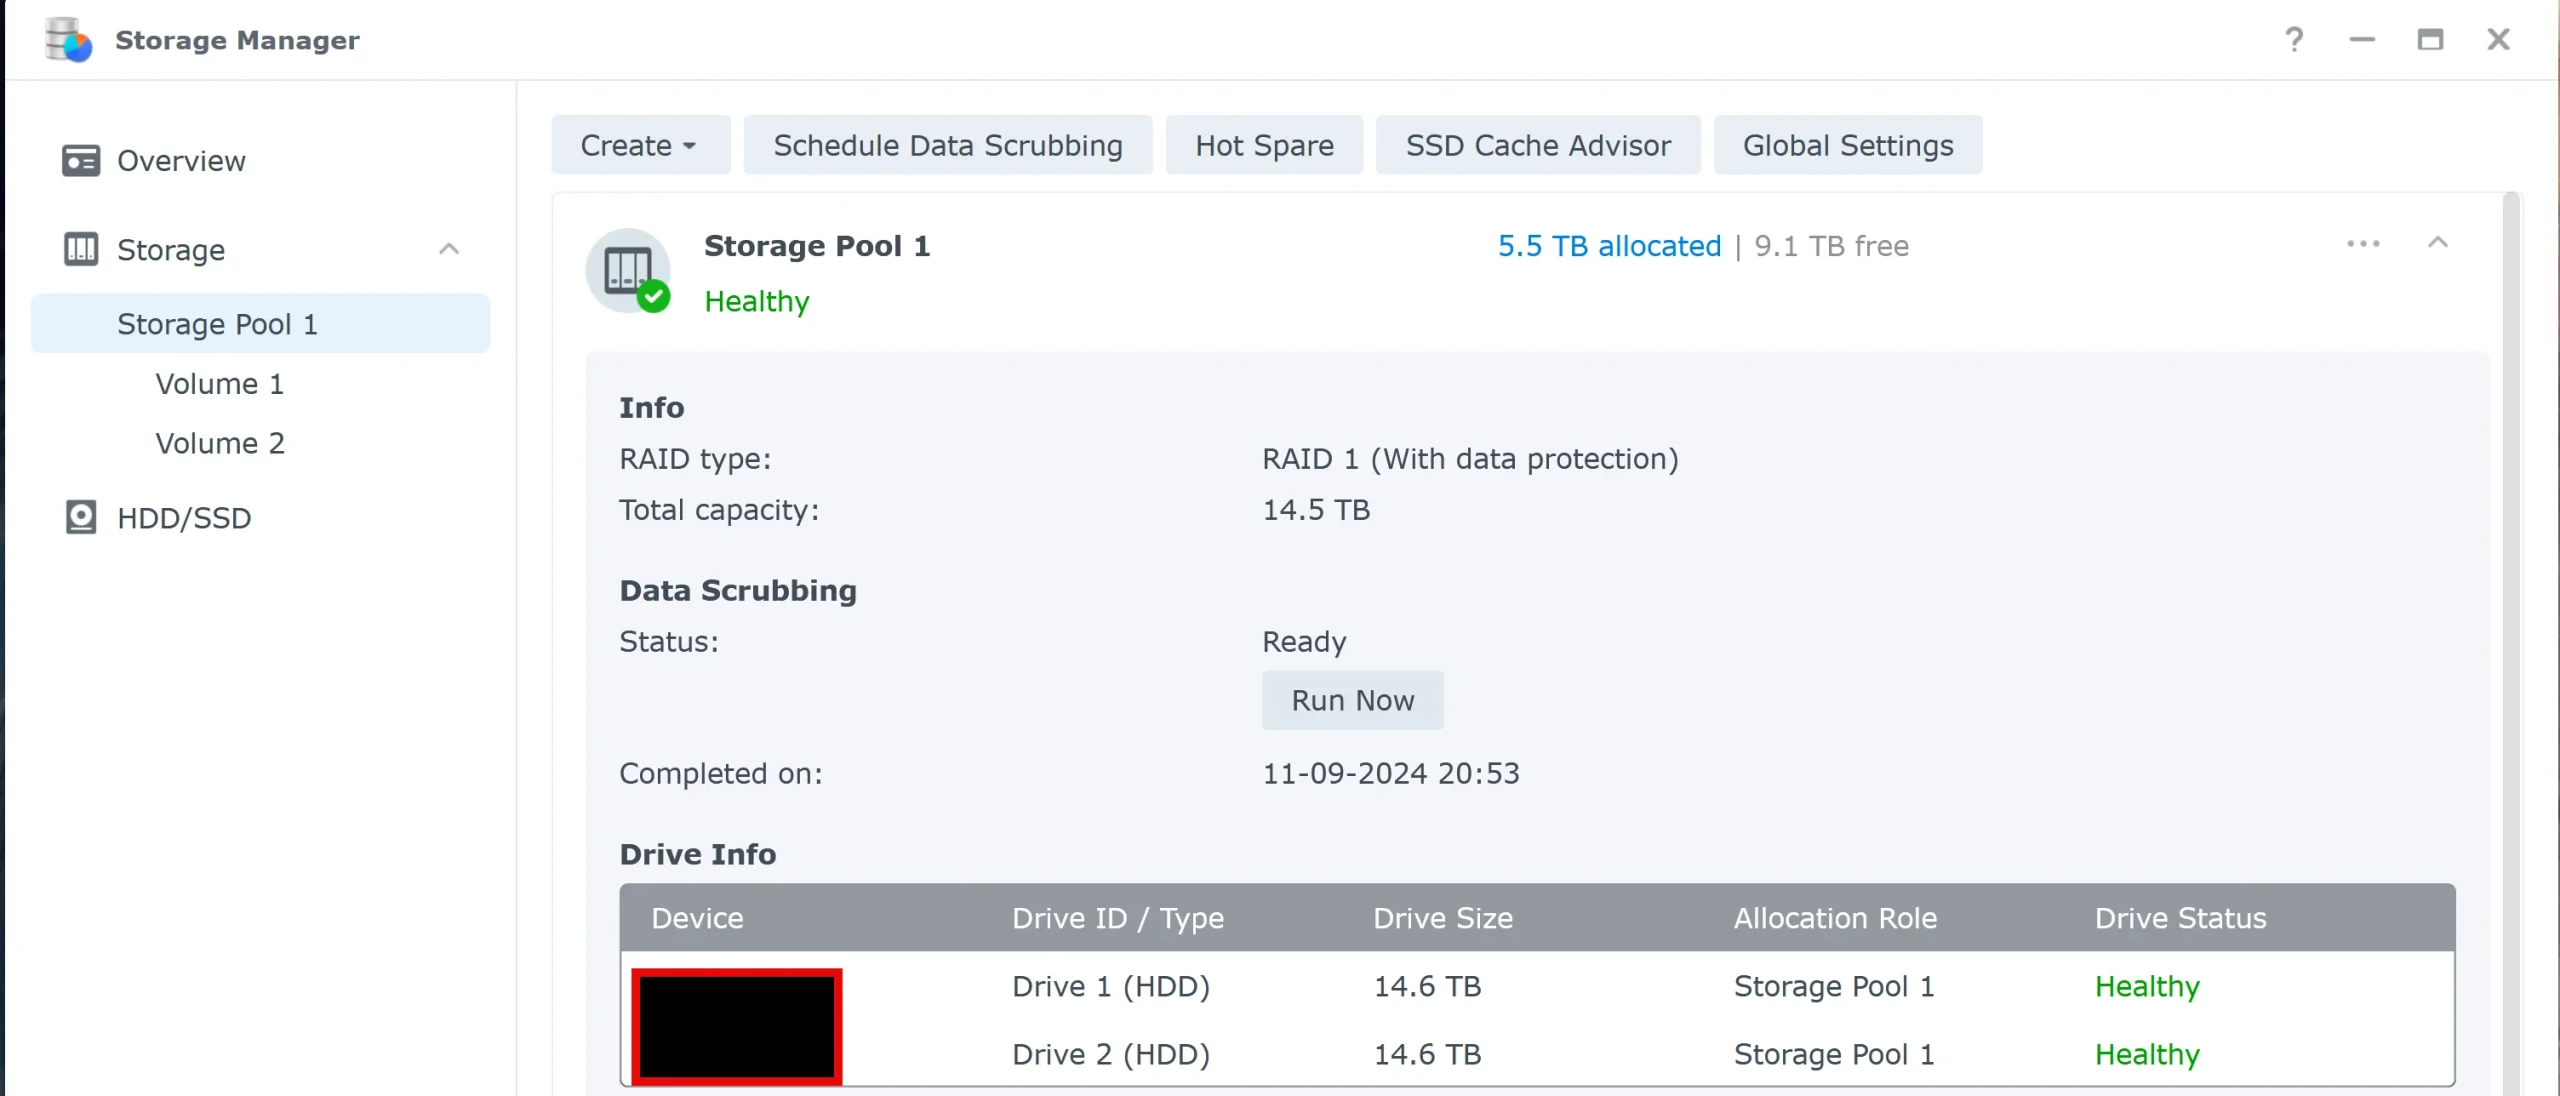
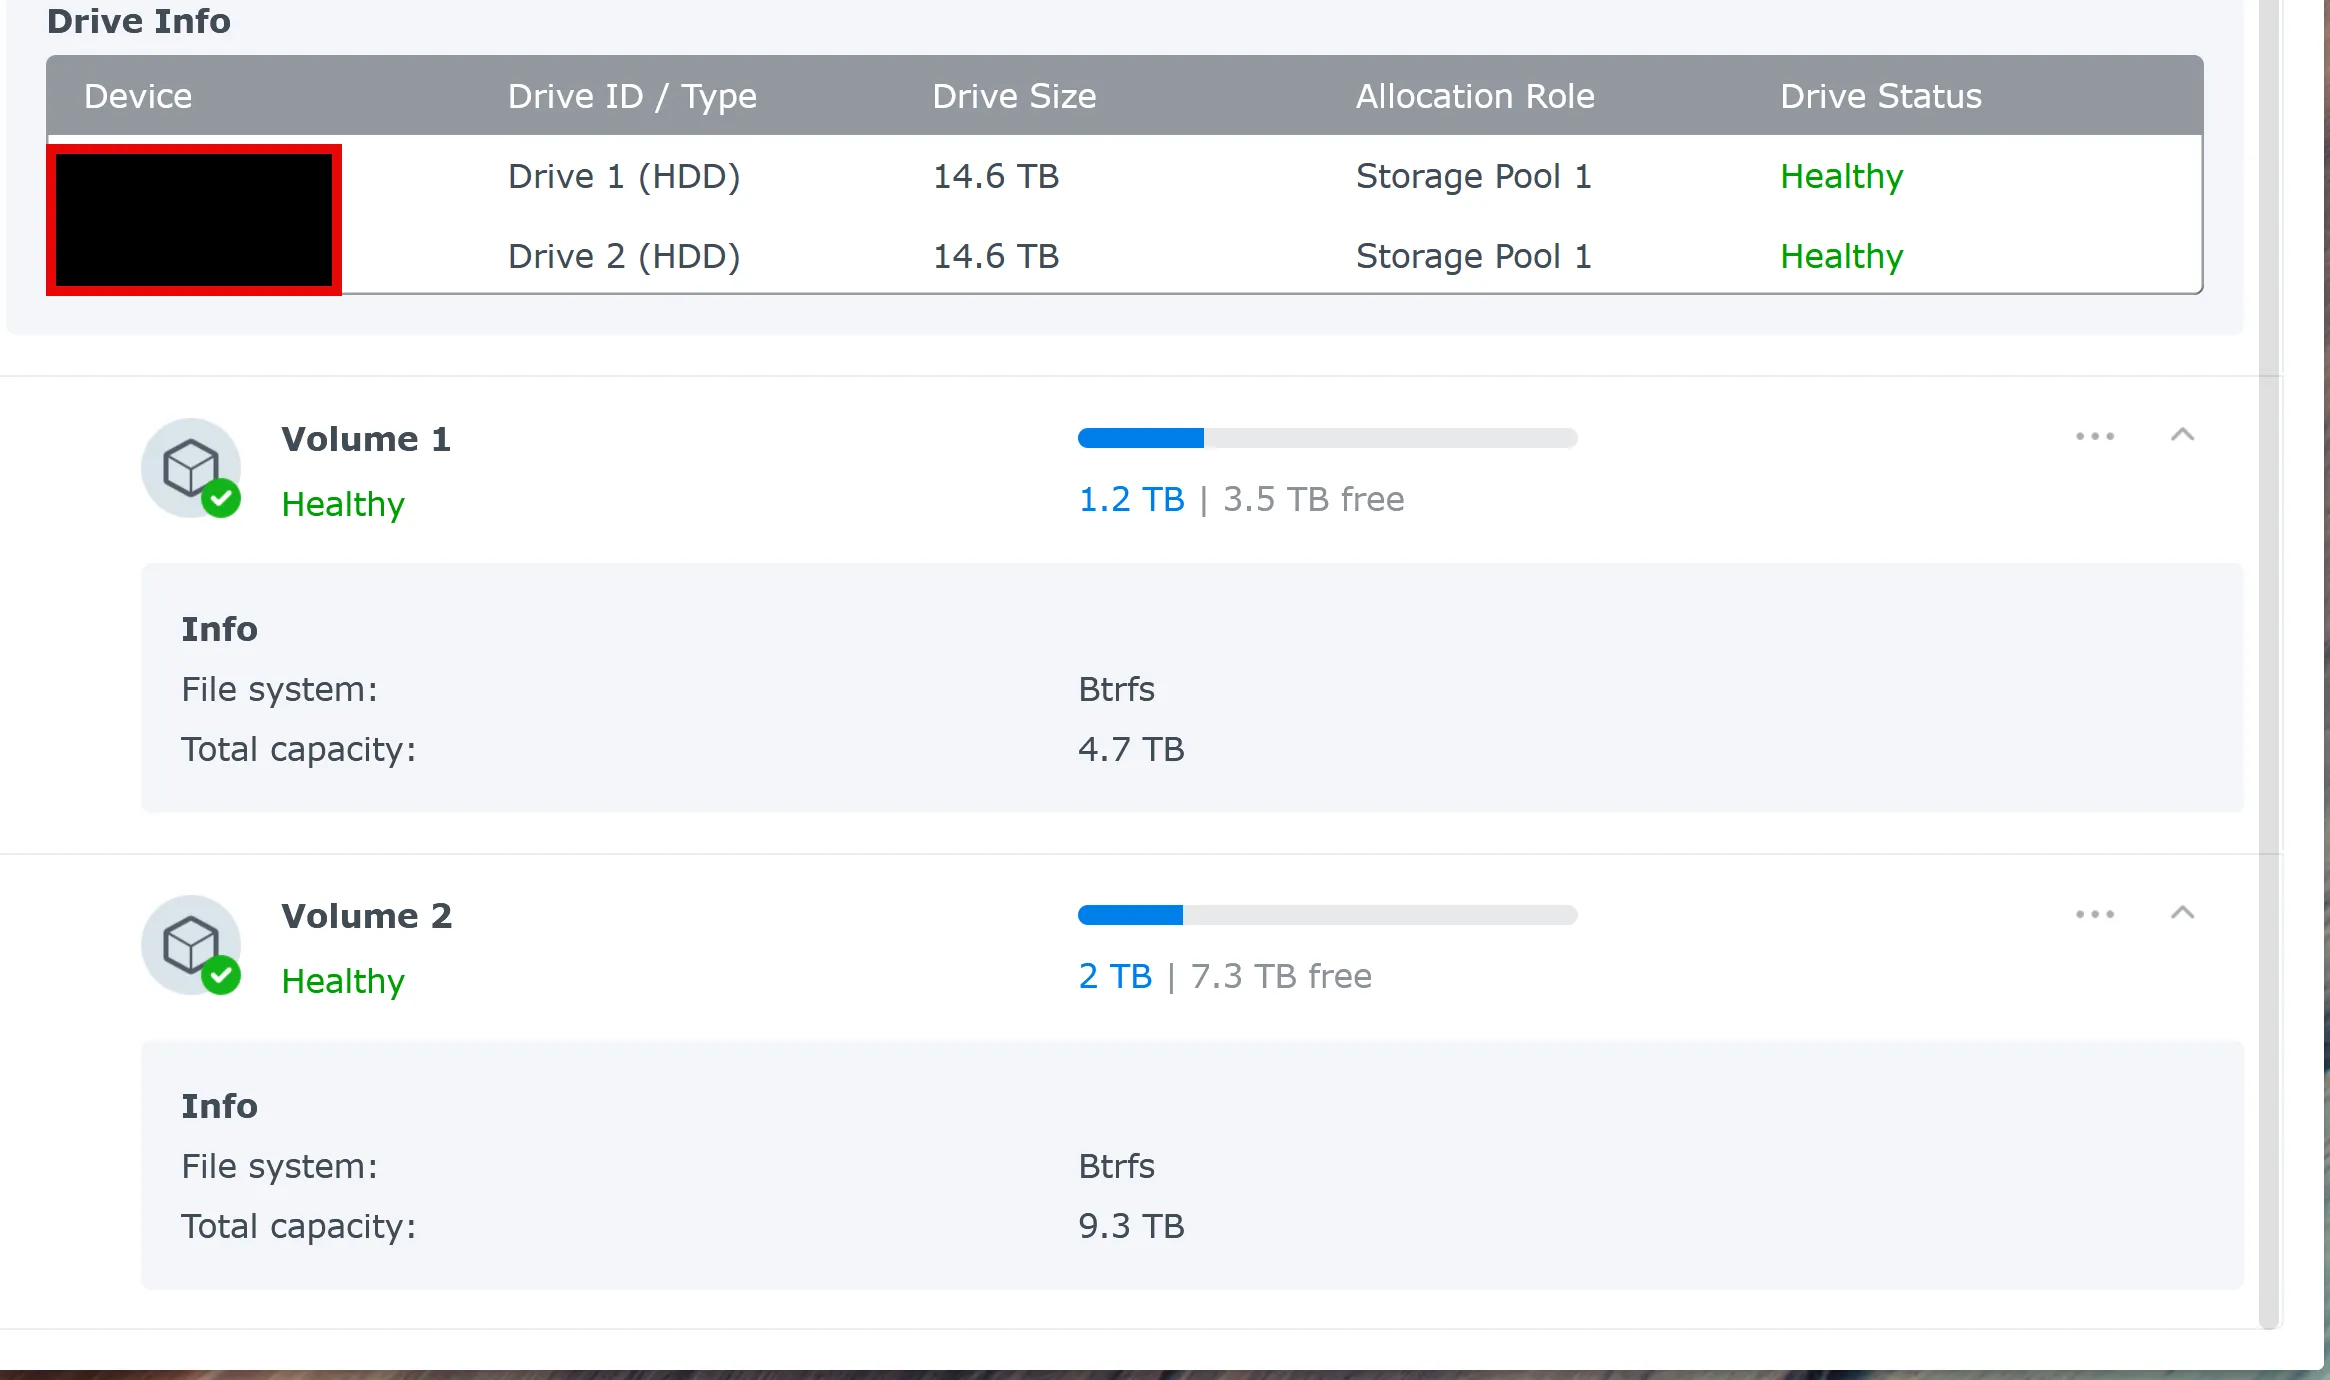
The screenshot above shows that the storage pool is healthy, and the Synology NAS recognizes its new size—5.5TB allocated / 9.1 TB free.
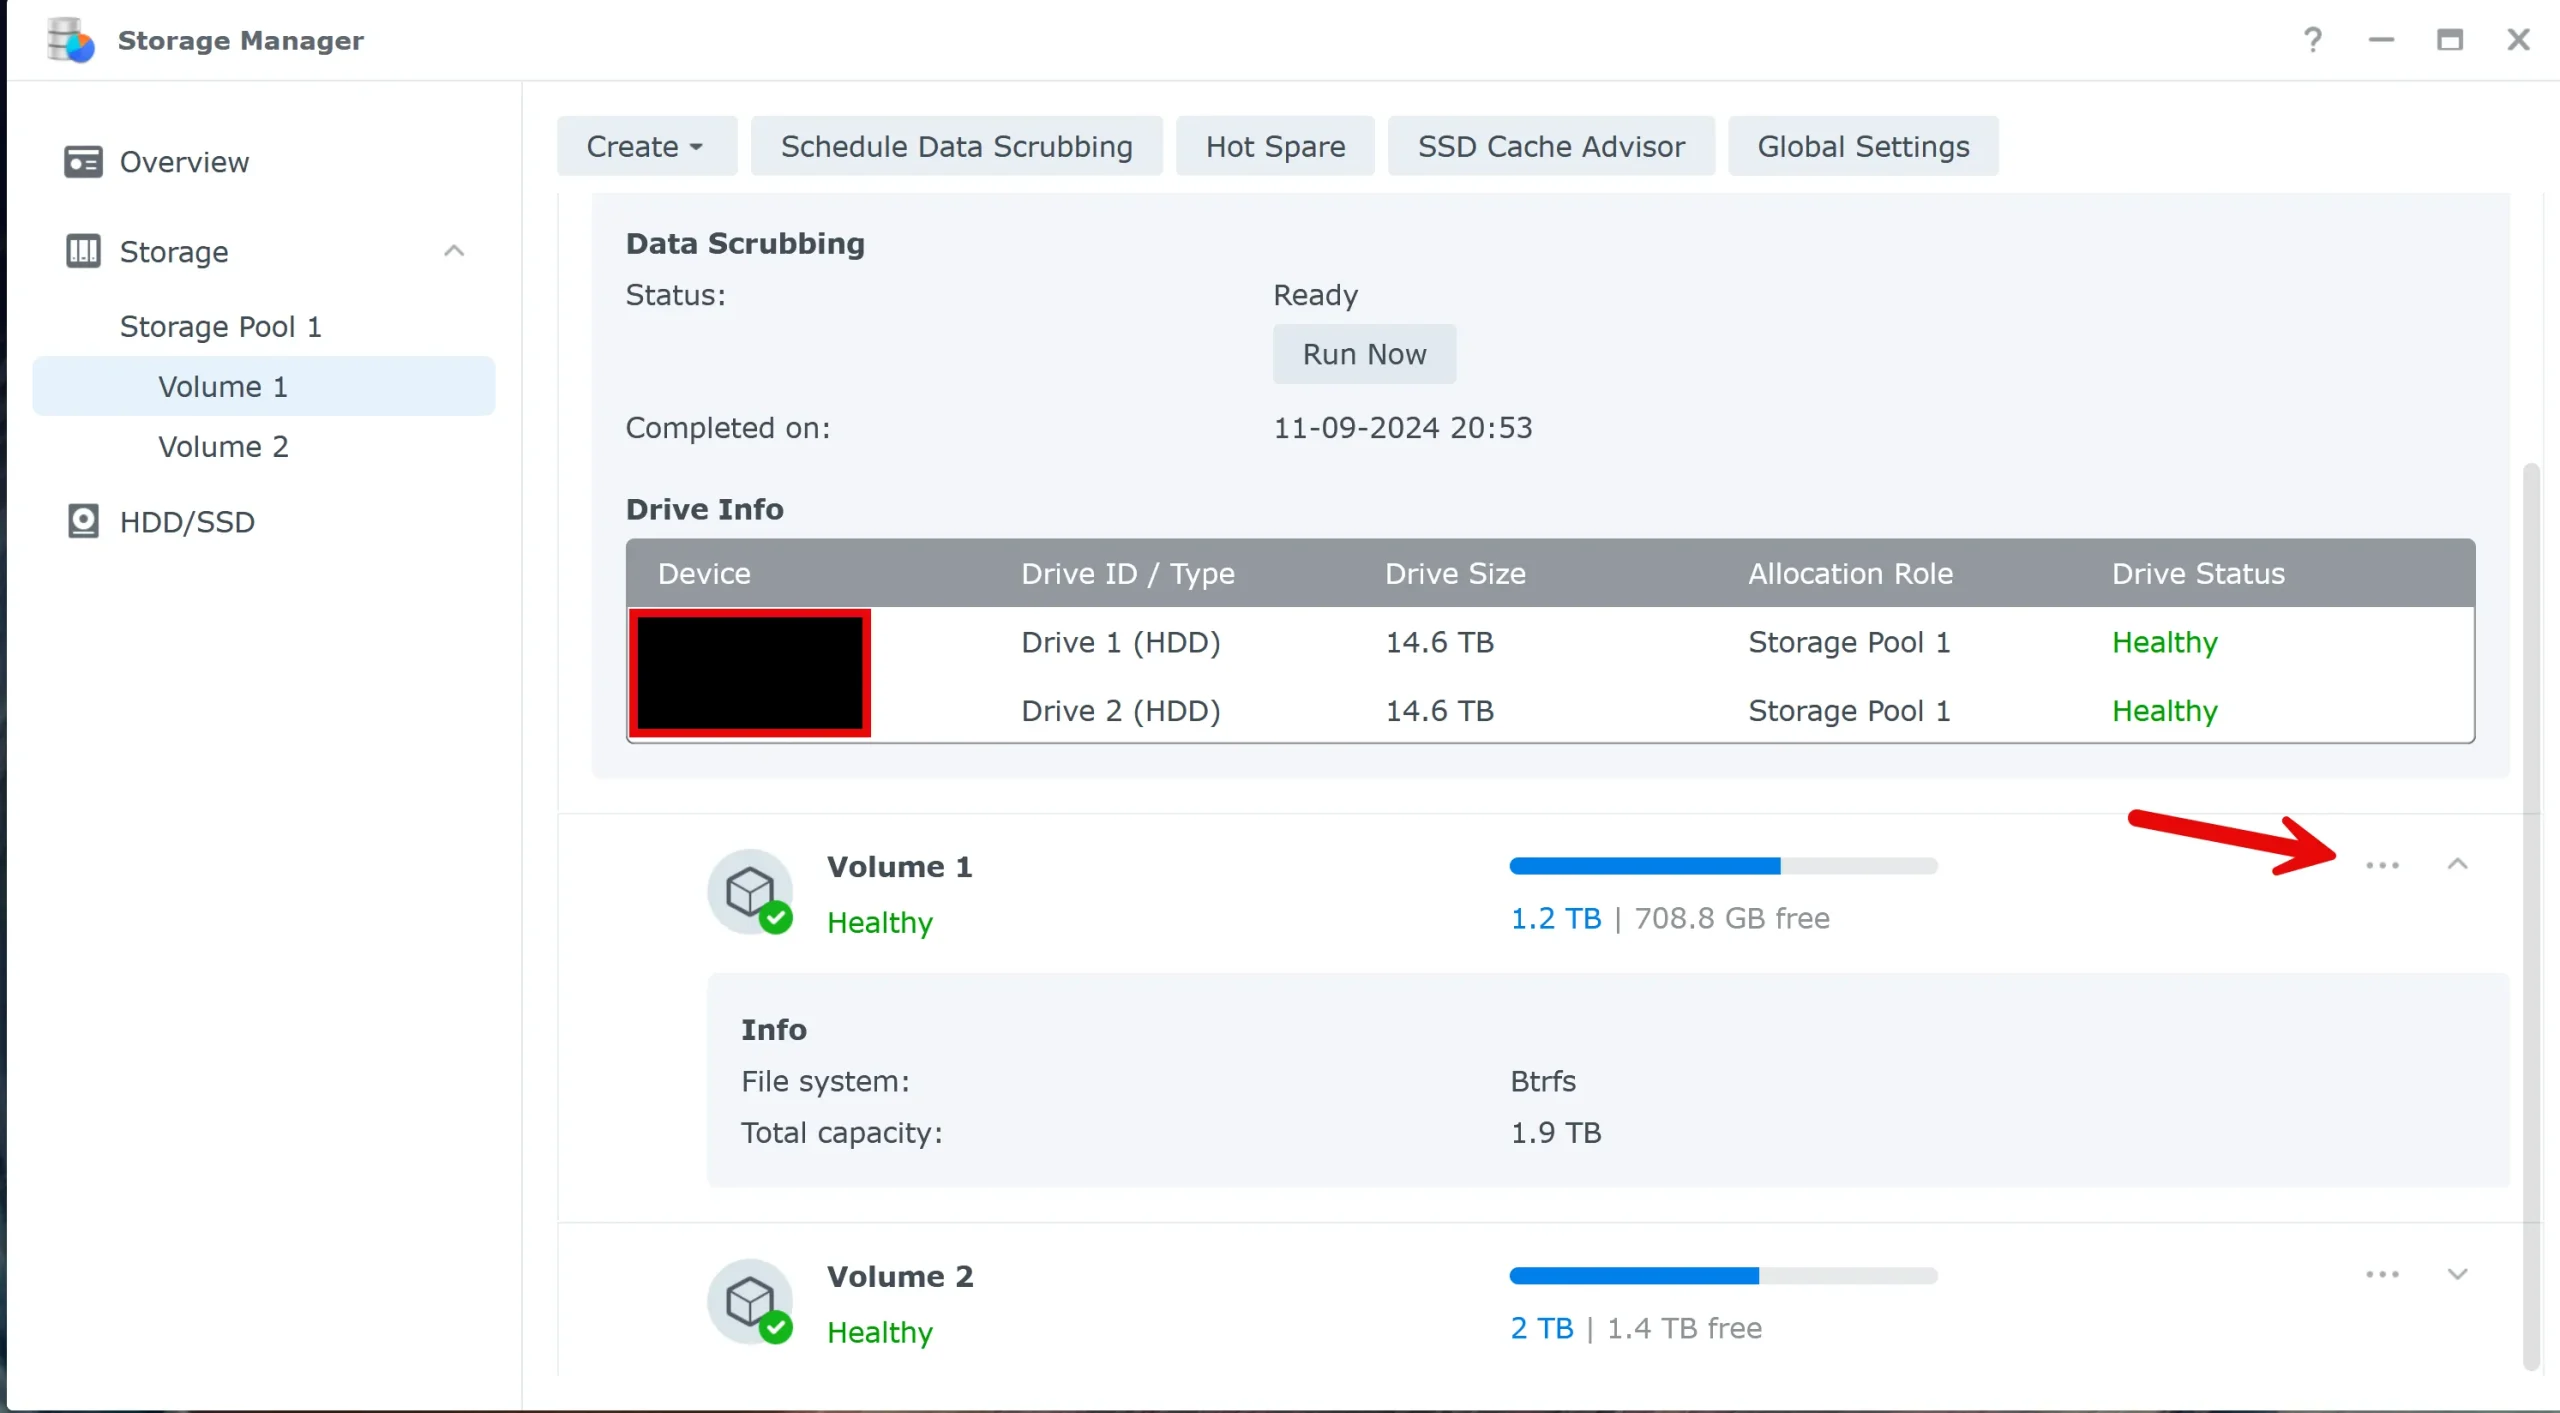
It’s time to expand the volume using the free hard drive space. In my case, I have two volumes.
Expand the Volume
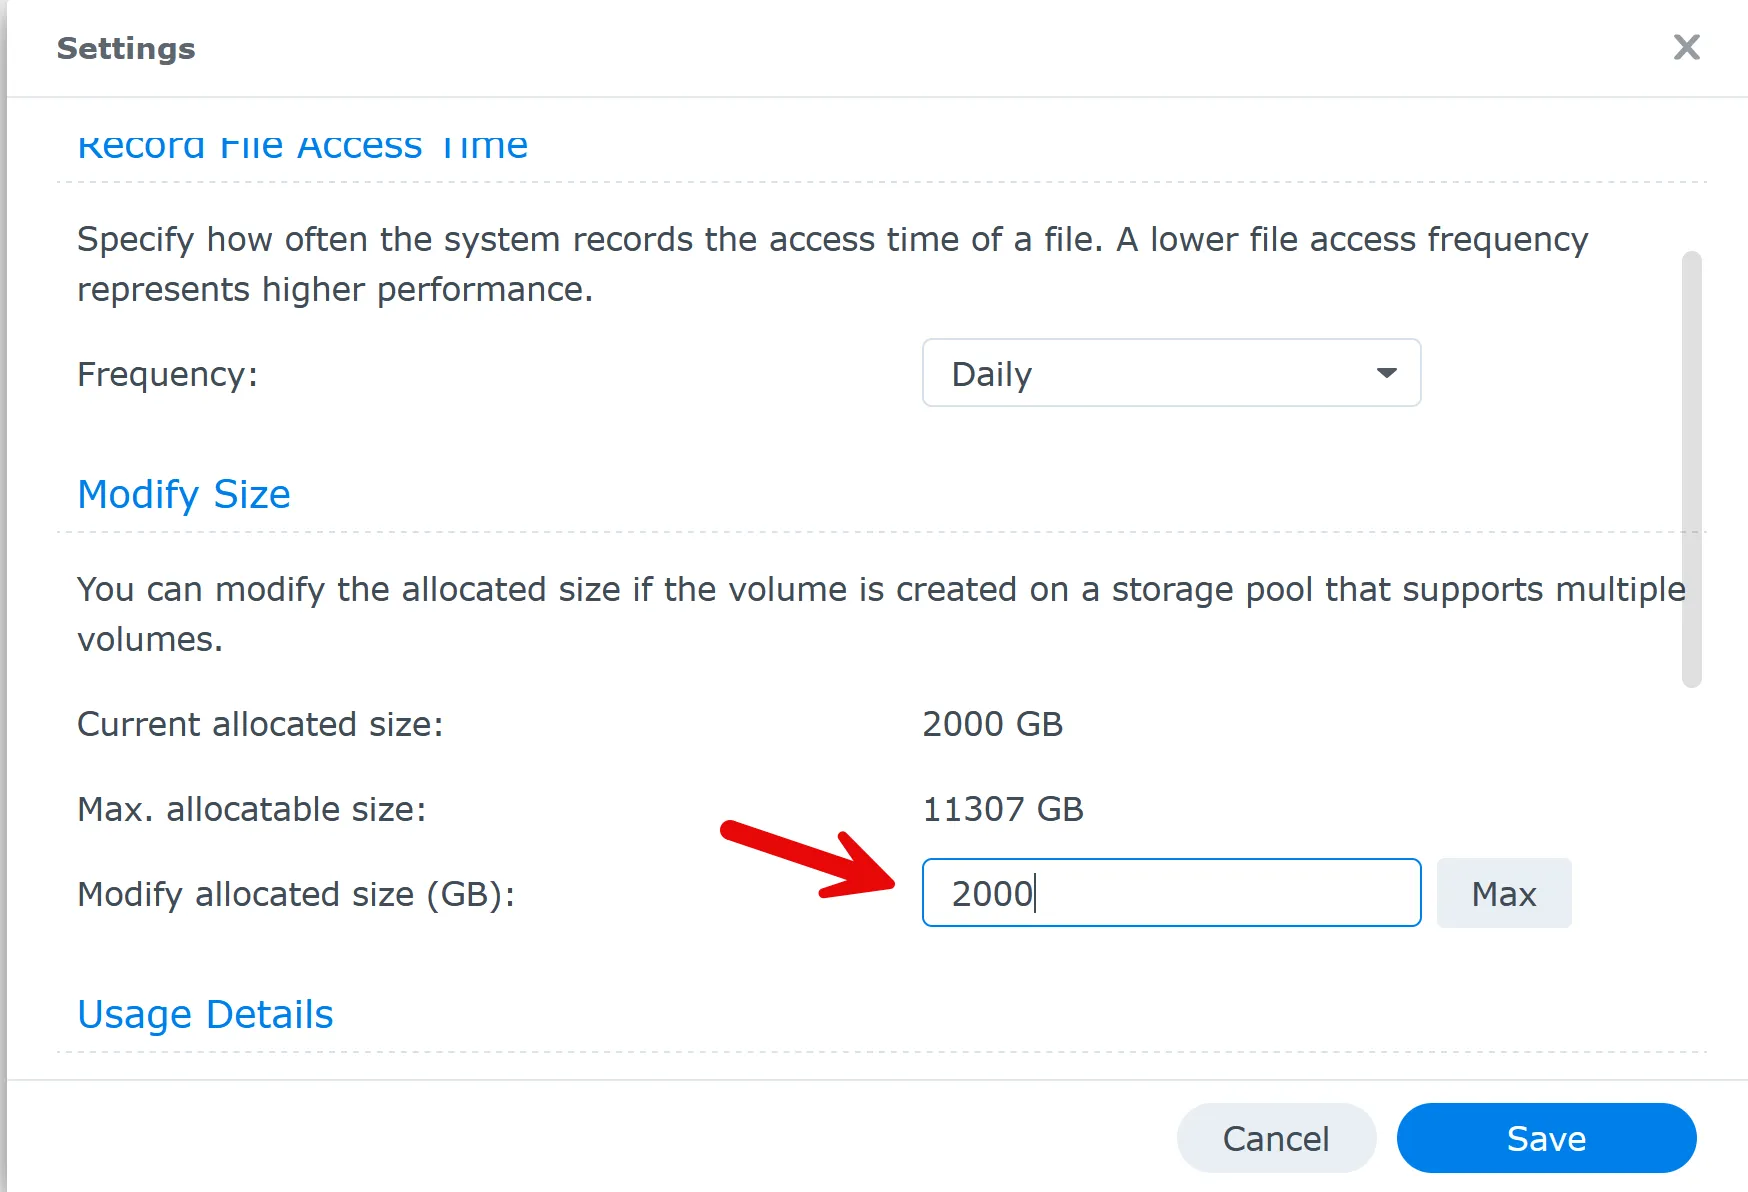
Expanding the volume(s) takes only a few seconds. See the below screenshot
Expanding a volume on your Synology NAS is a simple process that can significantly increase your storage capacity. Following this guide on expanding a volume on Synology NAS allows you to upgrade your system seamlessly without losing any data.
Always keep backups and monitor your system’s health to ensure optimal performance.
My pick
I’d love to hear from you. Was this article helpful? Share your thoughts in the comments below. If you prefer, you can also reach me by email or connect with me on Reddit at Navigatetech.
Before you go, if you’re managing your Synology NAS for storage expansion, you might also want to consider securing your data. Check out this guide on Synology Active Backup for Microsoft 365 to learn how to protect your cloud data using Synology’s powerful backup solutions. This tutorial walks you through the process of setting up backups for Microsoft 365 environments, ensuring your critical information is safe and easily recoverable. It’s a great next step after expanding your NAS volume!
Hi, I’m Edy Werder. I write hands-on guides about Proxmox, homelab servers, NAS, and WordPress, based on real setups I run and document.
No sponsors, no fluff—just real configs and results.
Enjoying the content?