
By Edy Werder — IT Consultant & Tech Blogger

If you’re like me and enjoy diving into the world of technology, you know that setting up a homelab is both rewarding and challenging. A key component to a successful setup is choosing the perfect homelab rack. A proper rack helps organize your servers, storage servers, switches, and other devices efficiently, ensuring good airflow and easy maintenance.
In this guide, I’ll walk you through the different types of homelab racks, including project mini racks and full-size cabinets, and share practical tips on selecting features like screw holes, glass doors, and power cable management. Whether you’re building your first rack or upgrading your existing setup, these insights will help you create a neat, scalable, and reliable home network environment that supports your IT projects and learning goals.
A homelab is a dedicated space in your home where you can experiment with technology, free from the risk of data loss or downtime. Homelabs can vary widely, from simple setups for learning about networking to complex systems for custom hardware development. Regardless of your goals, a well-organized homelab rack is crucial for an efficient setup.
Homelabs can range from a single computer or server to intricate configurations with multiple devices like wireless access points, switches, routers, firewalls, webcams, and IP cameras. The key to a successful homelab is the proper organization, where a homelab rack comes in. A rack cabinet can help organize network devices and servers neatly, providing a structured space for equipment that may not be rack-mountable, highlighting its practicality and affordability.
When setting up your homelab, location is one of the first things to consider. You need a safe and secure place, such as a dedicated room, an apartment corner, or even a closet. Once you have your location, focus on effectively powering and cooling your devices.
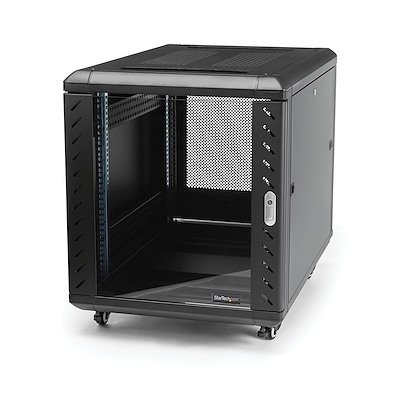
For many enthusiasts, the most popular choice is a server rack. Server racks provide a structured way to organize and access your equipment. You can opt for a pre-assembled server rack, which is ideal for beginners as it saves time and effort, or build your own if you prefer a customized solution. Small network racks are also an excellent option for more compact setups.
You may also find my article on configuring a home network and creating your own DNS nameserver valuable and informative.
When looking for the best rack for your homelab, you’ll want to consider the following factors:
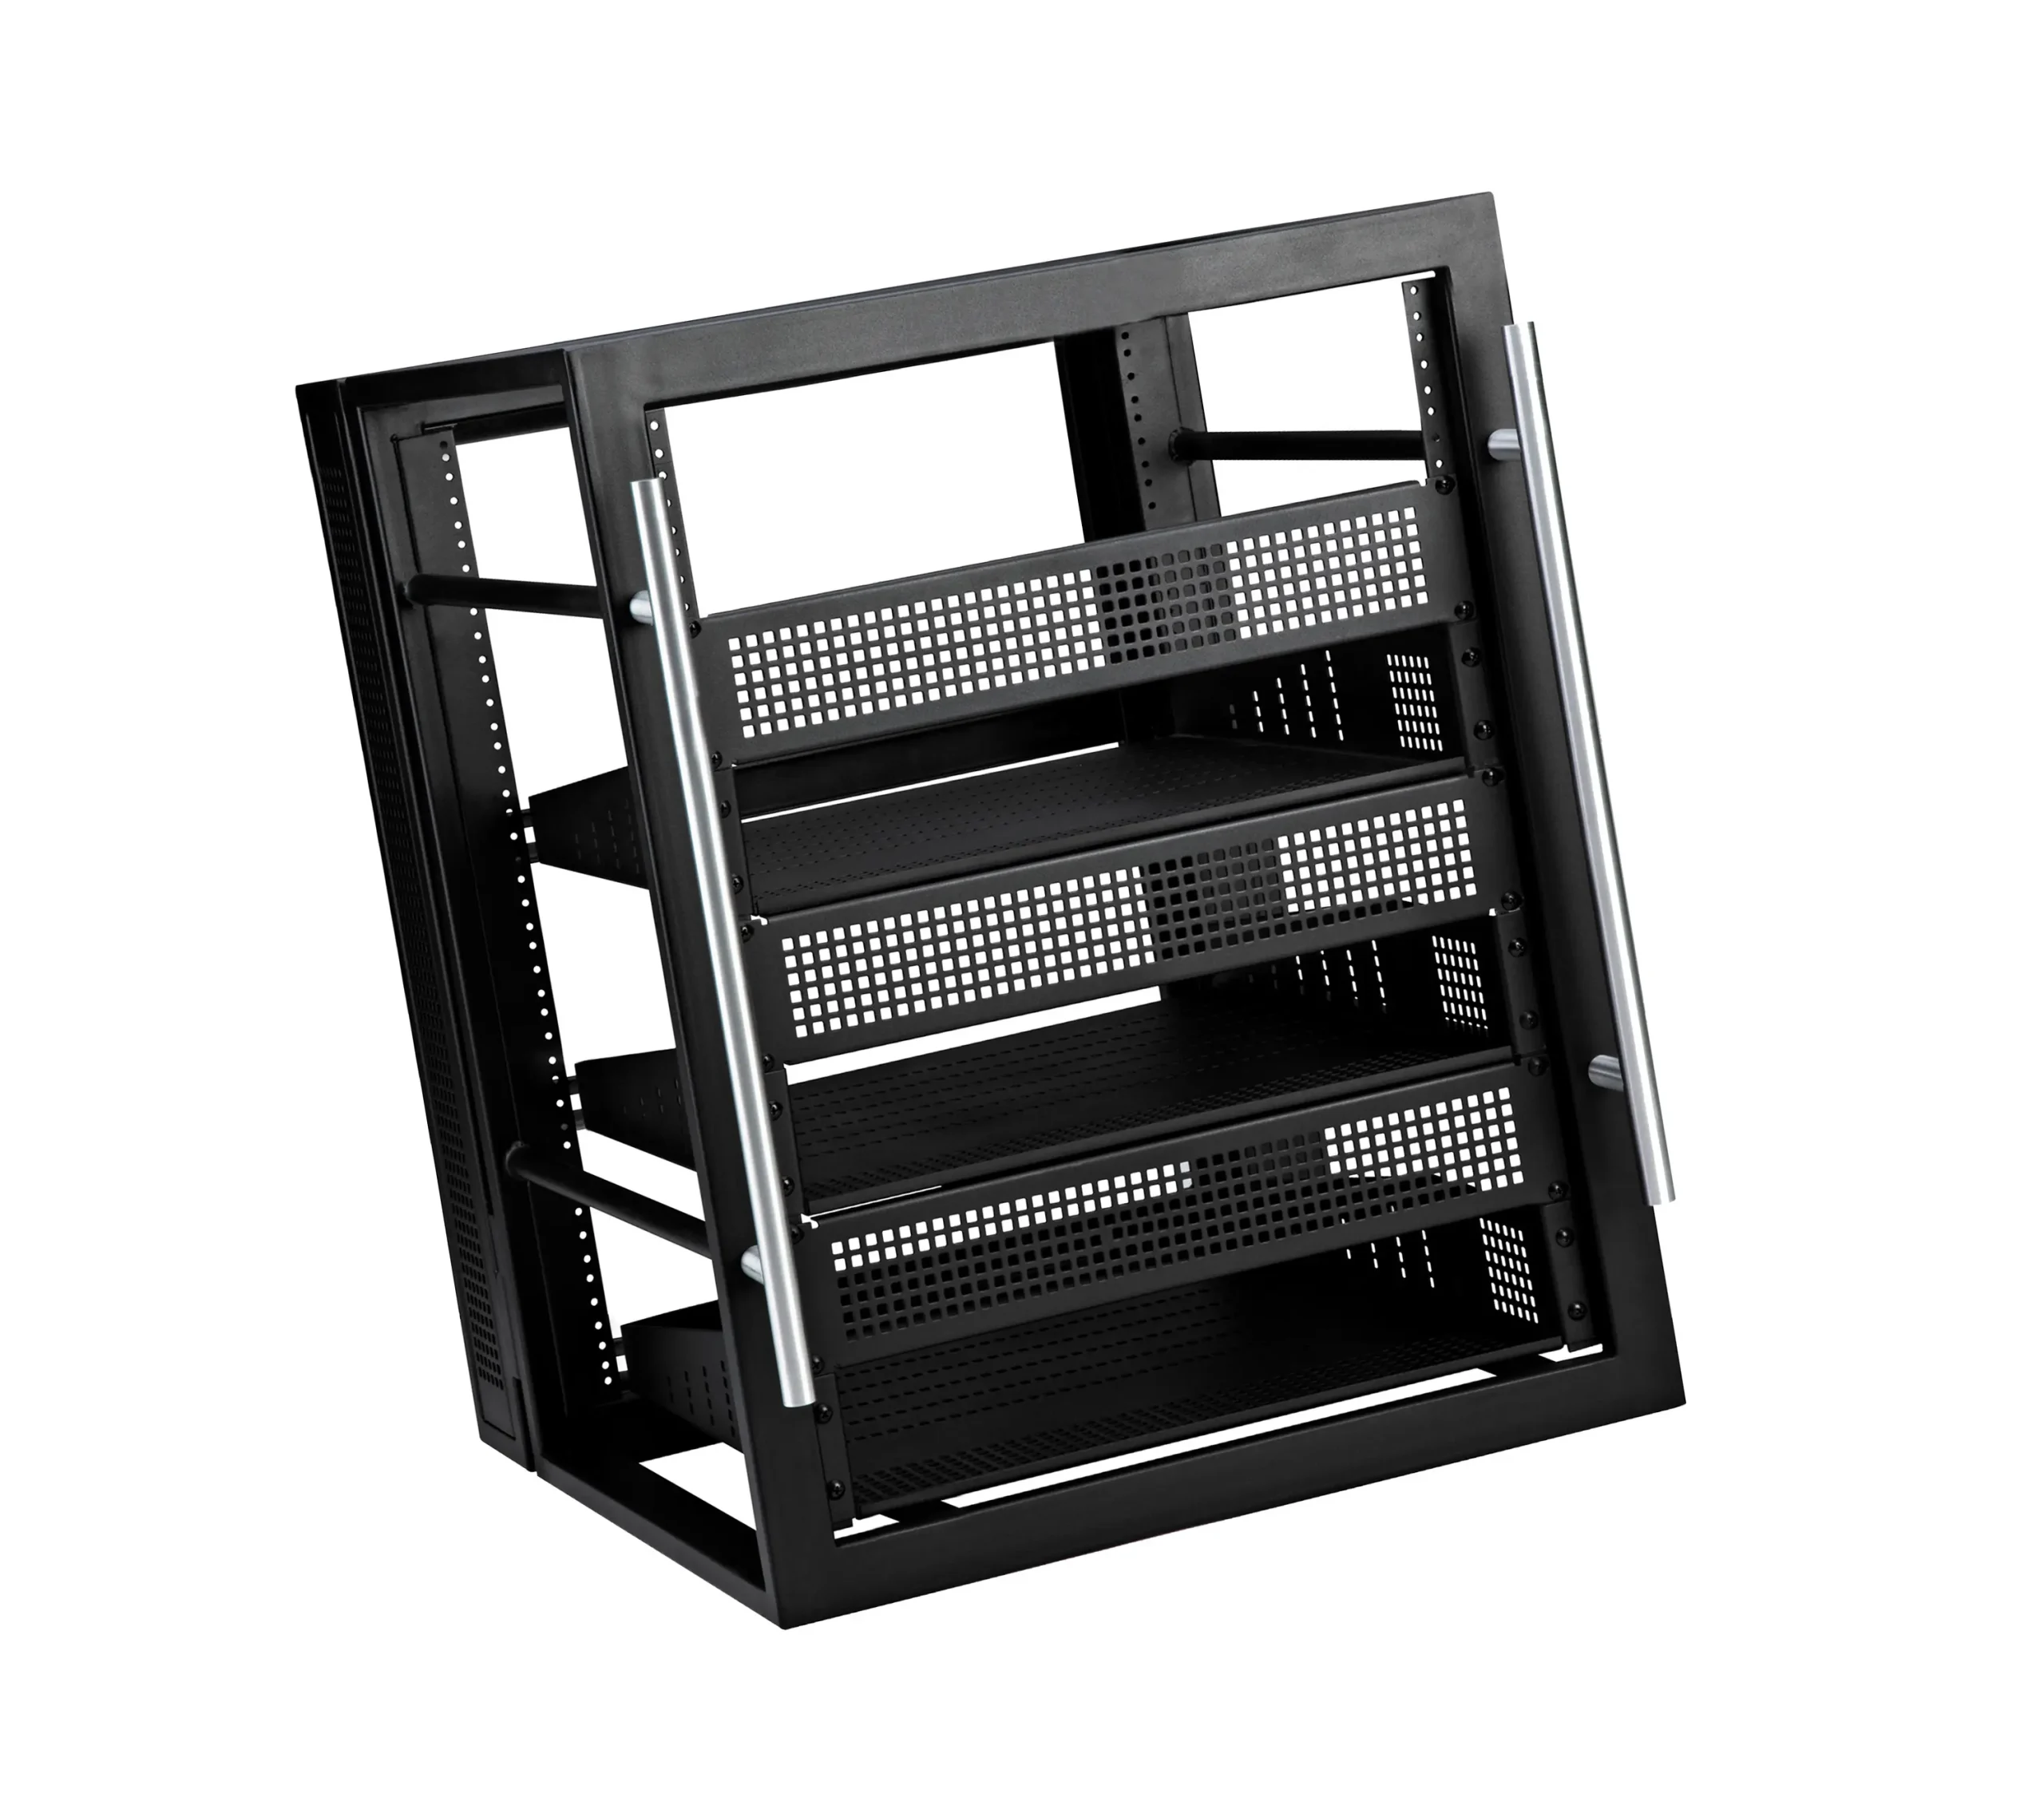
There are two main types of rack servers: cabinets and open-frame, with rackmount servers often being a consideration for more advanced setups. Cabinets are fully enclosed and provide more security for your devices. They also tend to be more expensive than open-frame. Open frames are less expensive and provide better airflow, but they don’t offer as much security for your devices.
When choosing a rack mount option, there are two main types to consider: 2-post and 4-post. The main difference between the two is the number of posts that the rack has, which affects the type of equipment that can be mounted and the overall stability of the rack.
A 2-post rack is a more traditional type of rack with two vertical posts spaced 19 inches apart. It is ideal for mounting smaller equipment such as network switches, routers, and patch panels. 2-post racks are generally less expensive than 4-post racks and are a good option for smaller installations where space and budget are limited.
On the other hand, a 4-post rack has four vertical posts spaced 19 inches apart, providing more excellent stability and support. This type of rack is perfect for mounting larger and heavier equipment like servers, storage arrays, and UPS systems. While 4-post racks are typically more expensive, they offer enhanced flexibility and sturdiness, making them a better choice for more extensive setups.
When deciding between a 2-post and 4-post rack, consider the type of equipment you need to mount and the space constraints of your installation. If your setup involves smaller devices, a 2-post rack may suffice. However, a 4-post rack is the way to go for larger and heavier equipment.
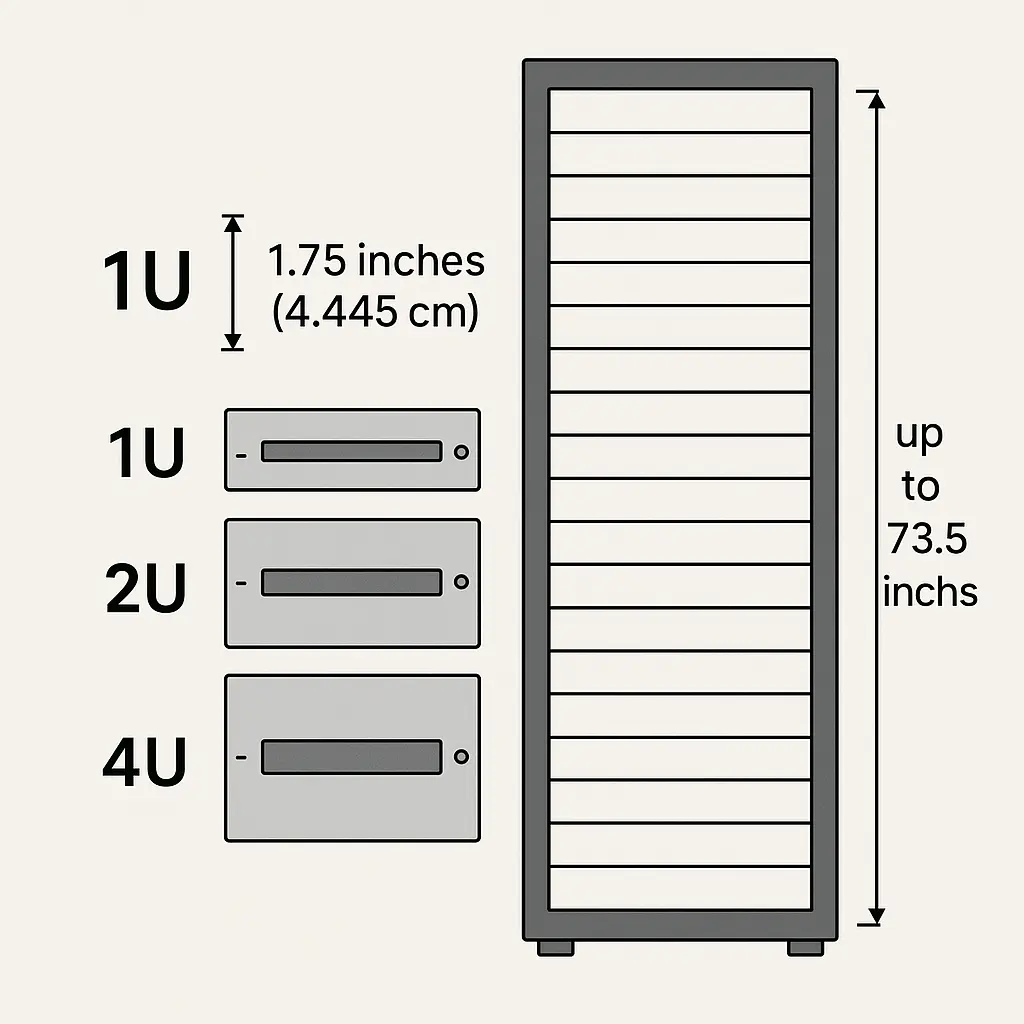
The size of the rack is important. You’ll want to ensure that it will fit in the space you’ve chosen for your lab. The most common sizes are 19-inch and 23-inch. A 19-inch basic one will fit in most places, while a 23-inch one is larger and requires more space. Sizes are also mentioned as U, with U being the height of Rack Units (RU).
The weight is also essential. You’ll want to ensure that it can support the weight of all your devices. The average weight for a 19-inch rack unit is 50kg, while a 23-inch one can weigh up to 80kg.
A Rack Unit (RU or “U”) is the standard height measurement for rack-mounted equipment.
1U = 1.75 inches (4.445 cm).
So, if you see a 42U server rack, it can hold up to 73.5 inches of gear vertically.
This standard helps ensure that servers, switches, and other components all fit as expected.
Knowing the RU size of your equipment makes it easier to pick the right rack and plan your homelab space.
Make sure the rack has all the features you need, such as wheels for easy movement, locking doors to keep your devices safe, and a power strip to power all of your devices.
Depending on your setup, you may also want to focus on quieter hardware — I cover that in detail in this guide on building a quiet home lab server.
When selecting a rack for your homelab, it’s crucial to account for the cost. Prices can vary significantly, with mini racks starting at around $100 and more prominent, advanced models exceeding $1000. Finding a size rack that fits your budget and needs is essential. With so many options available, take the time to research and find a nice rack that meets your requirements without compromising on quality or features!
You don’t want to invest in an active cooling system.
Now that you know what to look for. Let’s look at some hardware you’ll need to get started. The following are just a few ideas:
These are just a few ideas to get you started with your rack mounted hardware. With the right equipment, you can build a robust and expandable home lab that will serve you well for years!
A rack is only the frame for your build. My homelab guide covers the servers, network, and storage that go inside it.
Incorporating the right rack accessories is essential to maximize the efficiency and organization of your homelab. These components enhance functionality and help maintain a tidy and manageable setup. Here are some common rack accessories to consider:

I earn a commission if you make a purchase, at no additional cost to you.
You can create a more organized, efficient, and scalable homelab setup by integrating these accessories.
A patch panel is a vital rack accessory used to organize network cables and streamline connection management. A patch panel is a panel with a series of ports designed to connect network cables. These ports are typically labeled and color-coded, making identifying and managing each connection easier.
The benefits of using a patch panel in your homelab include:
Incorporating a patch panel into your setup enhances organization and improves the overall efficiency and scalability of your homelab.


Building a home lab can be a great way to learn about new technologies and gain hands-on experience. However, it’s essential to choose the proper hardware for your needs. Before purchasing, consider the server cabinet size, weight, features, and price. In addition, you’ll need a quality server, network switch, cables, UPS, and firewall for your home lab.
With the right equipment, you can build a powerful and expandable home lab that will serve you well for years!
I’d love to hear from you. Was this article helpful? Share your thoughts in the comments below. If you prefer, you can also reach me by email or connect with me on Reddit at Navigatetech.
Before you go, if you’re interested in optimizing your home lab setup, you might want to check out Best Server for Home Lab. This guide dives into selecting the most efficient server for your needs, ensuring you get the best performance and value. It complements the insights from your current read, providing a deeper understanding of the hardware options available. Perfect for taking your home lab to the next level!
Hi, I’m Edy Werder. I write hands-on guides about Proxmox, homelab servers, NAS, and WordPress, based on real setups I run and document.
No sponsors, no fluff—just real configs and results.
Enjoying the content?


