
By Edy Werder — IT Consultant & Tech Blogger
Thinking about running Proxmox on a mini PC in 2026 and wondering which model works best for a home lab?
In this guide, I share my hands-on experience choosing and testing mini PCs that run Proxmox smoothly — from energy-efficient builds to compact cluster setups. You’ll learn:
Quick Answer:
The Minisforum MS-01 offers the best overall performance with dual 10GbE ports and PCIe expansion. For budget builds, the Beelink SER8 offers excellent value with an AMD Ryzen 7 processor and 32GB of RAM. All models work well with Proxmox out of the box.
- Who should consider a mini PC for their homelab (and why it’s a smart choice for energy savings and space)
- The essential hardware requirements — what actually works best with Proxmox
- My top picks
- Step-by-step tips for setting up and configuring your mini PC, plus advice for building a cluster
- Key compatibility details for Proxmox versus VMware ESXi
Whether you’re starting your first homelab or expanding into high-availability clusters, this article will help you choose the ideal mini PC, avoid common pitfalls, and get your lab running smoothly.
Why Choose a Mini PC for Proxmox?
Mini PCs are perfect for home labs:
- Energy Efficient: Most mini PCs have low idle power consumption, often under 10W, making them ideal for 24/7 operation. They can be more power-efficient than desktop or laptop CPUs.
- Compact Form Factor: They fit anywhere—on your desk, in a cabinet, or even mounted behind a monitor.
- Low Noise: Many models are fanless or use ultra-quiet cooling.
- Cost-Effective: You can get started with virtualization on a budget.
Mini PCs are a popular choice for running home server applications due to their low energy consumption. Whether you’re testing virtual machines, running home automation, or building a high-availability cluster, a mini PC is a smart starting point.
If you’re weighing a mini PC against a full tower or rack server, my guide on the best server for home lab covers the bigger hardware options side by side.
I measured real power consumption across several homelab devices in my low power home server comparison, including the Minisforum MS-01.
What is Proxmox?
Proxmox VE (Virtual Environment) is an open-source platform for running multiple virtual machines and Linux containers on a single physical computer. It includes a powerful web interface and supports enterprise features such as clustering, high availability, and backup scheduling—all at no additional cost.
It’s an excellent choice if you’re new to virtualization or building a homelab. And because it’s open-source and hardware-flexible, you can run it on everything from repurposed desktops to ultra-compact mini PCs.
Want to learn more about virtualization platforms? Check out my in-depth comparison: Best Hypervisor for Home Lab—where I compare Proxmox server with VMware ESXi and others.
Hardware Requirements for Running Proxmox on a Mini PC
Before picking a model, make sure the mini PC supports the following:
- CPU: ensures support for virtualization extensions, such as Intel VT-x or AMD-V, for running VMs efficiently.
- RAM: 8GB minimum for light workloads, 16-64GB for heavier virtualization.
- SSD Storage: NVMe drives are preferred for speed; SATA SSDs are a good secondary option.
- Network Interface: The Intel network chipset is the most compatible choice for virtualization. One of Proxmox’s key advantages is its broad hardware support—it even works well with Realtek chipsets out of the box, unlike VMware ESXi which often requires extra drivers.
- USB Type-C Port (optional): Some mini PCs offer USB-C ports with DisplayPort or Thunderbolt 4 support, which is useful for connecting modern displays or fast external storage devices.
- Connectivity: Most mini PCs include Wifi, but it’s best to disable it or use wired Ethernet. Proxmox doesn’t support Wifi out of the box and expects a stable, wired network interface.
- Out-of-band management: Some nice KVM dongles are available to connect directly to the console.
Building a home lab using mini PCs requires careful consideration of both storage and memory capacity. Some models allow dual M.2 drives or room for a 2.5″ SATA drive, making them flexible for running multiple VMs or containers.
Also, check if the BIOS allows enabling virtualization extensions. Some OEMs disable them by default.
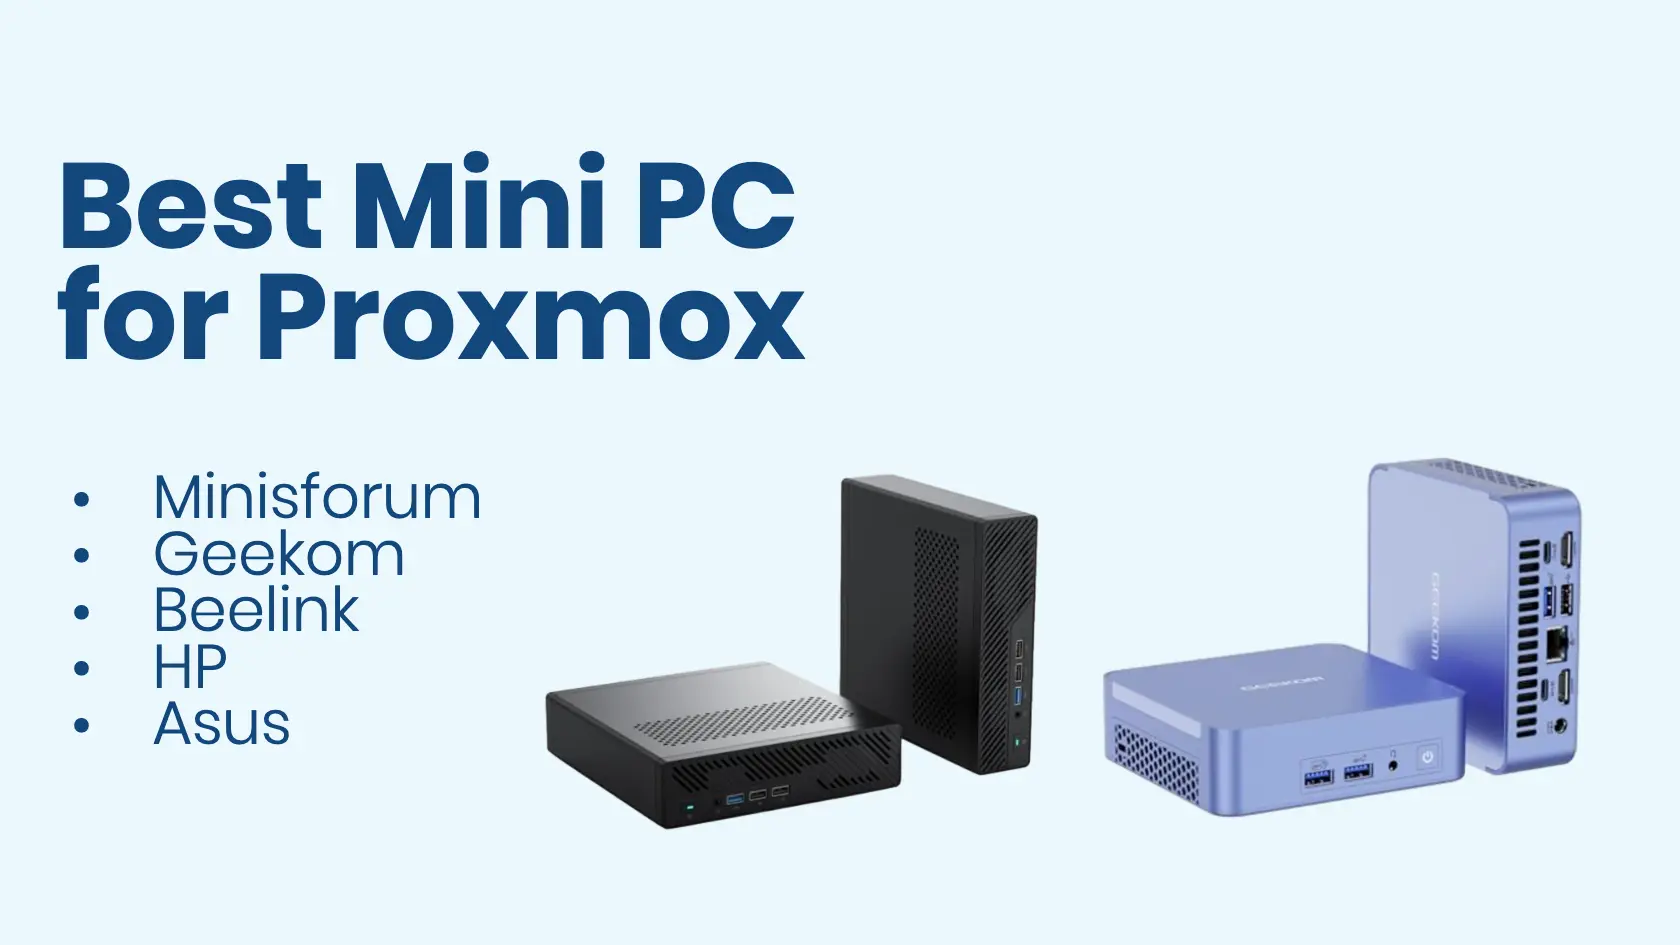
Top Picks: Best Mini PCs for Proxmox in 2026
Here are my personal recommendations after testing and researching mini PCs for virtualization:
🖥️ Proxmox Mini PC Specs at a Glance
Compare specs, features, and prices to find your ideal homelab mini PC
| Model | CPU | Max RAM | Network | Storage | Special Features | Price Range |
|---|---|---|---|---|---|---|
| Minisforum MS-01 BEST OVERALL | Intel Core i9-13900H | 64GB DDR5 | 2x 10GbE SFP+ 2x 2.5GbE |
3x M.2 slots | PCIe slot for GPU/NIC Enterprise networking |
~$624 |
| GEEKOM AX8 Pro | AMD Ryzen 7 8745HS | 32GB DDR5 | 2.5GbE | PCIe 4.0 NVMe | Silent operation Compact aluminum design |
~$700 |
| Beelink SER8 BEST BUDGET | AMD Ryzen 7 8845HS | 32GB DDR5 | Realtek NIC (Proxmox compatible) |
1TB NVMe PCIe 4.0 | Great value Out-of-box Proxmox support |
~$719 |
| HP Pro Mini 400 G9 | Intel i5-12500T | 32GB DDR4 | Intel NIC | 1TB PCIe SSD | Business-grade reliability Quiet thermal design 2x USB-C |
~$839 |
| ASUS NUC 14 Pro | Intel Core Ultra 7 155H | 96GB DDR5 | Intel NIC | Triple storage support 1TB Gen 4 NVMe |
Thunderbolt 4 VESA mount NPU support |
~$650 |
• Best Overall: Minisforum MS-01 for 10GbE networking and PCIe expansion
• Best Budget: Beelink SER8 for excellent value with modern specs
• Best for Clusters: Models with dual NICs (MS-01, HP Pro Mini)
• Best Compatibility: Intel NIC models work with both Proxmox and ESXi
• All models support virtualization extensions (VT-x/AMD-V) required for Proxmox
Minisforum MS-01 – Best Overall for Virtualization
- Intel Core i9-13900H, 64GB RAM support
- Dual 10GbE SFP+ ports and 2x 2.5GbE
- PCIe slot for GPU or additional NIC
- Three M.2 slots for flexible storage
- Works flawlessly with Proxmox and ESXi
The Minisforum MS-01 is a premium option in the homelab community for its performance and networking options.
I wrote a full Minisforum MS-01 review
GEEKOM AX8 Pro Mini PC
- AMD Ryzen R7-8745HS
- 32GB DDR5
- PCIe 4.0 NVMe SSD
- Compact Aluminum Design
- Very energy-efficient and silent

Beelink SER8 – Best Budget Mini PC for Proxmox
- AMD Ryzen 7 8845HS
- 32GB DDR5, 1TB NVMe
- PCIe 4.0 support for SSD
- Realtek NIC, but compatible with Proxmox out of the box

HP Pro Mini 400 G9 – Business-Grade Option
- Intel i5-12500T, 16GB RAM
- Dual DisplayPort and HDMI, plus USB-C
- Good thermal design and quiet operation

ASUS NUC 14 Pro – Future-Proof Performance
- Intel Core Ultra 7 155H
- 32GB DDR5 RAM, 1TB Gen 4 NVMe
- Thunderbolt 4 and VESA mount included

Realtek NICs and Proxmox – What You Should Know
Proxmox supports most Realtek NICs out of the box. That’s a major advantage over VMware ESXi, which often requires patched drivers or USB NICs for Realtek-based systems.
If you plan to experiment with ESXi later, choose a mini PC with Intel i225 or i226-V NICs for maximum compatibility. Otherwise, Proxmox gives you the flexibility to use what’s available.
Using dual NICs can improve network performance in a Proxmox setup, especially if you’re planning to isolate traffic (e.g., storage, VM LAN, or WAN passthrough).
Installing Proxmox on a Mini PC: Step-by-Step
Before jumping in, make sure to review the following setup points:
- Download the ISO from Proxmox’s official site.
- Create a bootable USB stick using tools like Balena Etcher or Rufus.
- It’s also a good idea to check if a BIOS version is available.
- Enter BIOS:
- Enable VT-x and VT-d for virtualization support.
- Enable Secure Boot – Proxmox supports it and it helps verify the integrity of your boot process by allowing only signed bootloaders and kernels.
- Enable UEFI Boot Mode, which ensures better hardware compatibility and is required for future-ready configurations.
- Enable TPM (Trusted Platform Module) if available. TPM supports secure encryption and attestation features that can be leveraged in advanced Proxmox setups.
- Boot from USB and follow the guided installation.
- Configure storage using either ZFS (for redundancy) or LVM (for simplicity).
- Assign static IP and create a non-root user.
Note:
Proxmox also supports Secure Boot and TPM inside guest systems such as Windows 11 and modern Linux distributions. If you’re planning to run such VMs, enabling these features in the BIOS ensures compatibility and unlocks full guest OS functionality.
Read my how-to article about installing Proxmox server
Can You Build a Cluster with Mini PCs?
Absolutely! I run a three-node Proxmox cluster at home using mini PCs. It lets me:
- Migrate VMs live
- Test HA setups
- Use Ceph or NFS shared storage
Just make sure the nodes have matching specs and enough RAM for your needs. Dual-NIC models or SFP+ ports make cluster networking easier.
Why You Should Use 3 or More Mini PCs to Build a Proxmox Cluster
Proxmox really shines when used in a cluster. While a single-node setup works great for testing or light workloads, a true cluster of three or more nodes gives you:
- High Availability (HA): Automatically restart failed VMs on another node
- Live Migration: Move VMs between nodes with no downtime
- Distributed Storage: Use Ceph to create a self-healing, redundant storage pool
- Scalability: Easily add more nodes as your needs grow
Mini PCs make clustering more affordable and energy-efficient. You can run a full Proxmox cluster from your home office or lab with three compact devices and a dedicated switch or VLAN setup. If you’re serious about learning advanced virtualization or simulating enterprise scenarios, starting with a three-node cluster is the way to go.
FAQ: Best Mini PC for Proxmox
Can I run Proxmox on a mini PC with only 8GB RAM?
Yes, but it’s suitable mainly for light workloads or LXC containers. For running several VMs or heavier services, 16 GB RAM or more is recommended.
Does Proxmox support Realtek network adapters?
Yes, Proxmox supports most Realtek NICs out of the box — unlike VMware ESXi, which often needs extra drivers. However, for best reliability, Intel NICs are still preferred.
Is Proxmox free to use?
Yes, Proxmox VE is open-source and completely free. You can optionally purchase a subscription for enterprise repository access and support, but it’s not required.
Can I use Proxmox on a mini PC without ECC memory?
Yes, you can — ECC RAM isn’t mandatory. It just adds extra data protection. For homelab or light virtualization, non-ECC memory is fine.
What kind of network speed can Proxmox mini PCs handle?
Proxmox supports 1 GbE, 2.5 GbE, and 10 GbE NICs if your mini PC hardware provides them. For small homelabs, 2.5 GbE offers the best balance of cost and performance.
Which Mini PC for Proxmox Should You Choose?
If you’re serious about virtualization, the Minisforum MS-01 is hard to beat. It offers performance, expandability, and enterprise-grade networking in a mini-form-factor.
For a more affordable start, go with the Beelink SER8 or GEEKOM AX8 Pro. They offer enough power for several VMs and make great entry-level Proxmox nodes.
If you’re planning to use ESXi, make sure to check NIC compatibility. Proxmox is much more forgiving in this area.
Have questions or want to share your setup? Drop a comment or find me on Reddit at r/Navigatetech.
About the author
Hi, I’m Edy Werder. I write hands-on guides about Proxmox, homelab servers, NAS, and WordPress, based on real setups I run and document.
No sponsors, no fluff—just real configs and results.
Enjoying the content?
