
By Edy Werder — IT Consultant & Tech Blogger
Editor’s Note: This article was updated on May 1, 2025, to include improved details for the firewall section.
/
Hey there, tech enthusiasts! Have you ever dreamt of building your personal lab network right in the comfort of your own home? Well, you’re in luck! In this comprehensive guide, we’ll dive deep into the world of homelab networks, exploring why they are valuable for IT professionals and providing practical steps to help you get started.
So, grab your favorite hot beverage, sit back, and get ready to unleash your IT skills!
What is a Homelab Network?
Picture this: a mini-network environment that you create within the walls of your own home. That’s a homelab network! It’s like having a playground where you can experiment, learn, and develop your IT skills. Whether you’re an aspiring IT professional or a seasoned veteran looking to expand your knowledge, a homelab network is a perfect platform to explore and innovate.
A Homelab Network is your personal playground for technology. Think of it as a small data center you’ve set up right in your home, where you can tinker with software and hardware without fear of breaking anything vital. Picture an old laptop transformed into a server, a Raspberry Pi managing your home automation, or even a homegrown cybersecurity setup, all powered by your curiosity. It’s about learning, experimenting, and having fun with technology, converting failure into knowledge and success in the privacy of your own home.
Why Build a Homelab Network?
Let’s get to the heart of the matter: why should you invest your time and resources in building a homelab network? Here are some compelling reasons that will surely pique your interest:
1. Learn networking skills
Building a Homelab Network is a hands-on and effective way to master networking skills. It’s about knowledge acquisition and applying what you’ve learned in a practical, low-risk environment. Here’s why:
- With a homelab, you gain an in-depth understanding of network operations. You’ll see how data is transmitted and how networks interact.
- It lets you explore different aspects of how a network functions.
- You’ll learn how to isolate and segment networks. This skill is essential for network optimization and security.
- Network virtualization is another skill you can hone. This comes in handy for making effective use of your existing hardware.
- The experience can help you understand more complex networks in an enterprise environment.
- Lastly, you’ll gain an insight into IT industry norms, equipping you for a successful IT career.
2. Create a home lab for virtualization
A home lab for virtualization allows you to play around with different operating systems, experimenting with virtual Firewalls, VPN servers, and Linux/Unix. It’s your own private playground to trial and error and learn some neat tech tricks!
The top features of a home lab include the following:
- Freedom to experiment with different tech landscapes.
- Creates development environments
- The opportunity to learn and put into practice new skills.
- A safe spot to screw things up without risking your work system.
- Allows experimentation with different tech
3. Practice for certification exams
- Building a homelab network lets you gain hands-on experience for certification exams like CCNA, CCNP, or CCIE.
- You can start designing complex network labs on your computer using Cisco’s Packet Tracer tool.
- Physical devices provide more realistic experiences for features like Quality of Service (QoS), IGMP snooping, VSS, and StackWise.
- Practicing licensing processes and checking hardware compatibility are additional valuable skills you acquire.
- Type-2 virtualization tools allow configuring virtual Firewalls, and VPN servers and exploring different Operating Systems.
- With a robust PC, Type-1 virtualization provides even more in-depth experimentation.
Remember, the hands-on tasks and troubleshooting achieved through a home lab can significantly enhance your understanding and preparation for certification exams.
4. Explore VLANs
VLANs, or Virtual Local Area Networks, are key in constructing a homelab network, offering a degree of control and customizability that can seriously improve your networking game.
- VLANs can segregate network traffic, enhancing your network’s security.
- They enable flexible network management, allowing you to assign specific ports to a VLAN.
- Utilizing VLANs helps optimize performance by limiting the broadcast traffic to specific VLANs.
- With VLANs, you can create numerous logical networks over a single physical network infrastructure.
Nevertheless, always remember proper VLAN configuration is a cornerstone in building a robust and reliable homelab network.
PROs and CONs for a homelab networking
Now let’s explore the pros and cons:
Pro:
- It provides room for error without impacting important data.
- Offers a safe space to test before implementing in production.
- Tailor your lab to meet personal learning/development needs.
- Freedom to build and dismantle at will.
Con:
- It comes with a learning curve.
- It could detract from personal or work time.
- Potential for higher energy consumption.
- It can get expensive depending on the tools and tech used.
How to build a home lab network
1. Lab Location
Choosing the right location for your home lab network can impact functionality and user experience. Here’s what you need to consider:
- Room temperature and ventilation: Your gear might overheat if your location lacks good airflow.
- Workable space: You need ample area around your equipment to maneuver and access its parts.
- Network cable run: Consider the lengths of network cables required; you don’t want to struggle with distance limitations.
- Noise levels: Less noise in your network location facilitates focus and peace of mind, especially in a home setting.
My Home lab is in the basement. There is plenty of space, and heat is not an issue during summer. I mostly access the devices remotely with RDP or WebGUI. I only go there when I need to re-plug something or restart the router. Trust me, even in a home lab environment, you want to have reliable hardware which is easy to manage.
2. Router
A router is your gateway for internet access.. In most cases, you cannot choose the router. You will receive it from your ISP. There are various flavors available, and they connect to the public network. DSL (common in Europe), Cable, or Fiber are connection methods.
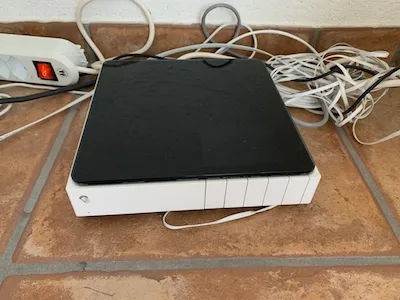
Typically, installation is a breeze. Routers have a WAN Port, several LAN ports, and even wireless capabilities. Personally, I find using the router in Bridge mode preferable, as it allows for seamless connectivity for devices connected to the LAN ports. Pay attention if your ISP supports dual stack IP; opt for IPv4. You will receive a dynamic IP address, which is usually okay.
Certain ISPs attempt to conserve IP addresses by allocating them in a range for communal areas. Such setups are not what you want for a homelab network. You need a dedicated IPv4, fixed or dynamic. A fixed IPv4 is the best; however, it is very expensive in Europe. Nevertheless, dynamic IPs rarely change since the ISP has to maintain logs by law, and the IP is bound with a reservation to the ethernet (nic) adapter.
What is Bridge Mode in a Router?
Imagine your router as a gatekeeper that directs traffic in and out of your home network. When you set it to “Bridge Mode,” you’re essentially turning off its gatekeeping duties and allowing it to pass data through without any checks. This is useful when you have two routers and want them to work together seamlessly, making your internet connection smoother and more efficient.
3. Firewall
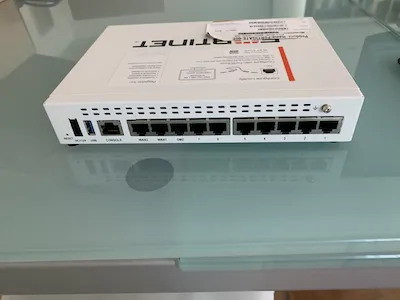
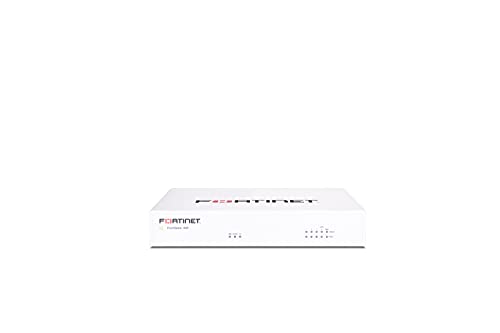
Implementing a firewall is essential for enhancing the security of your home network. It acts as a barrier, safeguarding your network from potential threats. You have several options when it comes to firewalls, including both hardware and software solutions. For a cost-effective and flexible approach, consider using a dedicated firewall gives better security than a ISP router alone.
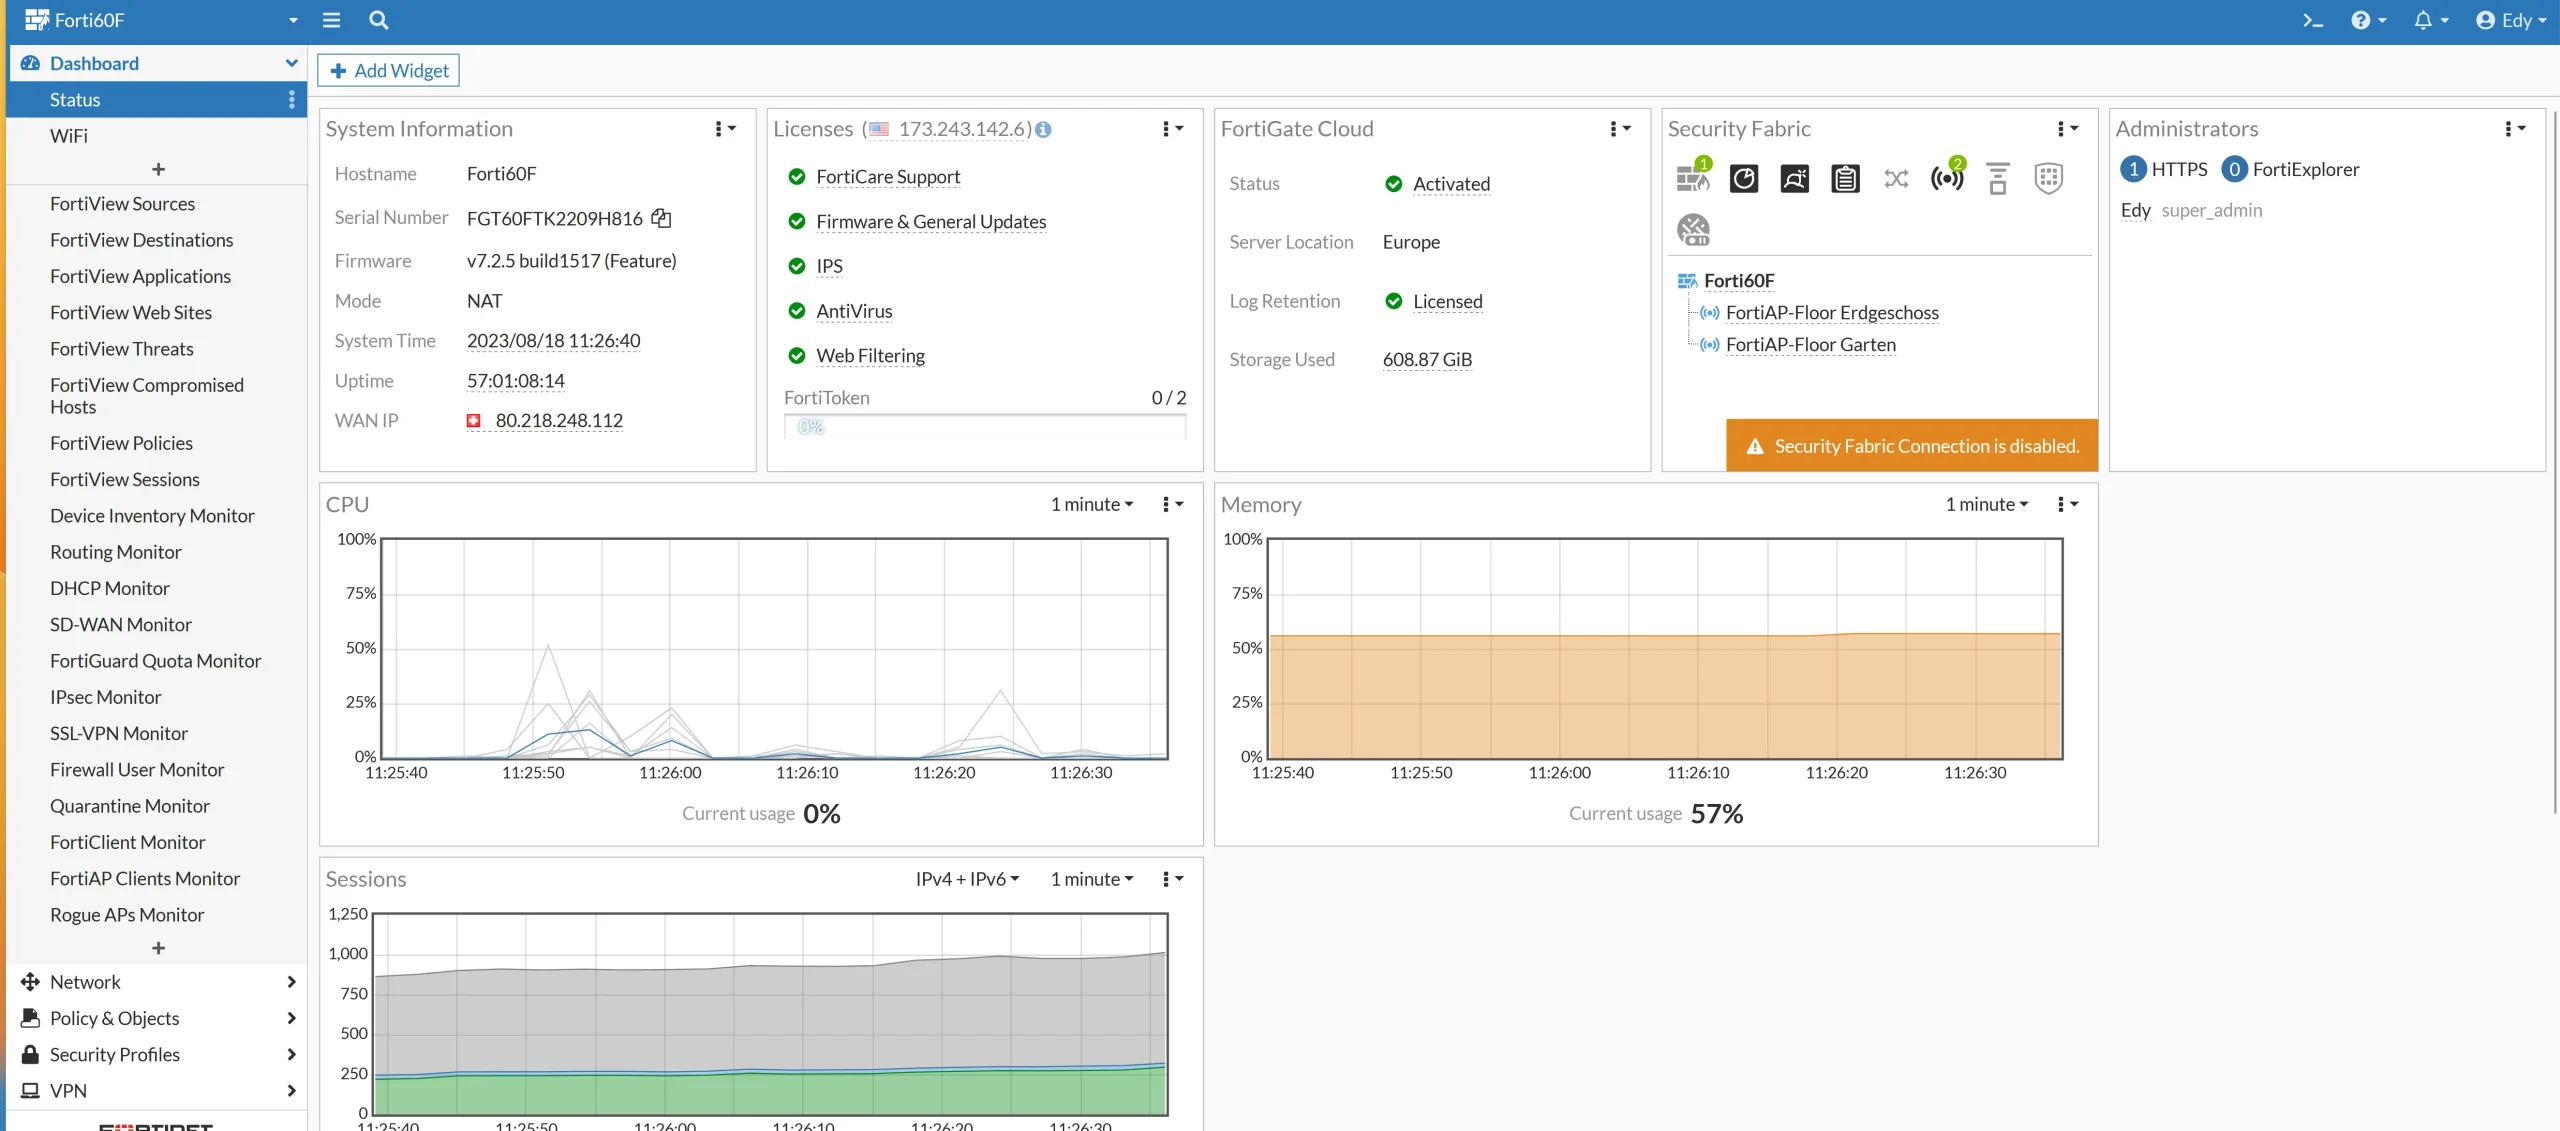
Fortigate firewalls are popular due to their reasonable pricing and extensive expandability options, accessible through a user-friendly WebGUI or command line interface (CLI). Other reputable brands include Cisco ASA Series, Palo Alto Networks, and SonicWall. For more detailed insights, check out my homelab firewall article. If you’re looking for a robust software firewall, PFsense comes highly recommended for its comprehensive feature set.
At the firewall level, you can configure settings for remote access vpn.
Furthermore, firewall rules can be configured to restrict access to devices across different VLANs, ensuring better security management and control over your network environment.
4. Switches
Switches are like traffic managers in your home lab network, directing data flow among devices. They are key in optimizing your network’s efficiency and performance. When picking switches, consider these features:
You can choose from different types of switches
Unmanaged, Managed, and Smart.
- Unmanaged switches are similar to router ports but with more power. They let you expand your LAN connections beyond the number of ports your router has. However, they don’t have advanced features like VLANs, QoS, and DHCP snooping, which you might need.
- Managed switches offer more features like VLAN, QoS, and port trunking. They are usually more expensive than unmanaged switches but are useful if you know how to configure them.
- Smart Switches are similar to managed switches but come with additional features such as PoE ports for powering your network devices, Layer 3 routing capabilities, and
Layer 2 vs. Layer 3 Switches:
- Layer 2 Switch (Data Link Layer):
- Operates based on MAC addresses.
- Primarily used for connecting devices within the same network.
- Supports VLANs but cannot route traffic between different VLANs.
- Layer 3 Switch (Network Layer):
- Operates based on IP addresses.
- Can connect devices within the same network and route traffic between different networks.
- Supports VLANs and can route traffic between different VLANs.
- It often includes advanced features like the ability to act as a DHCP server, combining the features of a switch and a router.
What is PoE capable Switch port?
PoE (Power over Ethernet):
- Allows network switches to send both data and electrical power over an Ethernet cable.
- Useful for powering devices like cameras, phones, and access points without separate power cords.
In my experience, the capability of Layer 3 is already included in a good Firewall. While having a Layer 3 switch can be advantageous, it is not essential, and allocating funds toward other network equipment may be more practical.
I use a Netgear GS724T Layer 3 switch for my home networking. And honestly speaking, I have never used the Layer 3 functionality it offers.
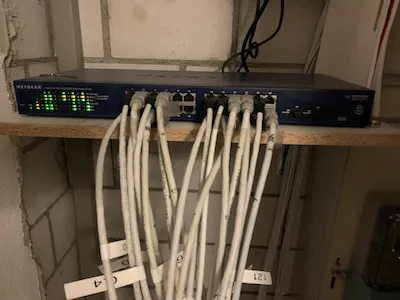
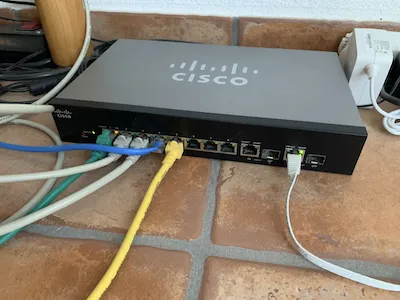
In general, Netgear offers a vast of functionality for a decent price which makes them attractive for homelab networking. Other brands like Cisco’s small business series offer a huge feature-rich playground too. I have bought 3 of these Cisco switches for the living rooms which provides POE for my Wireless access points.

Best 10 GB switch for home lab
The emergence of affordable 10Gb switches has been a game-changer, making high-speed connectivity a tangible reality in the home environment. These switches are not just about raw speed; they’re a gateway to enhanced performance for various applications, from streaming high-definition media to managing complex virtual environments. With an array of options now hitting the market, finding the right 10Gb switch for your homelab can be exciting and daunting.
Some of the top picks on Amazon offer a unique blend of features and value to elevate your homelab network.


5. Wireless
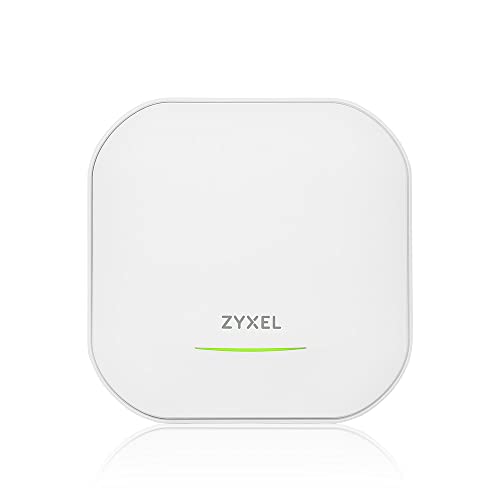
As mentioned above, the router from your ISP usually has Wireless built-in. I don’t recommend using it. Rather buy access points for your living room. Wireless is a good playground to explore VLans by separating them with different subnets (guest networks).
Wi-Fi6 is gaining traction, so you might consider getting an Access point with Wi-Fi6 support. Ubiquiti access points are premier choices. My choice is access points from Fortigate. Managing multiple networks is made easy and convenient with the FortiGate firewall. Its setup is simplified, making it a breeze to use.

Access Points with 6E
6. Server rack
Confession time: I don’t use a rack or a half-height rack. I would wish to have one. It makes handling the devices with cabling easier and you will have less a mess. It’s something on my list for the next purchase.
Key features:
- Holds modems, routers, switches, servers, etc.
- Practical designs include open, enclosed, and wall-mounted.
- Stable, secure, and offers tidy cable management.
- Options include a rack shelf and a patch panel for bigger setups.
Pros:
- Facilitates efficient setup and device handling.
- Keeps inherent heat in check.
- Reduces interference and optimizes performance.
- It makes tracing faults easier.
- Increases the lifespan of your equipment.
Cons:
- Requires physical space.
- Applying changes can be challenging.
- Necessitates appropriate cooling.
- It might need dust protection.
- It could impose visual clutter.
In terms of pricing, a decent rack costs around $100 – $300. It’s a worthy investment considering the benefits. Startech and Sysracks are good brands.
Please read my article homelab rack for more information.
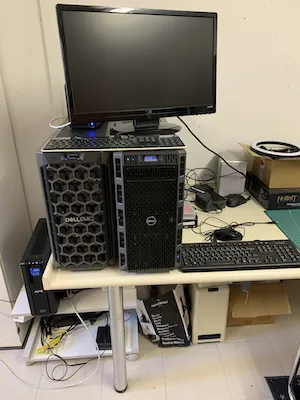
7. Build a server
Ah, the heart and soul of your homelab network! Servers play a crucial role in hosting applications, storing data, and running various services. Consider setting up a mix of physical and virtual servers depending on your specific needs to create a dynamic and versatile lab environment.
My article best servers for a home lab will provide you with more insights into your needs. It’s crucial to get a quiet server. HP and Dell are my choices. Amazon offers renewed servers affordable priced with good specifications, ideal for a home lab to run virtualization software.
8. Virtualization Software
Virtualization software paves the way to create a secure home lab network. It’s like having a mini-computer within your computer, enabling you to emulate different environments without needing extra hardware.
Its top-notch features include:
- Ability to take snapshots and revert systems
- Handling multiple virtual machines
- Providing advanced features with certainly paid versions
Five pros of its use:
- Minimizes hardware cost
- Aids in learning experimentally
- Ensures a safe environment for testing
- Supports a myriad of operating systems
- Containers enhance isolation
However, there are cons too:
- Some options are non-professional
- It might consume excessive system resources
- Setup complexities with some versions
- Some versions have licensing restrictions
When it comes to cost, there is a range of options available, from free to paid versions. The paid versions offer advanced benefits, so it’s worth exploring them to improve your lab network efficiently while remaining budget-friendly. The most prominent choices are VMware ESXi or Proxmox. Proxmox is open-source and free and has a good user community for support. Troubleshooting can become difficult. VMware is not free but provides the VMUG membership with not for commercial use license key. The membership is great for learning VMware software in the home lab.
Tips and Tricks for home networking lab
1. IP Address schema and subnets
When designing your network, it’s important to carefully plan the IP address convention and allocate subnets in a way that adds excitement to your homelab network.
Understanding Subnets: Subnetting is dividing an IP network into sub-networks. Each sub-network is called a subnet. It’s like dividing a large group into smaller teams with specific tasks.
Why Use Subnets?
- Improved Performance: Data is directed more efficiently within smaller subnets, reducing unnecessary traffic on other network parts.
- Enhanced Security: You can apply specific security measures to each subnet by isolating different network parts.
- Organizational Needs: Different departments or groups can have subnets, making managing resources and access easier.
How to Plan Subnets:
- Determine Needs: Assess how many devices you have and how they should be grouped. For instance, all printers can be on one subnet, while servers are on another.
- Choose IP Address Range: Decide on a range of IP addresses for your network. Common private IP address ranges include 10.0.0.0 to 10.255.255.255, 172.16.0.0 to 172.31.255.255, and 192.168.0.0 to 192.168.255.255.
- Divide the Range: Based on your needs, divide the chosen range into smaller sub-ranges for each subnet.
- Assign Subnet Masks: A subnet mask determines the size of each subnet. For example, a subnet mask of 255.255.255.0 allows for 256 IP addresses in that subnet.
Enhance subnet flexibility by implementing VLAN tags, enabling seamless traffic flow. Easily carry VLAN traffic across switches by assigning Trunk ports. Maximize your network efficiency and flexibility with this smart configuration.
Remember, a solid grip on IP schemas and subnets leads to a seamless networking setup!
2. Public IPv4 address
Your Public IPv4 address is like your home’s address on the internet highway. An IPv4 address is a unique set of numbers that identifies your device online
As previously stated, confirming that you have been assigned a genuine public IPv4 address is crucial. Only with a public IP address, you can forward traffic coming from the internet to your homelab network.
For example, you want to:
- forward traffic from HTTP and HTTPS to your web server
- forward traffic from SMTP port 25 to your mail server
- forward traffic from DNS port 53 to your name server
- and so on
3. VPN setup
Setting up a VPN (Virtual Private Network) for a home lab involves a series of steps. It’s important to note that the procedure may vary slightly depending on the specific equipment or software used. However, the basic steps could involve the following:
- Select the right equipment: You should choose a router or firewall that supports VPN setup. ASA or Cisco IOS routers are popular choices for a home lab.
- Configure the VPN on your device: Every device has its unique user interface. However, the common features to set include:
- Set up the WAN (Wide Area Network) to access the internet.
- Choose the right type of VPN. The commonly used are IPsec and OpenVPN.
- Define the VPN clients, their profiles, and authentication methods. Setting up a secure password and username is crucial to prevent unauthorized access.
- Provide a mechanism for your VPN to handle DNS (Domain Name Server) requests.
- Set Up VPN access: Ensure that the necessary protocols and ports are allowed in your firewall. Set up your home network behind the firewall and have the lab hang off the router directly.
- Connect your devices: Now, you can connect your devices, including routers, switches, firewalls, etc., to the network.
- Test your VPN connection: After you set up your VPN, it’s essential to test it and ensure that all of your internal devices are accessible either via Command Line Interface (CLI), or any other protocol (FTP, TFTP, HTTP, Telnet, SSH, etc).
Remember, this advanced configuration task requires at least some network protocols and device settings knowledge. If unsure, you are recommended to seek help from a network expert or a professional.
4. Virtual home network
A Virtual Home Network allows you to connect multiple virtual machines on a single host. Think of it as managing separate rooms in a house, each with its own device, from your computer.
Setting up your Virtual Home Network:
- Start by setting up your singular ESXi host, assigning a different virtual network to each one.
- For efficient access and management, use a small-footprint virtual router. Attach this router to each of your existing virtual networks.
- Establish a routing process from your management station (in your local network) to reach each network. Make the virtual router your “next-hop” address.
- Note that this setup remains the same whether you work with nested labs or traditional virtual machines.
A helpful suggestion is to use VLAN tags in conjunction with virtual networks and merge them with your physical devices. This will allow a specific virtual server to be accessed by a device (such as a laptop), while restricting access to other physical devices.
5. Keep a Detailed Network Documentation
It’s important to have thorough documentation for your homelab network, even if it’s just for personal use. As your network expands and becomes more intricate, having detailed documentation can help you troubleshoot any issues that arise. Personally, I like to keep track of all the static IPs I’ve assigned to my devices in an Excel spreadsheet. I also maintain a list of my VLANs and the corresponding trunk ports on my switches. Furthermore, I document each switch, including the port numbers and the connected devices.
6. Monitor Your Network Activity
Monitoring your network activity is key to ensuring your homelab stays secure and runs optimally. This can include regularly checking for suspicious traffic or malicious connections in your server(s). Firewall manufacturers offer security and virus bundles. Turn on notifications on your firewall. It is also a good idea to use an external network monitor provider, which does from external some basic checks.
Conclusion
Building a homelab network is a journey of continuous learning. It’s not just about the hardware and software but the invaluable skills and knowledge you gain. So, whether you’re an IT pro looking to expand your skills or an enthusiast eager to dive into the networking world, a homelab is your gateway to endless possibilities. Roll up those sleeves and start building your IT playground. Happy networking!
I’d love to hear from you — was this article helpful? Share your thoughts in the comments below. If you prefer, you can also reach me by email or connect with me on Reddit at Navigatetech.
Before you go …
If you found the insights on setting up a homelab network intriguing, you might be interested in delving deeper into a specific aspect of home lab setup. I recommend checking out Home Lab DNS Server. This article will provide a comprehensive guide on setting up and managing your own DNS server, a critical component for efficient network management. It’s an excellent follow-up read to enhance your understanding and skills in building a robust and efficient home lab environment.
About the author
Hi, I’m Edy Werder. I write hands-on guides about Proxmox, homelab servers, NAS, and WordPress, based on real setups I run and document.
No sponsors, no fluff—just real configs and results.
Enjoying the content?
