
By Edy Werder — IT Consultant & Tech Blogger
Do you need to set mailbox permissions in Exchange Server using Powershell? Perhaps you want to give someone access to your calendar, or you need to provide them full access to your mailbox. Let’s get started!
In this article, I will show you how to set mailbox permissions in Exchange Server using Powershell. I will walk you through the process so you can get up and running quickly.
This how-to applies for Exchange Server on-premises or Exchange Server online (Office365)
In the Exchange Server Admin Console (ECP), you can easily share the whole mailbox with someone. It’s an easy task. However, most users only want to share the calendar, contacts, or any other folder with a co-worker. They also want to restrict the permission. Unfortunately, in ECP, you are unable to perform such tasks. The solution is using Powershell, and it is not even that complicated.
Powershell commands are easy to understand. You need to know the syntax.
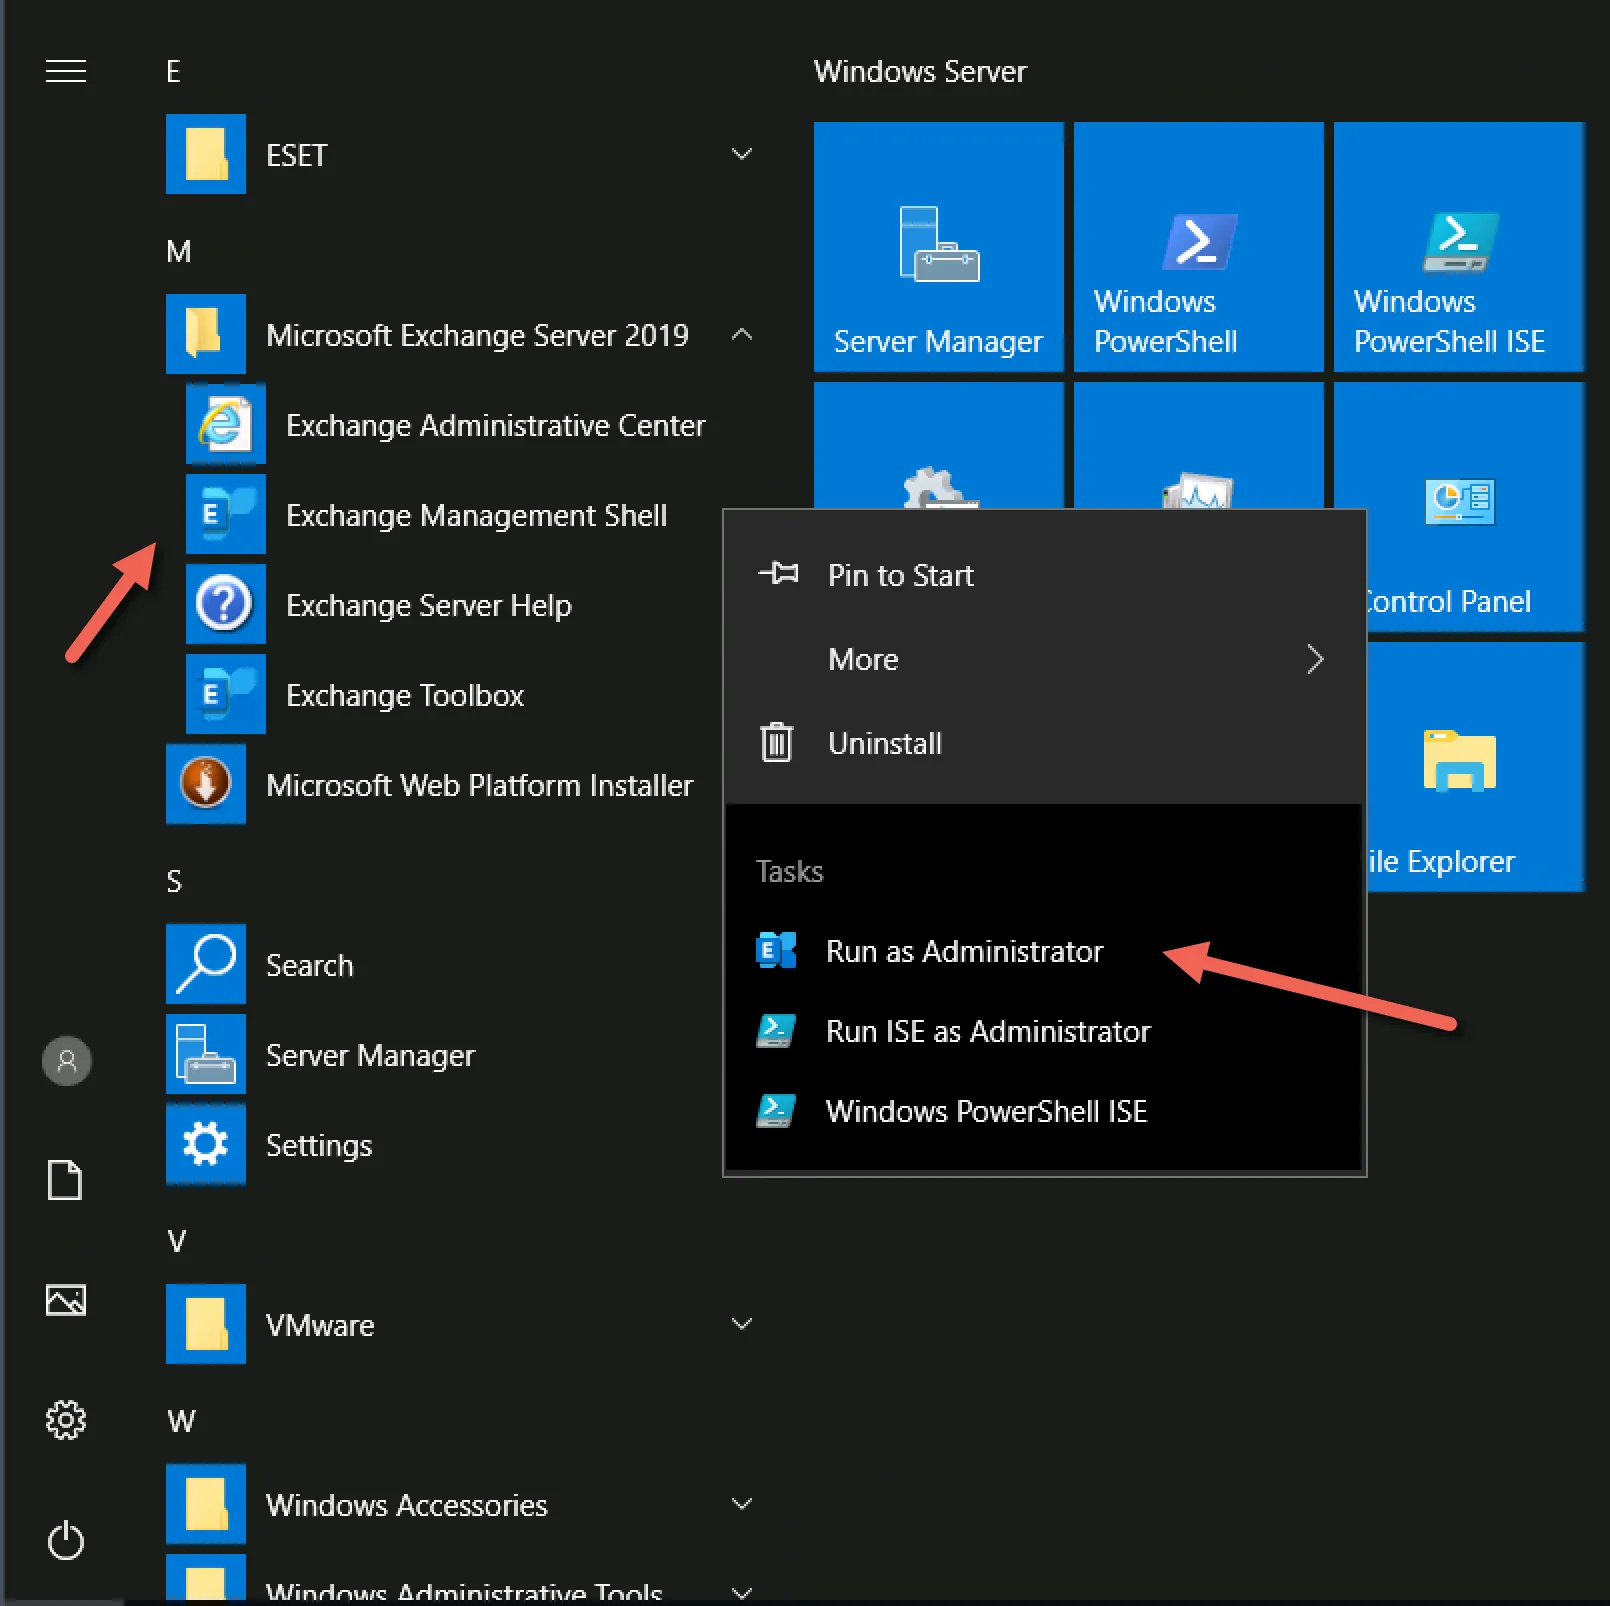
Exchange Management Shell
The Exchange Management Shell is a program that helps you set mailbox permissions for people. You can use it to give someone access to your calendar or full access to your mailbox. It’s not that complicated to use, and the commands are easy to understand.
The Exchange Management Shell is included in the installation if you use Exchange Server on-premises. Please make sure to start the app with Administrator rights.
If you’re using Exchange Server online (Office365), you can find it by following these instructions. The method is different. It’s not part of the scope of this article; please read this article I found about how to connect best to Exchange Online with Powershell.
Set Mailbox Permissions: Powershell commands you need to know.
- Get-MailboxFolderpermission
- Add-MailboxFolderpermission
- Set-MailboxFolderpermission
- Remove-MailboxFolderpermission
The basic syntax for each command
Powershell command, i.e., Add-MailboxFolderpermission
-identity is the user who wants to permit with the folder name
-user is the user who gets the permission
-AcessRights are the rights you grant
For example, a command could be
Add-MailboxFolderpermission -identity test.labcenter@interwatt.ch:\Calendar -user edy.werder@interwatt.ch -AccessRight EditorSo the user Edy Werder receives Calendar Permission for the Mailbox Test.Labcenter. The Role is Editor
Please note
The folder names are language-specific, so if the folder name is “Kalender” for German, you need to adapt the folder name.
Get-MailboxFolderpermission
Use this PowerShell cmdlet to check a mailbox folder’s permissions.
Get-MailboxFolderpermission -identity test.labcenter@interwatt.ch:\CalendarAdd-MailboxFolderpermission
Add-MailboxFolderpermission -identity test.labcenter@interwatt.ch:\Calendar -user edy.werder@interwatt.ch -AccessRight EditorUse this cmdlet for adding new permission to a mailbox folder.
Set-MailboxFolderpermission
If you want to modify an existing mailbox folder permission, use this Powershell cmdlet.
Set-MailboxFolderpermission -identity test.labcenter@interwatt.ch:\Calendar -user edy.werder@interwatt.ch -AccessRight EditorRemove-MailboxFolderpermission
And lastly, with this Powershell cmdlet, you can remove user permission for a folder.
Remove-MailboxFolderpermission -identity test.labcenter@interwatt.ch:\Calendar -user edy.werder@interwatt.chIf you want to modify an existing mailbox folder permission, use this Powershell cmdlet.
Choosing the AccessRights
There are two ways to grant access rights to a folder. You can grant individual permission or assign a predefined role. I recommend setting roles only. It is a lot more convenient to handle and keep an overview.
Here is an excerpt of all the roles possible from the Microsoft knowledge base.
- Author: CreateItems, DeleteOwnedItems, EditOwnedItems, FolderVisible, ReadItems
- Contributor: CreateItems, FolderVisible
- Editor: CreateItems, DeleteAllItems, DeleteOwnedItems, EditAllItems, EditOwnedItems, FolderVisible, ReadItems
- NonEditingAuthor: CreateItems, DeleteOwnedItems, FolderVisible, ReadItems
- Owner: CreateItems, CreateSubfolders, DeleteAllItems, DeleteOwnedItems, EditAllItems, EditOwnedItems, FolderContact, FolderOwner, FolderVisible, ReadItems
- PublishingAuthor: CreateItems, CreateSubfolders, DeleteOwnedItems, EditOwnedItems, FolderVisible, ReadItems
- PublishingEditor: CreateItems, CreateSubfolders, DeleteAllItems, DeleteOwnedItems, EditAllItems, EditOwnedItems, FolderVisible, ReadItems
- Reviewer: FolderVisible, ReadItems
For the calendar, there are two additional roles
- AvailabilityOnly: View only availability data
- LimitedDetails: View availability data with subject and location
Grant Access to more than one user
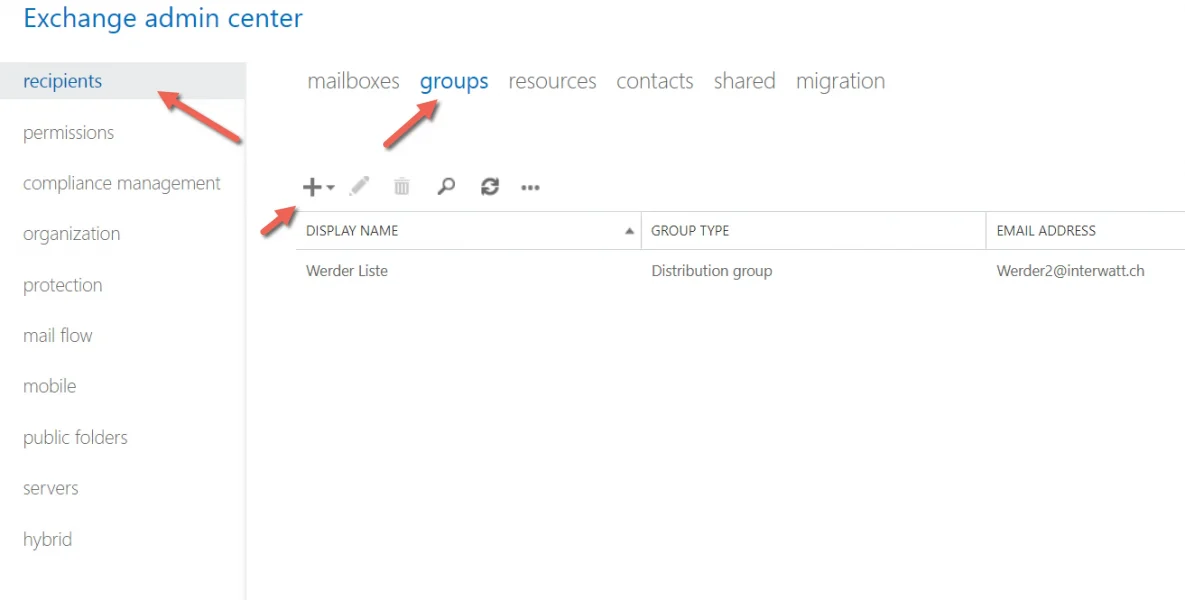
The best is to create a mail-enabled AD group. You need to make this group in ECP (Exchange Admin Center), recipients, groups, and create a new security group. In this way, Exchange also assigns an email address to the group. After, you can add individual members to the group. Unfortunately, Exchange will not recognize nested groups.
Alternatively, create the group with Powershell. Here is a Howto.
Creating the group in ECP is much easier since you can specify the OU and add users.
Does the user need to add the folder manually?
Yes, the user needs to add the folder manually. For example, see how the calendar can be added.
Open Outlook and go to the Calendar view. On the Home tab, in the Managed Calendar group, click Open Calendar, click “from Address Book,” and look up the search.
The Calendar will appear in the “Shared Calendar” section on the left.
To summarize: how to set mailbox permissions
Now that you know how to set mailbox permissions in Exchange Server using Powershell, giving other users access to your calendar or any other folders is easy. You can also restrict the permission they have. Just remember the basic syntax for each of the Powershell commands, and you’ll be able to get up and running quickly.
Did you find this article useful for your work? If yes, please leave a comment below. You can also reach me by email at info@edywerder.ch.
Visit my blog page for more articles.
About the author
Hi, I’m Edy Werder. I write hands-on guides about Proxmox, homelab servers, NAS, and WordPress, based on real setups I run and document.
No sponsors, no fluff—just real configs and results.
Enjoying the content?
