
By Edy Werder — IT Consultant & Tech Blogger
Divi 5 gives you a powerful design system with presets and variables. But not everything belongs in that system. Some styles are one-offs. Some need more control than the visual builder allows. That is where Divi custom CSS comes in.
I have been building a real project in Divi 5 and have found myself reaching for custom CSS classes when presets weren’t the right tool. This article covers where to add custom CSS in Divi 5, when a CSS class works better than a preset, and my personal recommendations from hands-on testing.
Where to Add Custom CSS in Divi 5
If you are coming from Divi 4, the first thing you will notice is that the old CSS ID & Classes fields are gone. In Divi 5, everything moved to the Attributes panel in the Advanced tab of any section, row, column, or Divi module.
Adding a CSS Class to a Module
To add a CSS class in the visual builder:
- Open the module settings and go to the Advanced tab.
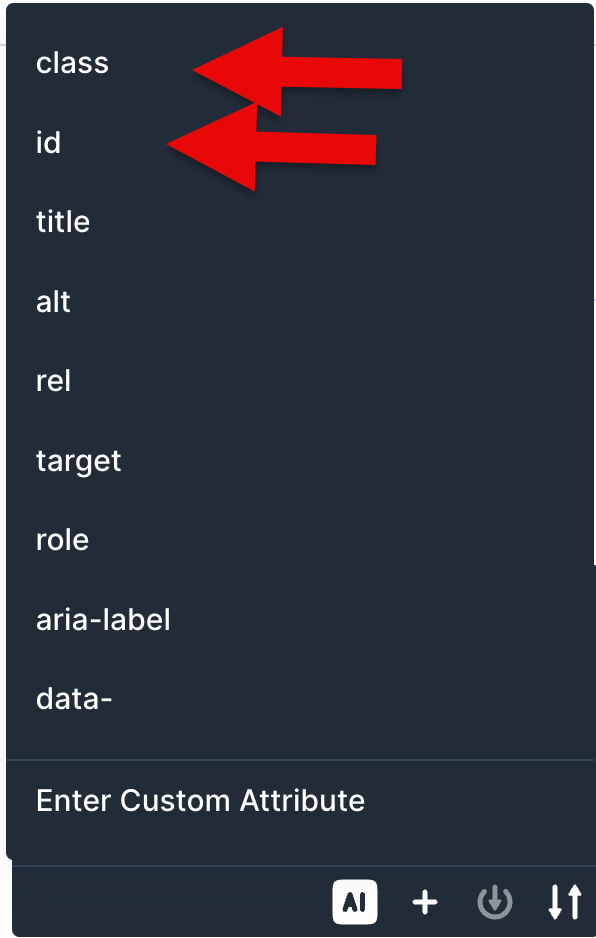
- Find Attributes and click + Add Attribute.
- Set the Attribute Name to class or ID
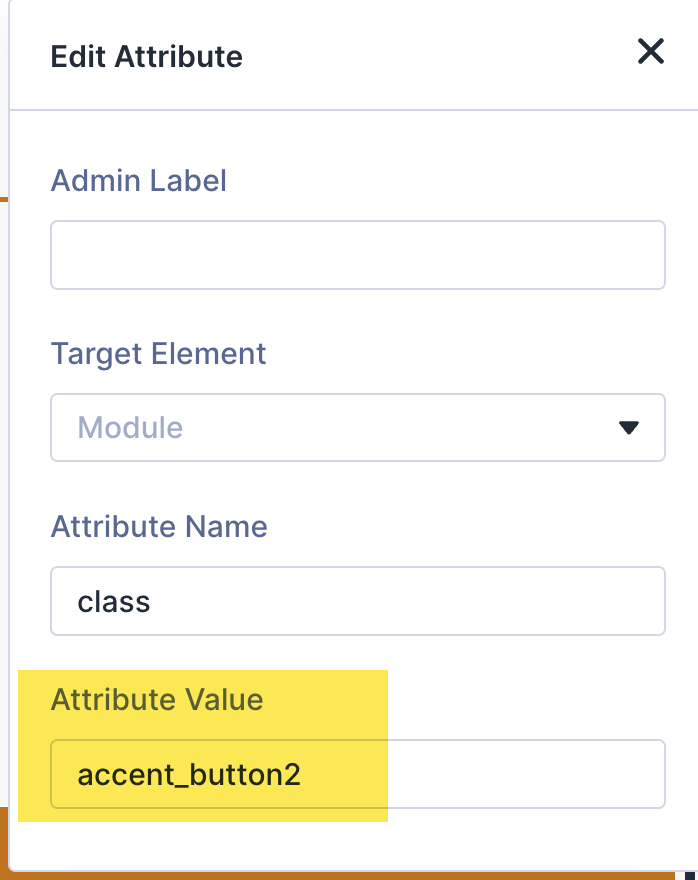
- Enter your class name in the Attribute Value field.
- Check the Target Element. By default it is set to “Module,” which applies the class to the wrapper.
This works for any element: sections, rows, columns, and modules. You can add multiple classes separated by spaces.
One thing to know: if you add new CSS code to Theme Options for the first time, the styles may not render in the visual builder until you save and reload. Once the CSS is saved, assigning the class to a module applies the styles immediately in the editor.
Where to Write Your CSS Code
Divi 5 offers several places to add custom CSS. Here is where each option makes sense:
Divi Theme Options Custom CSS Box — Go to your WordPress dashboard, navigate to Divi > Theme Options, and scroll to the bottom. The custom CSS box is the most popular place to add CSS that applies to your entire site. Your CSS code is preserved during theme updates.
The Advanced Tab Custom CSS — Each Divi module, row, and section has a Custom CSS section in the Advanced tab with two options. Module Elements lets you target predefined areas like Main Element, Before, and After. You enter CSS properties only, no selectors needed. Free-Form CSS gives you more control. You write full CSS blocks using the selector keyword, which Divi replaces with the actual selector for that module. Both options only apply to the element you are editing, not site-wide. Useful for quick edits, but harder to track across a large site.

Child Theme style.css File — If you have a Divi child theme installed, adding CSS code to the style.css file is the most robust approach. Your code survives theme updates and stays organized in one CSS file. This is the recommended method for production sites.
Page Settings — Each page in the Divi builder has its own page settings in the Advanced tab. Custom CSS entered here applies only to that single page. Useful for page-specific adjustments.
Code Snippets Plugin — You can also manage custom CSS through a code snippets plugin. I use Fluent Snippets to manage site-wide CSS and PHP snippets separately from the theme. This keeps your custom code organized and independent of Divi. I covered this approach in my Code Snippets plugin article.
One method I would avoid: adding CSS directly as inline styles on modules. Inline styles have the highest specificity in the CSS hierarchy, which means they override everything else and make your code harder to maintain.
My Recommendation
Use the Divi Theme Options custom CSS box for most custom CSS. It is one central place, it applies to your entire site, and it survives theme updates. I find it easier to manage than scattering CSS across individual modules or page settings. If your project grows and the CSS gets long, move it to a child theme’s style.css file.
When a CSS Class Works Better Than a Preset
Divi 5 presets are great for reusable styles. But there are clear situations where a custom CSS class is the better choice.
One-Off Styling
I needed a specific button with a gradient background, custom padding, a box shadow, and a minimum height. I could have created a preset for it. But this style was used exactly once on the entire site. Creating a preset would clutter the Preset Manager for a single button.
Instead, I added a CSS class called accent_button2 via the Attributes panel and wrote the styles in the Divi Theme Options custom CSS box:
.accent_button2 {
  background: linear-gradient(135deg, #d4851e, #b36b00);
  border-radius: 30px;
  padding: 12px 24px;
  font-size: clamp(1rem, 0.94205rem + 0.244vw, 1.125rem);
  font-weight: 600;
  letter-spacing: 0.5px;
  color: #ffffff !important;
  box-shadow: 0px 4px 8px rgba(0, 0, 0, 0.15);
  min-height: 60px;
  display: inline-flex;
  align-items: center;
  justify-content: center;
  text-decoration: none;
  transition: all 0.3s ease-in-out;
  cursor: pointer;
  border: none;
}

.accent_button2:hover {
  color: #ffffff !important;
}
Clean, targeted, and it keeps my preset library focused on styles that are actually reused.
If you are coming from Divi 4, check your selectors. The HTML structure changed with the Divi 5 rebuild. Some old classes like .et_pb_button_module_wrapper may no longer exist. Use your browser’s inspect tool to verify the actual classes Divi 5 outputs before writing your CSS code.
Responsive Styling with Media Queries
Presets apply the same styles across all screen sizes. They cannot change a value based on the viewport. When I needed a button with a different gradient on mobile than on desktop, a CSS class was the only option.
.mobile_gradient {
background: linear-gradient(135deg, #0d9488, #065f56);
border-radius: 30px;
padding: 12px 24px;
color: #ffffff !important;
border: none;
font-weight: 600;
min-height: 60px;
display: inline-flex;
align-items: center;
justify-content: center;
}
@media (max-width: 768px) {
.mobile_gradient {
background: linear-gradient(135deg, #d4851e, #b36b00);
}
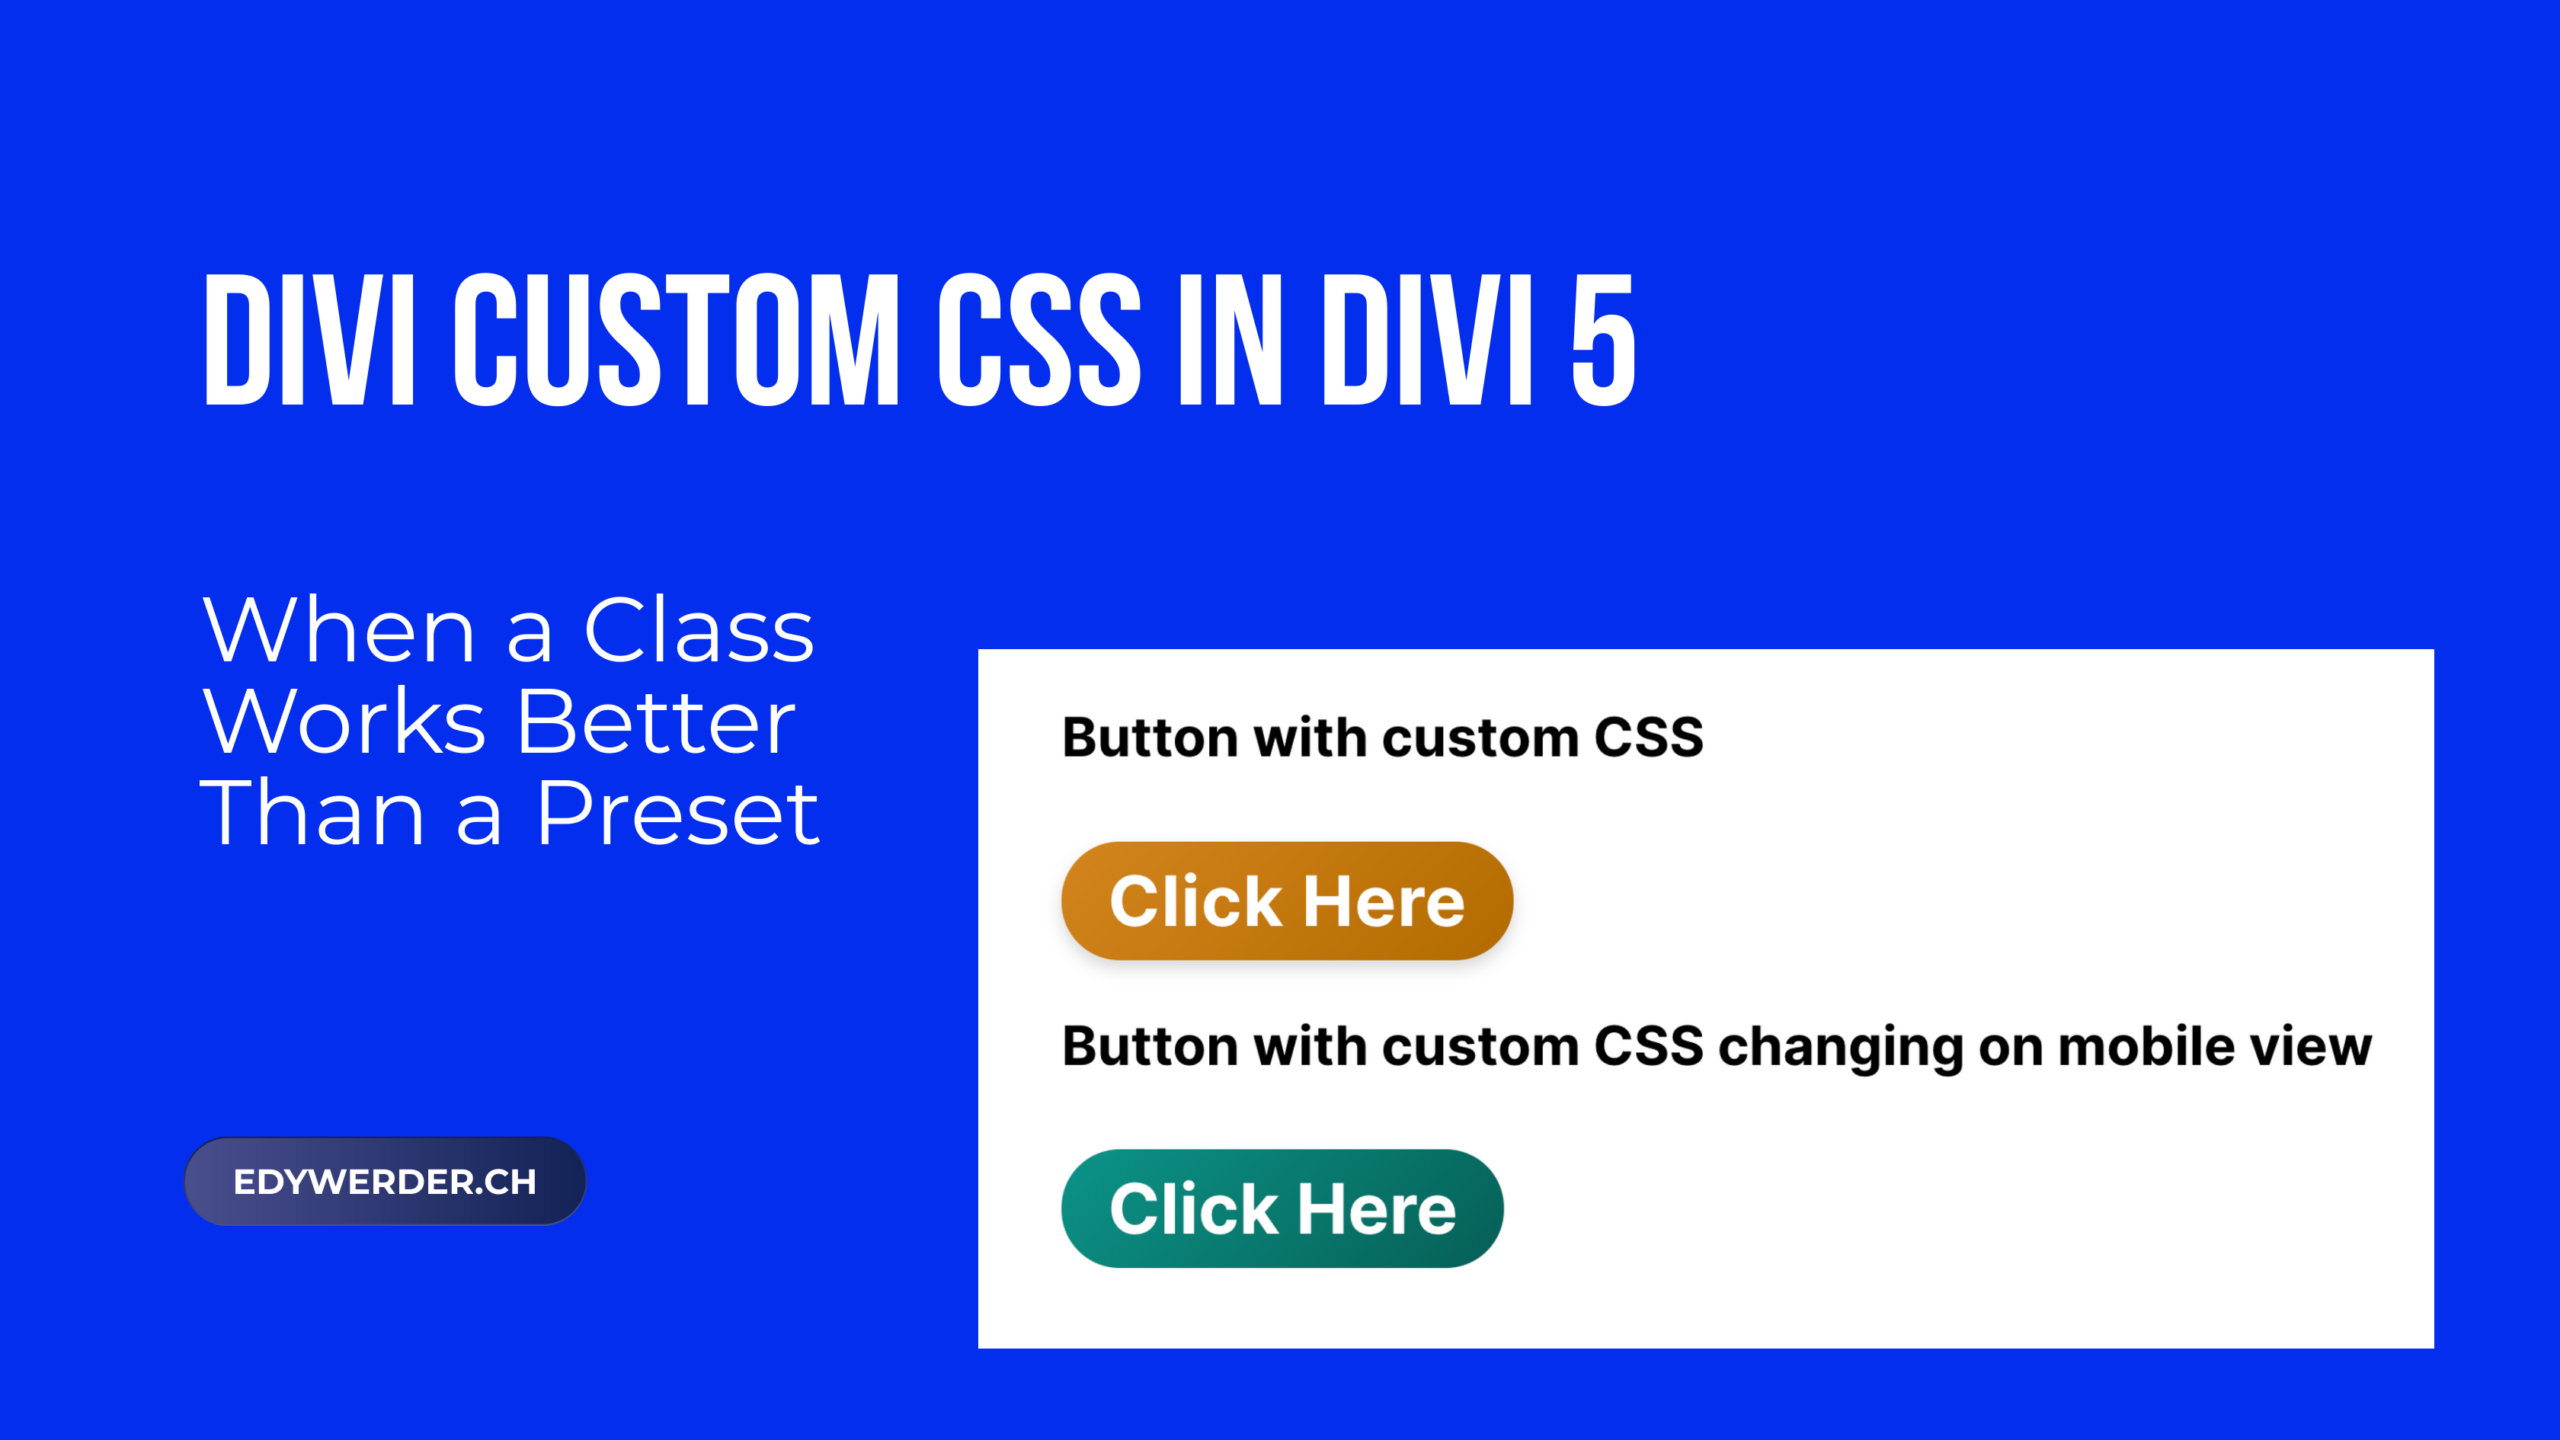
}Video: Both custom CSS buttons in action, showing the gradient change on mobile view.

Teal gradient on desktop, orange on mobile. A preset cannot handle media queries. A CSS class can. One thing I noticed: Divi applies its own text color to buttons with high specificity. If your color does not apply, add !important to the color property. This was the one case where I found it necessary.
Styles That Presets Cannot Handle
Some CSS properties are not available in the Divi visual builder. Gradient backgrounds with multiple color stops, complex box shadows, CSS animations, or advanced pseudo-element styling all require custom CSS code. A preset cannot do what raw CSS can.
In these cases, a class gives you full control. Write the CSS code once, assign the class, and you are done.
Full Width Elements with Custom Behavior
Making a Divi module full width with specific responsive behavior sometimes requires CSS that goes beyond what the builder offers. A custom class with media queries lets you control exactly how an element behaves across screen sizes, which is more precise than the built-in responsive options.
Third-Party Integration
If you use JavaScript code, tracking scripts, or external tools that target elements by class name, you need custom CSS classes. Presets do not add classes to the HTML output. Only the Attributes panel does.
My Rule of Thumb
After working with both systems on a real Divi 5 project, here is my simple decision framework:
Use a preset when the style will be reused across multiple modules or pages. Presets keep your design system consistent and update it globally when changes occur.
Use a CSS class when the style is a one-off, when it requires CSS properties not available in the builder, or when external scripts need to target the element.
Combine both when you need a base style from a preset with small overrides via a class. The class adds styling on top of the preset without breaking the design system.
If you do not have Divi yet, you can try Divi 5 risk-free with a 30-day money-back guarantee. The lifetime deal at $249 for unlimited sites is still one of the best values in the WordPress builder space.
Wrapping Up
Divi custom CSS is not going away just because Divi 5 has presets and variables. The two approaches serve different purposes. Presets handle your design system. CSS classes handle the exceptions.
If you are new to Divi 5, start with presets and variables for your global styles. Reach for custom CSS when the builder cannot do what you need. And keep your CSS code in one central place, either the Divi Theme Options custom CSS box or your child theme’s style.css file.
For a deeper look at how I set up the Divi 5 design system with variables and presets, read my article on Divi 5 Design Variables. For my full review of Divi 5, read Divi 5 Review: Rebuilt from Scratch, Should You Upgrade or Switch?.
Have a question or a CSS tip for Divi 5? Leave a comment below or reach me on Reddit at r/NavigateTech.
About the author
Hi, I’m Edy Werder. I write hands-on guides about Proxmox, homelab servers, NAS, and WordPress, based on real setups I run and document.
No sponsors, no fluff—just real configs and results.
Enjoying the content?
