By Edy Werder — IT Consultant & Tech Blogger
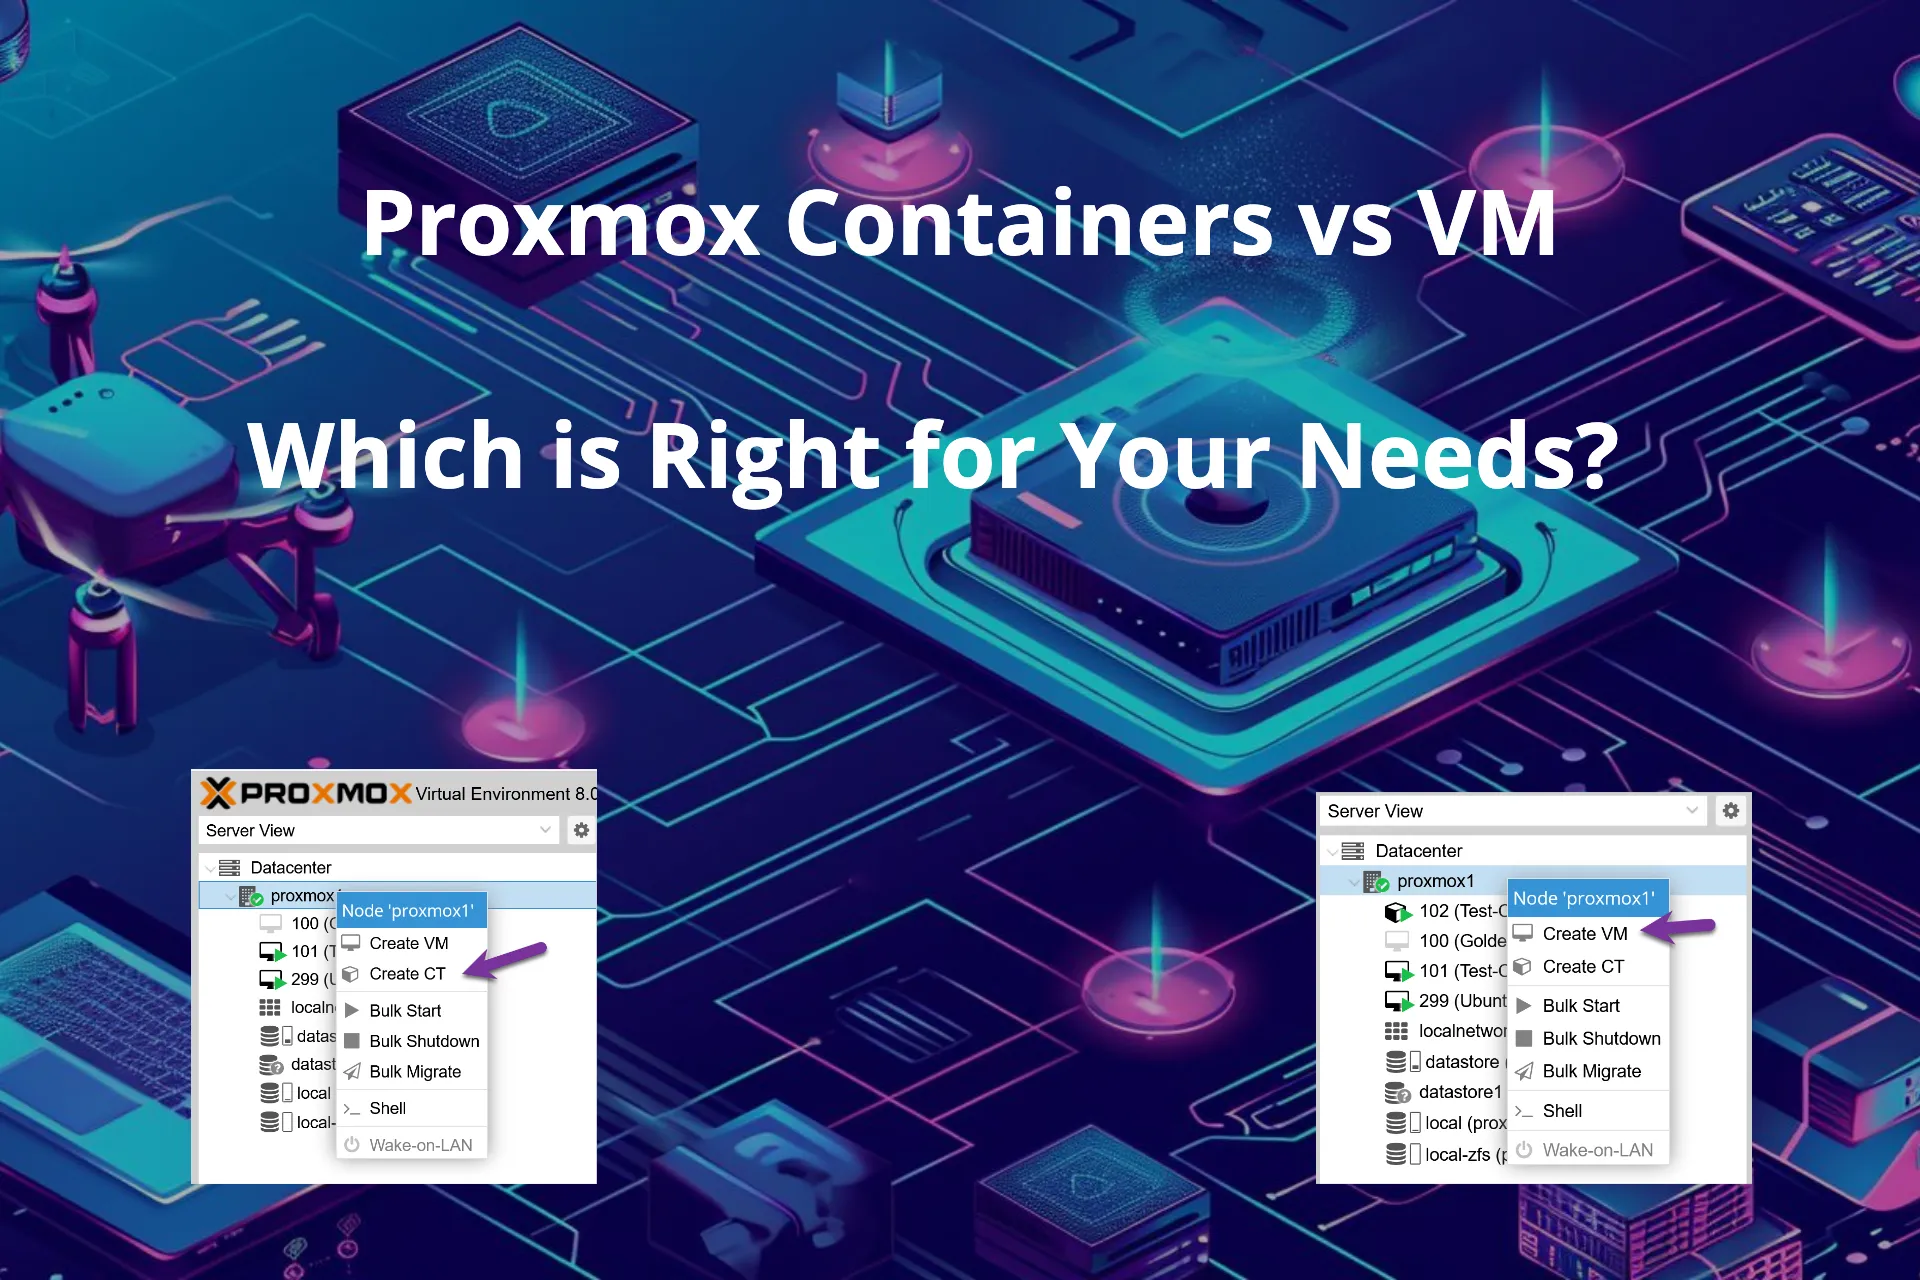
Picking between an LXC container and a VM on Proxmox is one of the first real decisions you make when setting up a node. Both work. Both have their place. The question is which fits your workload, and more importantly, which fits the context you’re running it in.
This guide compares Proxmox containers vs. VMs side by side, walks through where each one wins, and explains when the choice depends less on the workload itself and more on whose infrastructure is at risk.
Quick Answer: Proxmox Containers (LXC) vs Virtual Machines
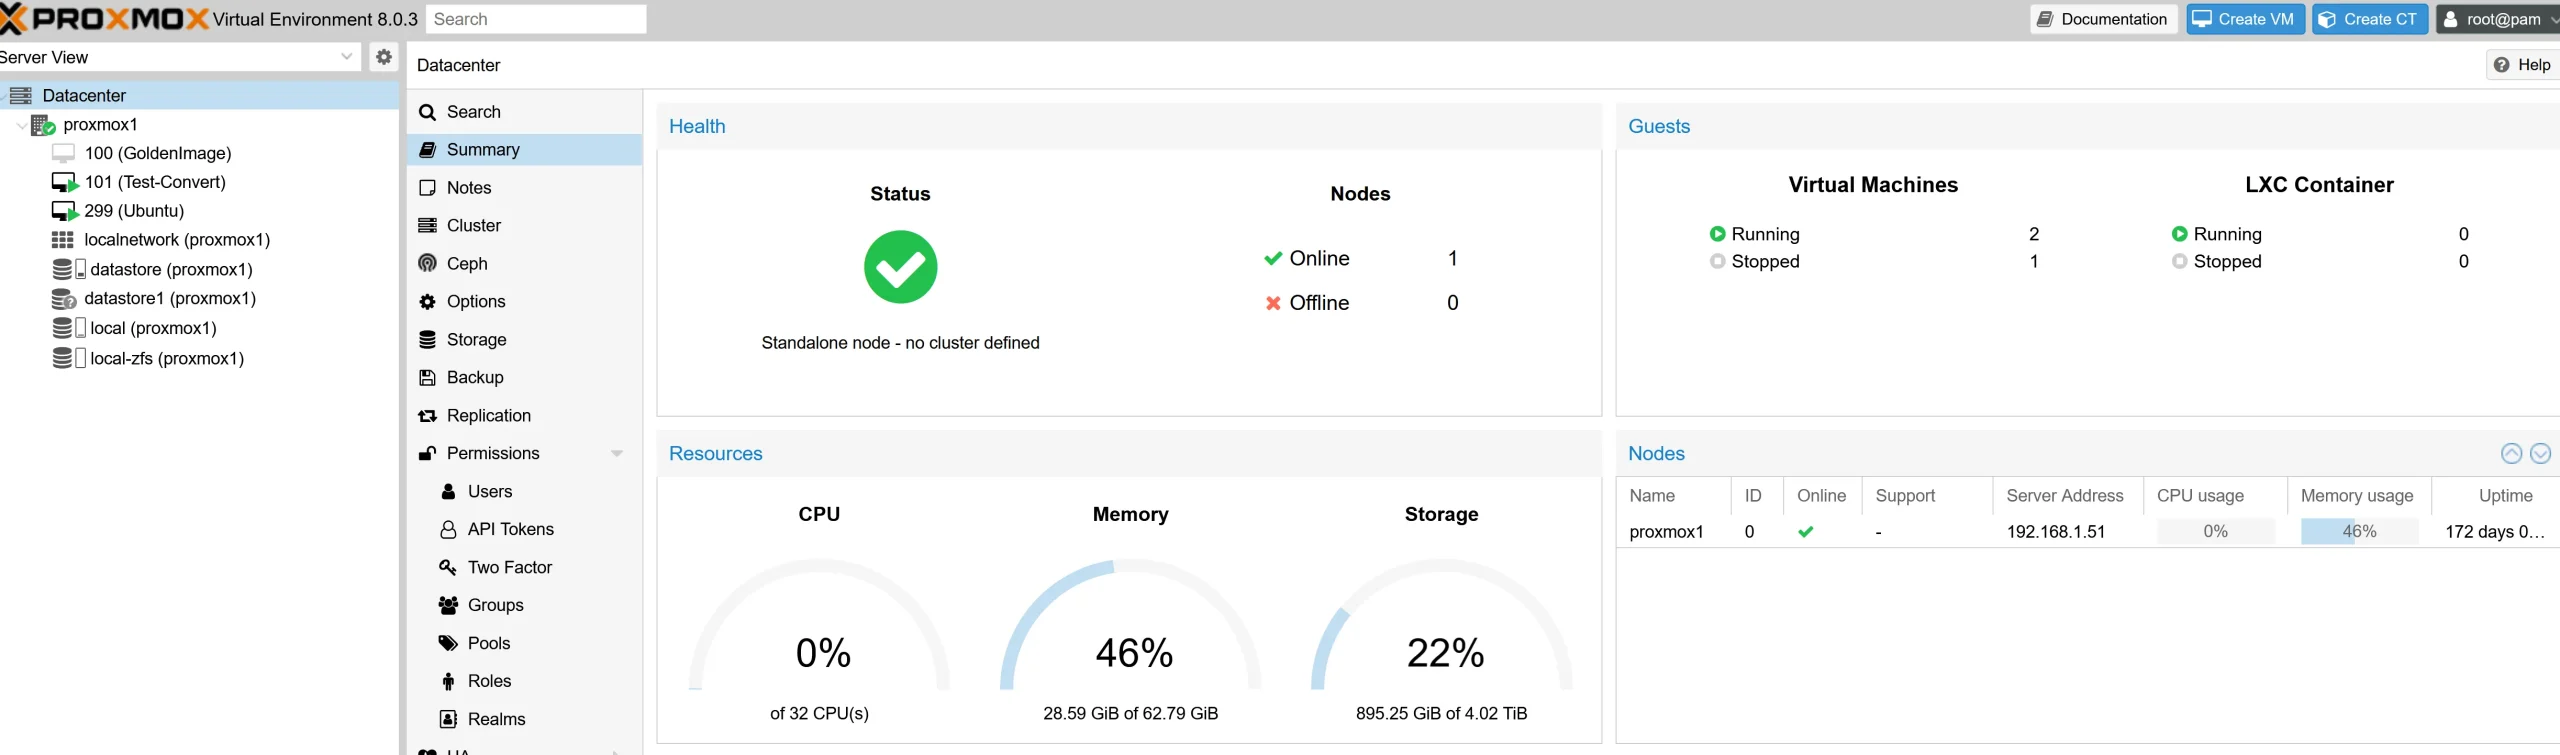
For most lightweight Linux services on a single-tenant Proxmox node, an LXC container is the efficient choice. You get lower overhead, faster boot, and easier backups. For client-facing workloads, internet-exposed services, or any Proxmox node running mixed tenants, a virtual machine is the safer call. The hypervisor boundary protects the host kernel from a compromised guest, which matters more when the blast radius extends beyond a single workload.
Proxmox Containers (LXC) are a lightweight way to run multiple isolated Linux systems on a single host. They share the host kernel instead of running a full guest OS, which keeps resource usage low and startup times fast.
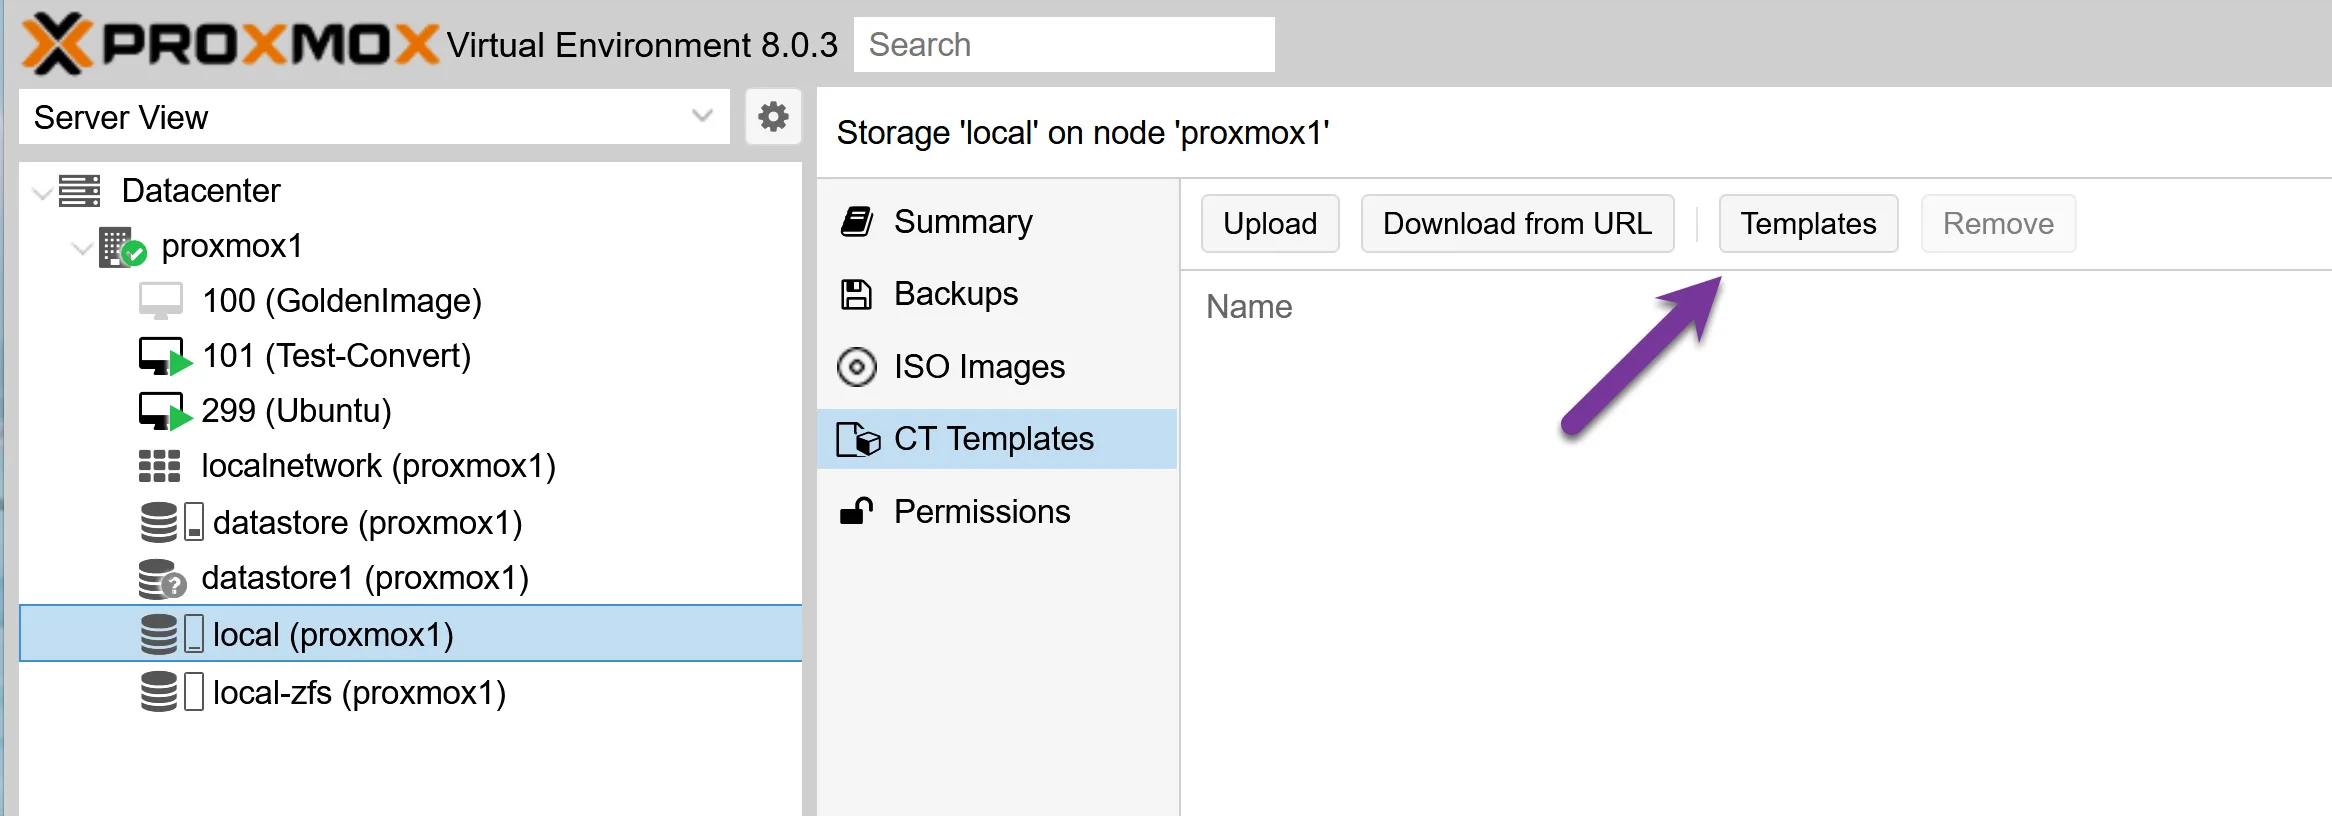
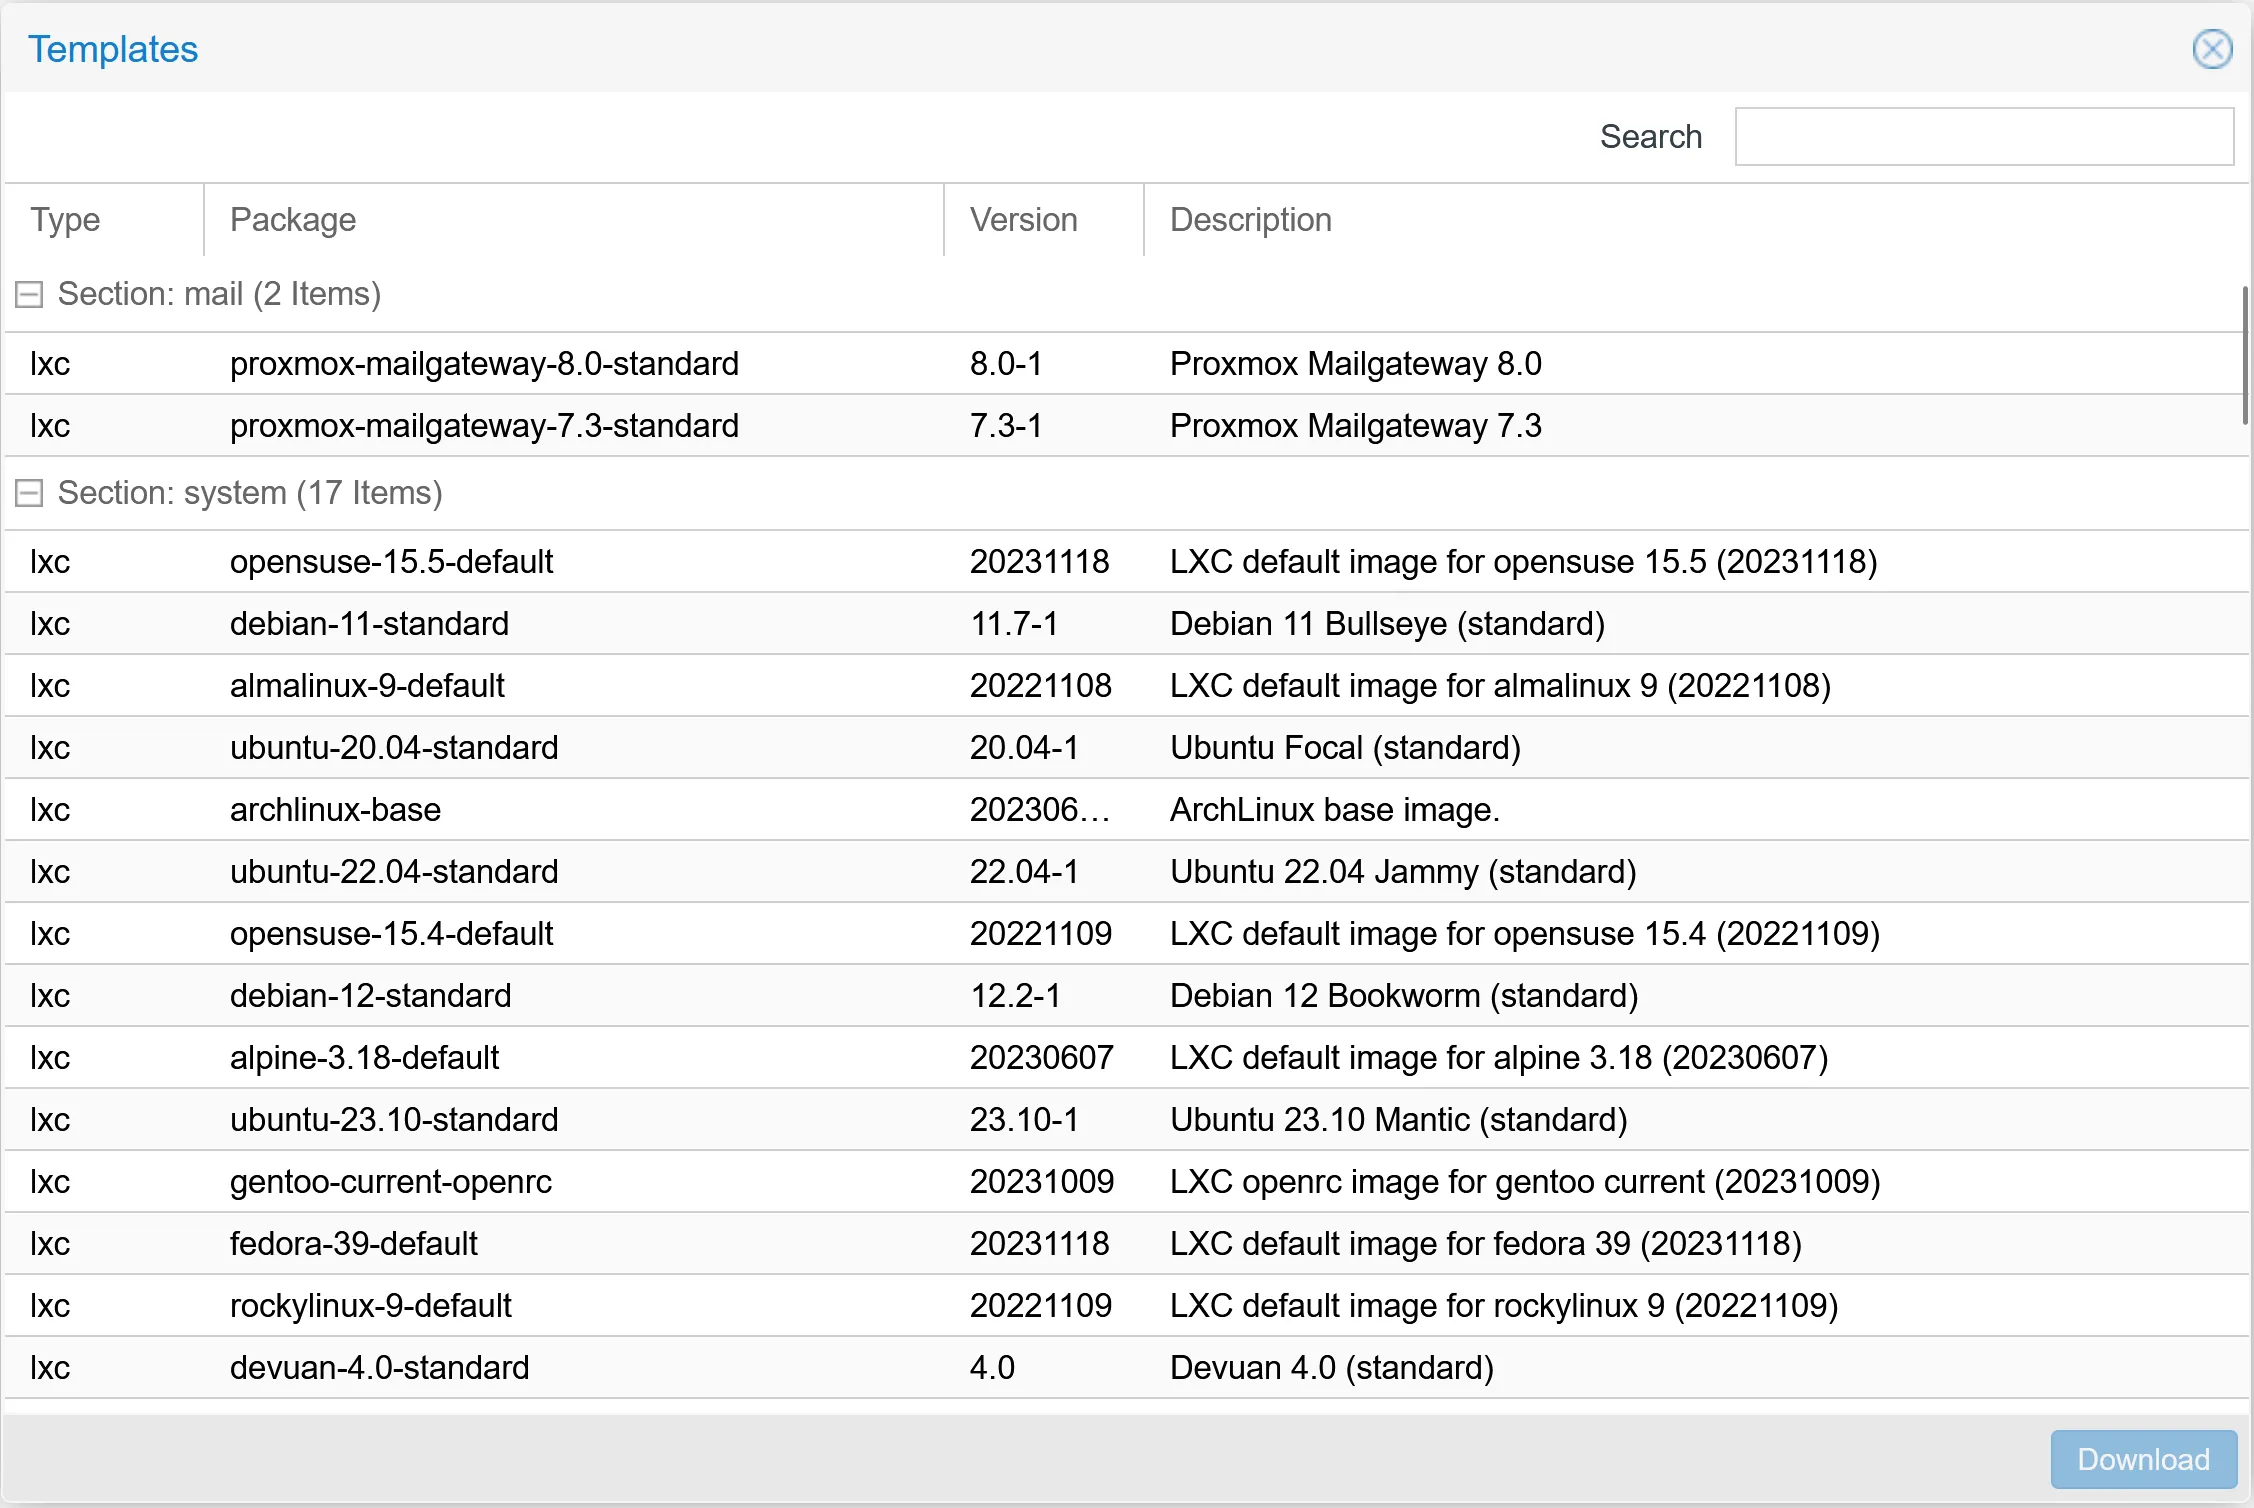
A container is based on a template
Templates in Proxmox are preconfigured operating system images designed to streamline container deployment. They provide a base structure and essential files for running a specific OS within a container, ensuring efficiency and consistency in the container setup process. Proxmox offers various pre-configured templates for different Linux distributions, enabling quick, easy container deployment.
Beyond these provided options, Proxmox also allows users to create custom templates. It is done by setting up and configuring a container to meet specific needs and preferences and then converting this fully configured container into a template. This custom template can then be used to deploy new containers, inheriting all the unique configurations and settings of the original.
This feature is handy for standardizing configurations across multiple containers, ensuring a consistent environment for each deployment.
In Proxmox, managing container storage is straightforward yet powerful. Each container starts with a primary disk that hosts the root filesystem, which includes the operating system and key configuration files. But Proxmox’s flexibility shines when you need additional storage.
Adding an extra disk to a Proxmox container doesn’t require pre-existing space in the root filesystem. Instead, this additional disk is a separate entity, akin to attaching a new hard drive to a computer. During setup, you choose a mount point within your container’s filesystem – a specific directory where this new disk will be accessible. This mount point is a gateway to the added storage, functioning independently of the container’s primary disk.
This method of adding and mounting disks offers a neat way to expand a container’s storage capabilities. It enables better data organization and management, potentially improving overall performance. Whether for different applications or data types, additional disks in Proxmox containers provide a flexible solution to meet diverse storage needs.
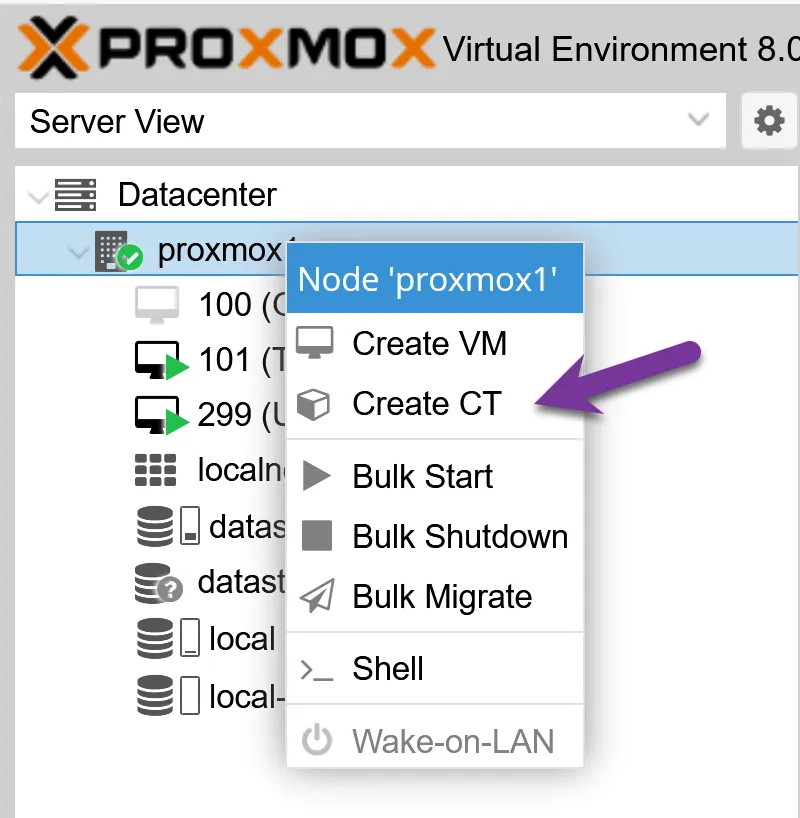
I’m about to walk you through setting up a Proxmox Container, which is surprisingly straightforward. You’ll harness all the efficiency and agility LXC containers offer with the proper steps. Here’s how I do it:
Once downloaded, I click “Create CT” at the interface’s top right corner to start with configuration.
Here is a short video on how to create a Container (LXC)
LXC containers share the host kernel, so they skip the overhead of a full guest OS. That means faster boot times, lower RAM usage, and higher density on the same hardware. For lightweight Linux services like DNS, a small web server, or a database, a container uses a fraction of the resources a virtual machine would require.
Proxmox Virtual Machines run a full guest OS with their own kernel, completely separate from the host. That means stronger isolation, full hardware emulation, and support for non-Linux operating systems.

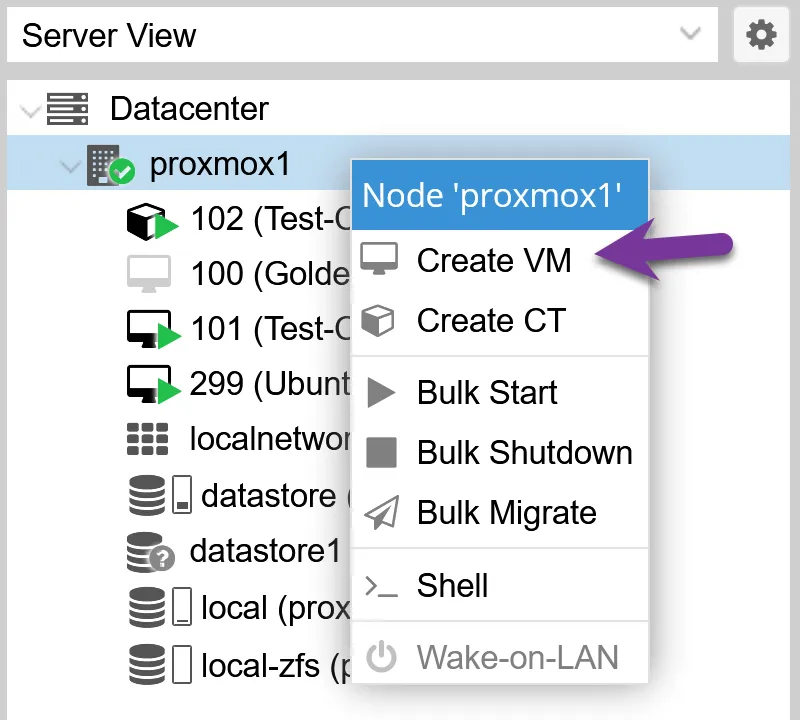
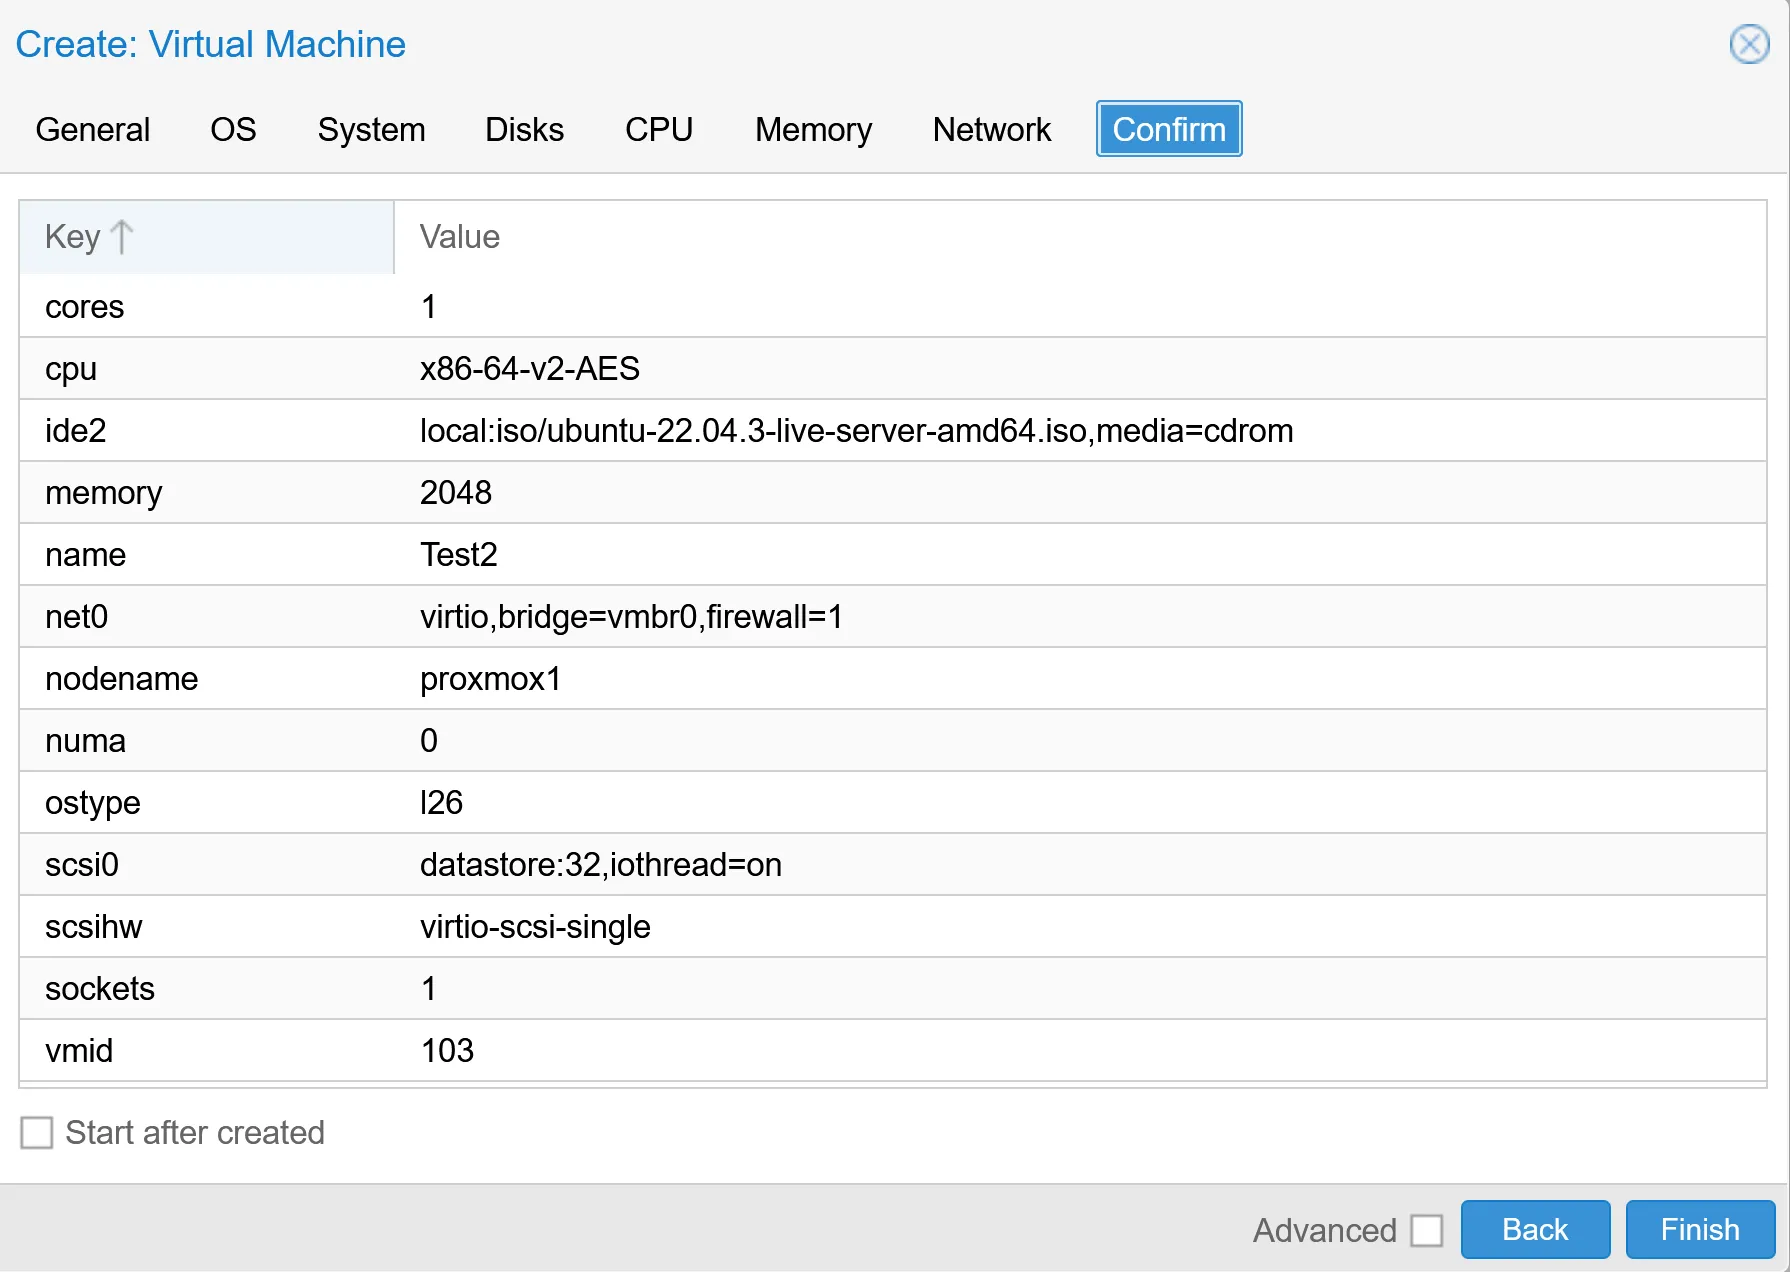
Creating a Virtual Machine (VM) in Proxmox is a straightforward process. I make sure to carefully follow the steps so I can have my VM up and running without any hiccups. Here’s how I do it:
One key advantage I appreciate about Proxmox VMs is their complete OS isolation. It means each virtual machine operates with its entire instance of an operating system, separate from the host and other VMs.
It’s almost like having multiple computers packed into one physical machine.
The beauty here lies in this separation; it allows you to run different operating systems side by side, or even different versions of the same OS, without any conflicts. And because they’re isolated, security issues in one VM won’t spill over to others.
With that in mind, let’s explore how hardware emulation affects virtualization efficiency.
Each Proxmox VM runs on emulated hardware, from the CPU and disks to the network interfaces. This costs more resources than an LXC container, but it buys you compatibility with any guest OS and a clean separation from the host kernel.
To begin with, here’s a comparison table outlining the pros and cons of Proxmox Containers (LXC) versus Proxmox Virtual Machines (VMs):
| Proxmox Containers (LXC) | Proxmox Virtual Machines (VM) |
|---|---|
| Higher (shared kernel, less overhead) | Lower (dedicated kernel, more overhead) |
| Faster boot times, generally better performance for lightweight applications | Slower boot times, can handle more resource-intensive applications |
| Less isolated compared to VMs (shares the host kernel) | Full isolation (separate kernel and OS instance) |
| Limited to Linux-based systems, but highly efficient for these | Supports various OS types, including non-Linux systems |
| Lower overhead due to shared kernel and fewer virtualized hardware components | Higher overhead due to full hardware and OS virtualization |
| Ideal for running multiple lightweight and scalable applications, good for microservices | Better for applications requiring full isolation, resource-intensive tasks, and non-Linux systems |
The comparison between Proxmox containers and virtual machines reveals vital contrasts in their architecture and functionality. This exploration will illuminate which technology aligns best with specific workloads, offering insights to inform your choice for optimal results.
If you’re still shopping for hardware, a small mini PC is the most popular Proxmox target these days.

I earn a commission if you make a purchase, at no additional cost to you.
Most LXC vs VM comparisons frame security as if it’s about protecting the workload itself. That’s only half the picture. The more useful question is: if the workload gets compromised, what else on your Proxmox node is at risk?
This is where the shared kernel matters in practice.
An LXC container shares the host kernel. The isolation comes from namespaces and cgroups, not from a hardware boundary. If a kernel-level vulnerability is exploited inside the container, the attacker is one step away from the Proxmox host. From there, they’re next to every other container and VM on the node.
A VM is different. It runs its own kernel, and the only way out is a hypervisor escape. Those vulnerabilities exist, but they’re far rarer and harder to exploit than kernel-level bugs. The blast radius is smaller by design.
For a single-tenant homelab node, this is mostly an academic concern. If you’re the only one using the box and the workload isn’t internet-exposed, the shared kernel is fine. LXC works.
The calculation changes when the node is shared. If you run a Proxmox node for a client, or if a single node hosts both your own workloads and someone else’s, the hypervisor boundary stops being theoretical. A compromise within a VM stays within that VM. A compromise within one LXC can affect everything else you’re running.
This matters most for internet-exposed services. Hosting Nextcloud on Proxmox as a private cloud, Mailcow, web apps, anything with a public attack surface. The risk of compromise is higher, and so is the cost when that compromise spreads.
In a container or a VM, the Proxmox root user is the other half of the story.
In my tests, LXC containers start in a second or two, while a Proxmox VM takes tens of seconds to boot a full guest OS. For latency-sensitive workloads or anything you start and stop often, that difference is noticeable.
Throughput is closer. Once both are running, a VM does not pay much of a runtime penalty for Linux workloads. The gap shows up mostly at boot, at shutdown, and in how many instances you can pack onto the same physical machine.
LXC resources are elastic. A container only uses the RAM the running processes actually need, not a fixed block. That makes it easy to run several containers on a modest Proxmox host without reserving memory up front.
A Proxmox VM is the opposite. You assign CPU cores, RAM, and disk space when you create it, and the VM takes that allocation whether it uses it or not. That rigidity is the price for running a full guest OS with its own kernel.
Backups work well with both models in Proxmox VE, but the format differs.
With LXC containers, backups are usually smaller and faster because you are mainly backing up the container’s filesystem and configuration. With a virtual machine, VM backups are larger, because they include the full virtual disk image and the whole guest environment.
So if you want fast and compact backups, a Proxmox container has an edge. If you want a complete image of the entire system, VM backups are the better fit.
In both cases, you can schedule automatic backups, use local or network storage, and back up to Proxmox Backup Server. If you run a Proxmox cluster, you can also migrate both VMs and containers between nodes.
That is one more reason I like Proxmox. Whether you pick LXC or a VM, the backup tools are solid.
Proxmox containers, like LXC (Linux Containers), share the host kernel but keep applications isolated through namespaces and cgroups. VMs run a full copy of an operating system on top of the hypervisor, with their own kernel and emulated hardware. Containers are lighter and faster to start. VMs offer stronger isolation and can run non-Linux guests.
LXC containers run with less overhead than VMs because they share the host kernel and skip hardware emulation. They boot in seconds, use less RAM, and let you run more workloads on the same node. For lightweight Linux services like a DNS server, a web server, or a small database, an LXC container is usually the more efficient choice.
Yes, and the difference matters more than most comparisons suggest. An LXC container shares the host kernel, so a kernel-level exploit inside the container can reach the Proxmox host and everything else running on it. A VM runs its own kernel, and the only way out is a hypervisor escape, which is far rarer in practice. For a single-tenant homelab node, LXC is fine. For a Proxmox node that hosts client workloads or runs anything internet-exposed, the smaller blast radius of a VM is the safer call.
For client work, I default to a VM. The reason is less about the workload itself and more about isolation. If a client-facing service like Nextcloud or a web app gets compromised inside an LXC, the attacker is one kernel bug away from the Proxmox host and any other workload on that node. A VM contains the damage to that single guest. The extra RAM and disk overhead of a VM is small compared to the cost of one breach spreading across your infrastructure.
Yes, but it’s not the cleanest path. Docker can run in a privileged LXC container with nesting enabled, plus some adjustments to AppArmor and cgroup settings. It works, but updates to Docker or the Proxmox kernel can break the setup, and not all Docker features behave reliably. For most use cases, running Docker in a Proxmox VM is the more stable choice. I cover the trade-offs in detail in my Proxmox Docker guide.
Updating an application inside an LXC container is usually faster because only the container needs to restart, not a full operating system. VMs take longer to boot after a kernel or system update because the whole guest OS has to come back up. For applications where uptime matters and the underlying OS rarely changes, this is a real efficiency advantage of containers.
I’d love to hear from you. Was this article helpful? Share your thoughts in the comments below. If you prefer, you can also reach me by email or connect with me on Reddit at Navigatetech.
If this comparison was useful, the next piece to read is my guide to Proxmox filesystems, which covers the storage side of the same setup.
Hi, I’m Edy Werder. I write hands-on guides about Proxmox, homelab servers, NAS, and WordPress, based on real setups I run and document.
No sponsors, no fluff—just real configs and results.
Enjoying the content?